This turned out to be another good weekend to work on the car. We went another week without any snow, so I was able to leave the Miata out of the garage and didn’t have to put everything away that I’d been using last weekend with the work on the emergency brake.
I wanted to continue the work on the center console, hopefully actually getting something fabricated this weekend. This is definitely a task that can easily chew up massive amounts of time in planning. Its easy enough to cut more parts, so I figured it was best to just start cutting.
Yesterday I had planned on starting the work on the car, however I ended up with other house related things to do in the morning, and visited with a friend in the afternoon.
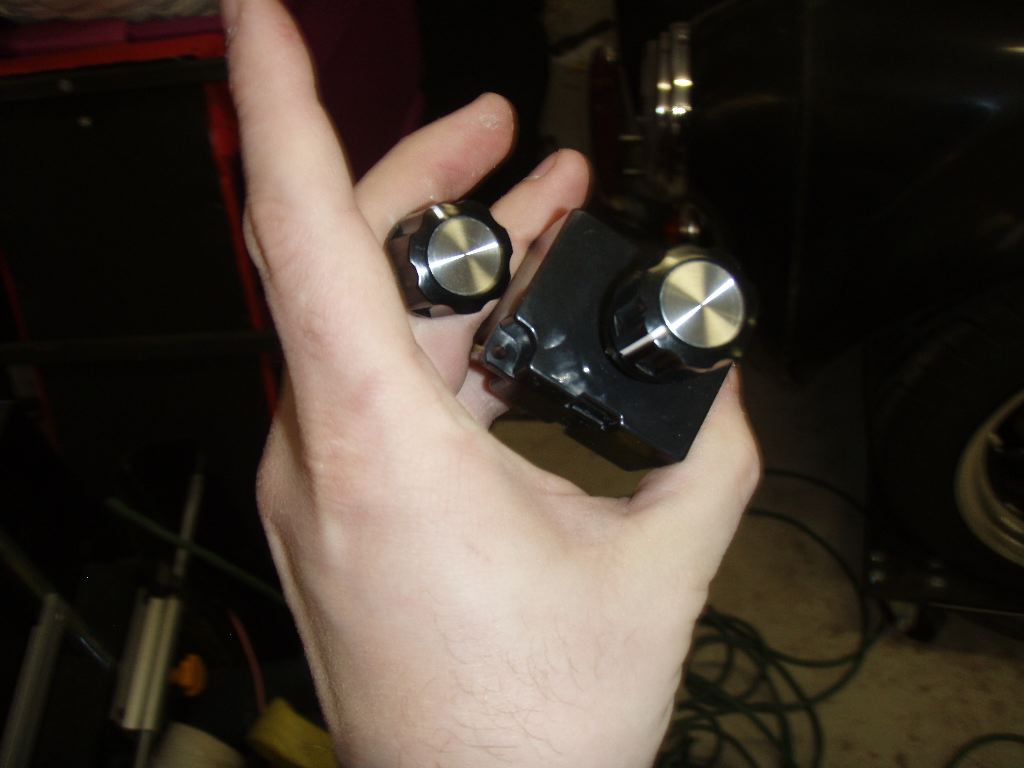
I did, however, stop at You Do It Electronics, hoping I could pick up a pair of matching knobs for the heater controls. I wanted to get some solid aluminum ones, but I’ve had no luck finding any. I settled for two black plastic ones with spun aluminum inserts. I also picked up a new potentiometer to use for the fan speed control — the other one worked fine, but was small and I was concerned about durability.
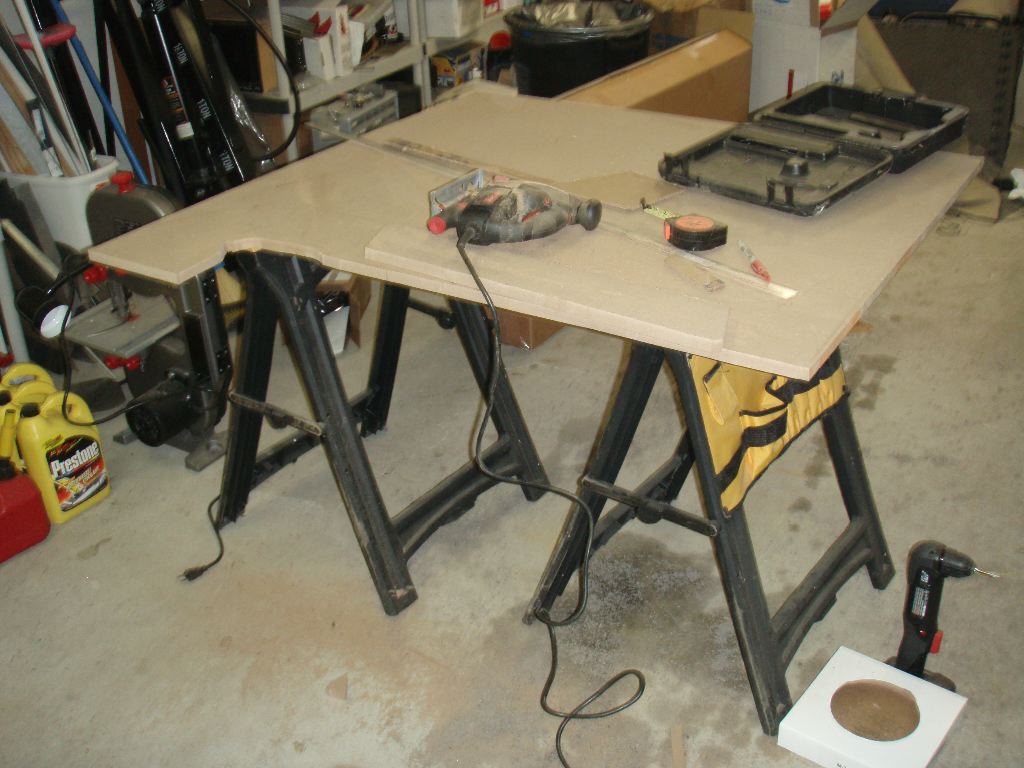
I pulled out my sawhorses this morning, along with an old sheet of 1″ MDF that I had bought probably five or six years ago to fabricate a subwoofer enclosure for my Porsche. Using the cardboard template I had designed a few weeks ago, I cut out a pair of side panels for the center console.
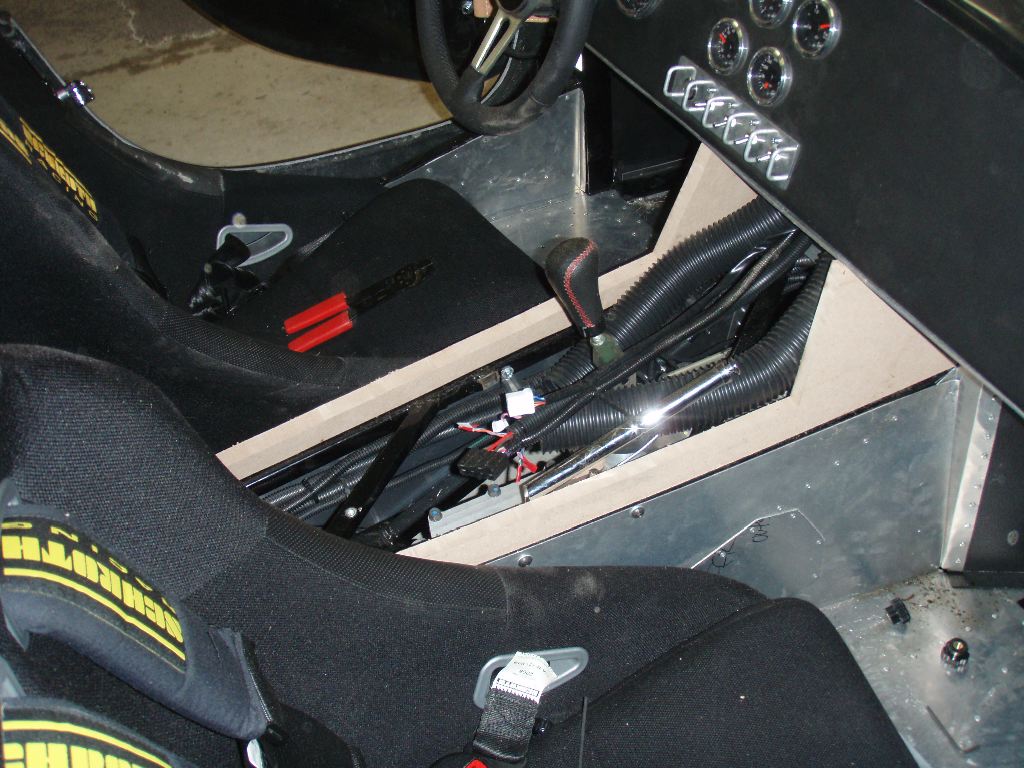
The two panels snuggly fit into the space above the transmission tunnel.
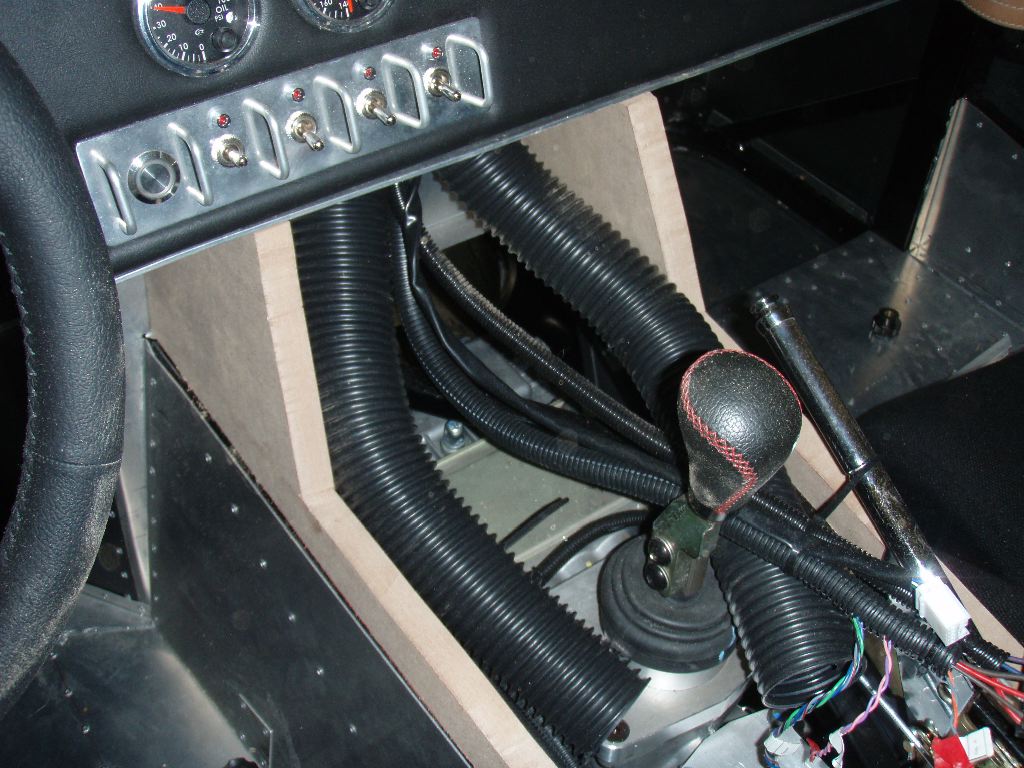
The passenger panel interfered somewhat with the emergency brake — without being careful, it’d be easy to pinch my fingers between it and the passenger side panel. I wanted to notch it out, but it was going to leave barely a quarter inch of MDF along a good eight inch stretch of the side panel. MDF isn’t all that strong, and there was no way that was going to work.
It was also clear that there was no way I could assemble a solid center console, with the side rails running the entire length of the cockpit and still get it out without fully disassembling the dash. That wasn’t ideal, although it was a possibility. Another one was leaving the trailing six inches out and filling that space with an arm rest and storage unit.
I spent some time trying to figure out how I could cover the seam between the vinyl of the console and the carpet. My previous plan involved the use of the polished 1″ aluminum angle stock, which would’ve wrapped over the top of the transmission tunnel and over the edge of the carpet. With a raised-edge console, I couldn’t do that, although I did plan on using the transmission tunnel top.
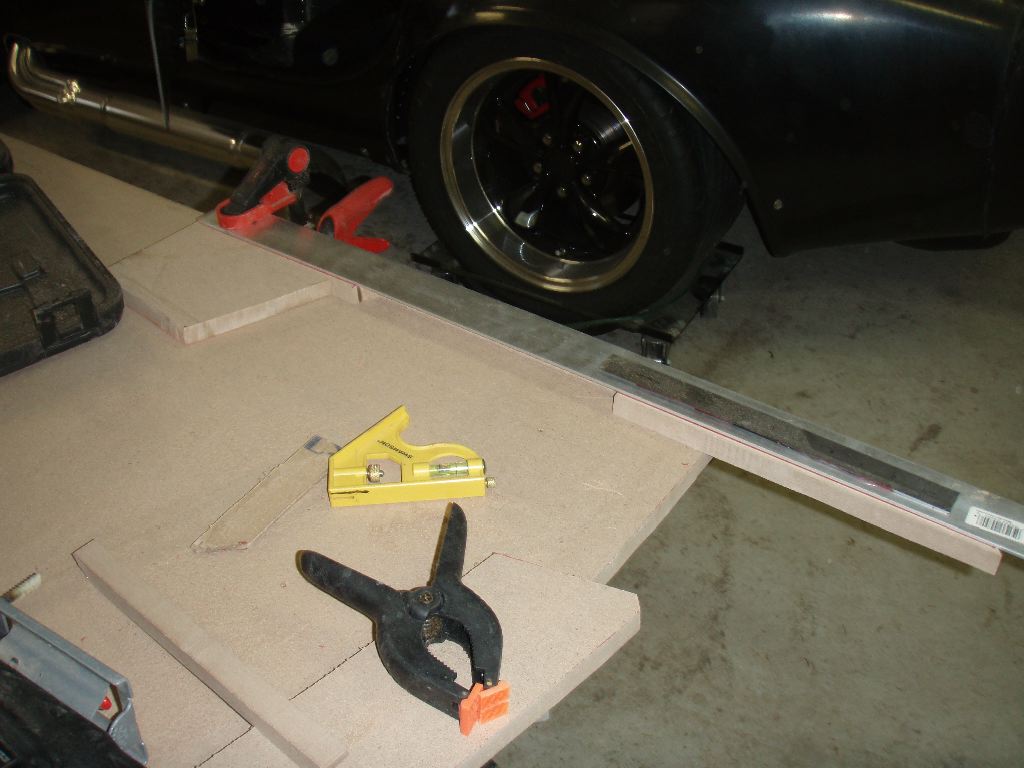
Realizing I actually had a solution that could kill two birds with one stone, I went ahead and cut out a notch in the passenger side panel, so it would clear the emergency brake. I took one of the 2″x36″ aluminum pieces I had sitting around. This is the same stock used for the switch panel on the dash, and which will be used for the heater controls on the center console. I clamped it along the MDF piece, with a quarter inch reveal.
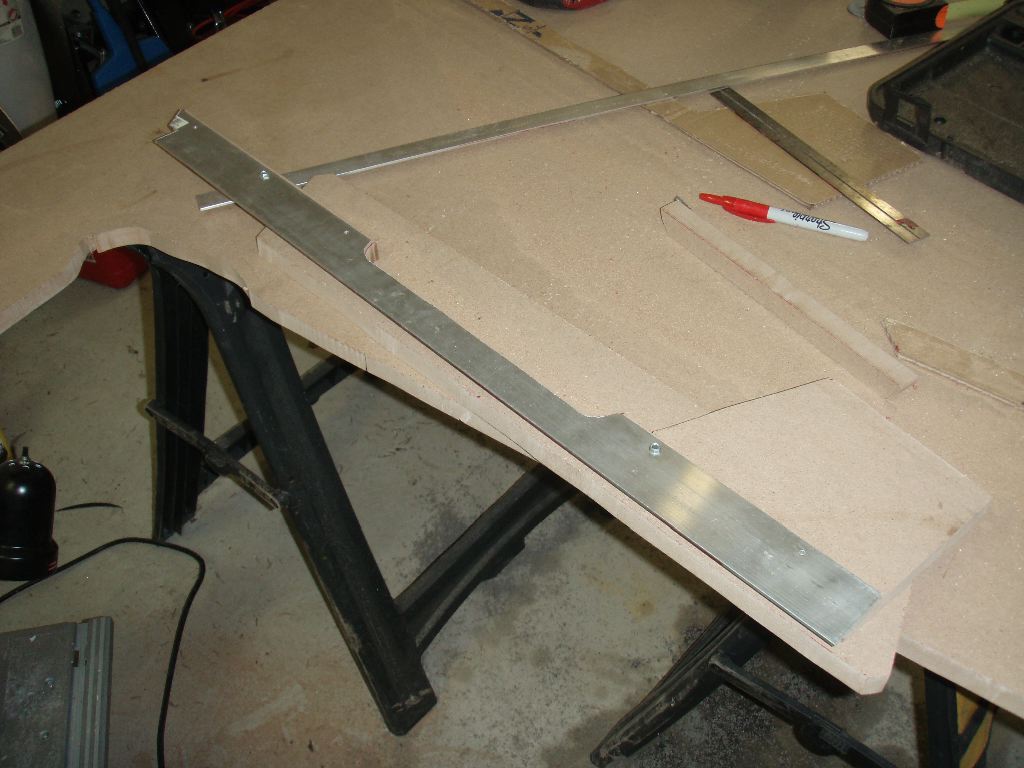
After breaking out the jigsaw and doing some cutting, I had a side plate that matched the contour of the MDF panel.
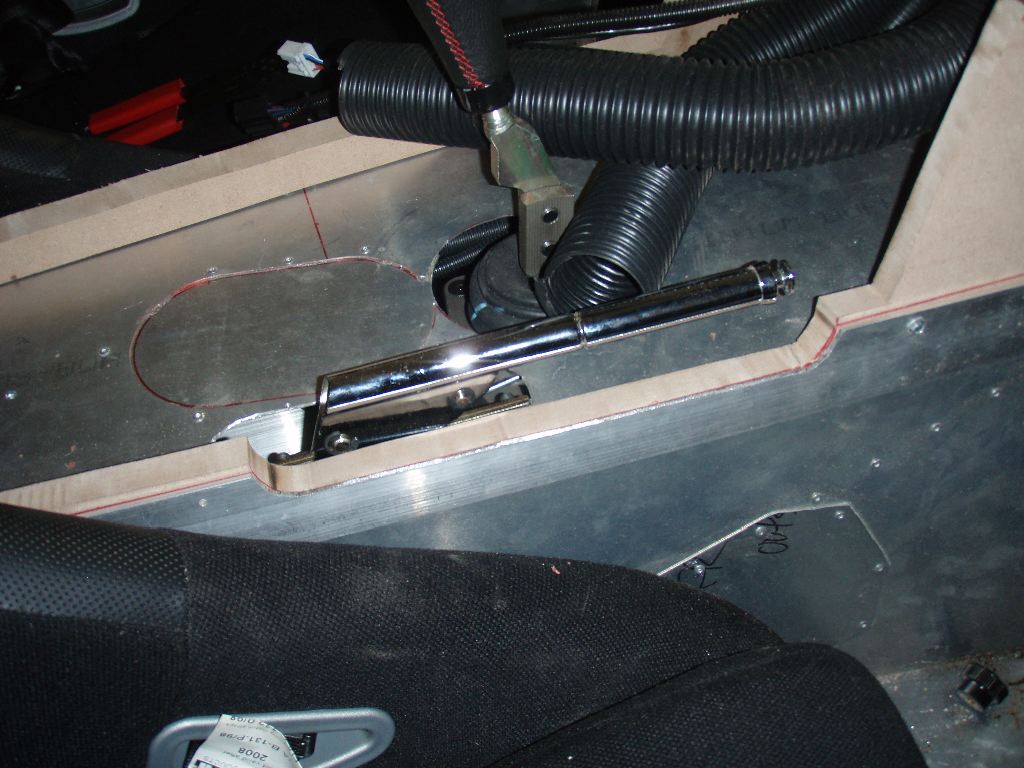
With the panel re-installed in the car, the emergency brake was now operable without interference. The aluminum solved three problems — how to dress up the console, how to cover the edge of the carper and, most importantly, it made the side panel totally rigid even though the MDF in the notched area was barely a half inch thick.
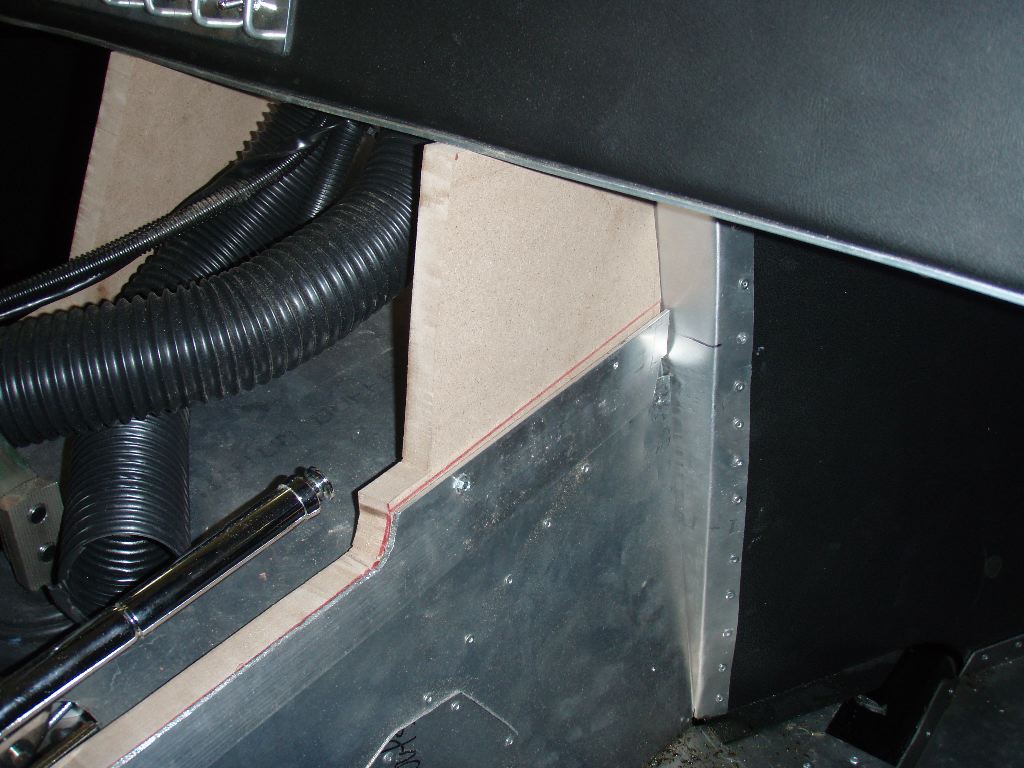
The side panel would be wrapped in vinyl, trimmed in aluminum and the center console panel itself would screw into it.
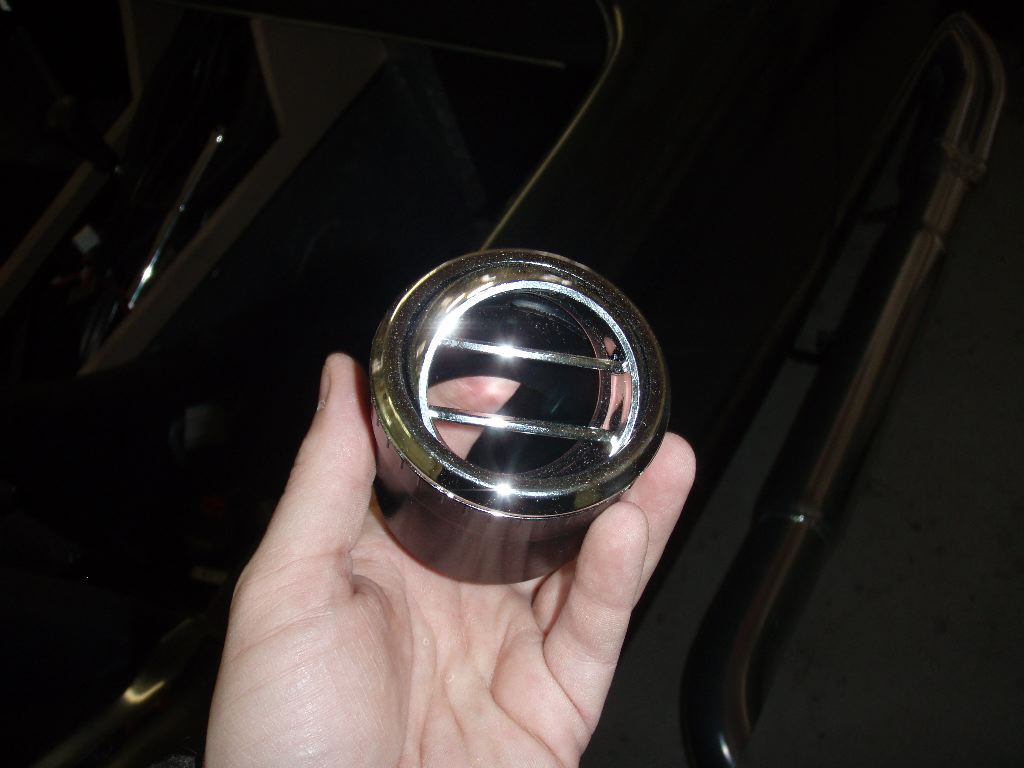
A pair of chromed vent balls will go up under the dash in the side of the consoles for the heater vents.
At this point I needed to get some hardware to finish assembling the side panels. I made a list and went to Jo Anne Fabrics to look for vinyl and Home Depot for some various bits of hardware. At Jo Anne I picked up five yards of a heavy duty furniture-grade non-flammable vinyl that matched the Factory Five vinyl pretty closely.
At Home Depot I picked up some cap head bolts, and some T-nuts and various other bits to figure out how to mount the aluminum to the MDF. Unfortunately the bolts I bought were too short (3/4″ — they didn’t have 1″) and I somehow either left $26 worth of aluminum stock at the register or in the shopping cart, resulting in another trip to Home Depot for aluminum and a trip to the local hardware store for more bolts.
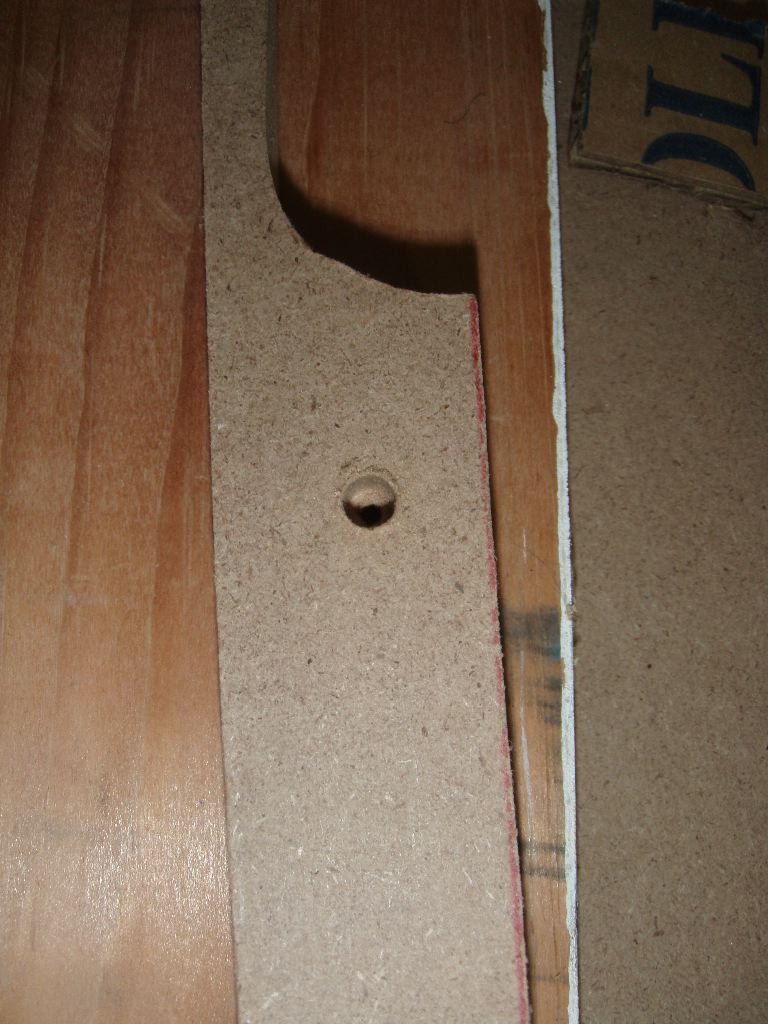
Using the drill press, I opened up the holes slightly in the aluminum to fit 8-32 bolts, and drilled out the MDF to 1/4″
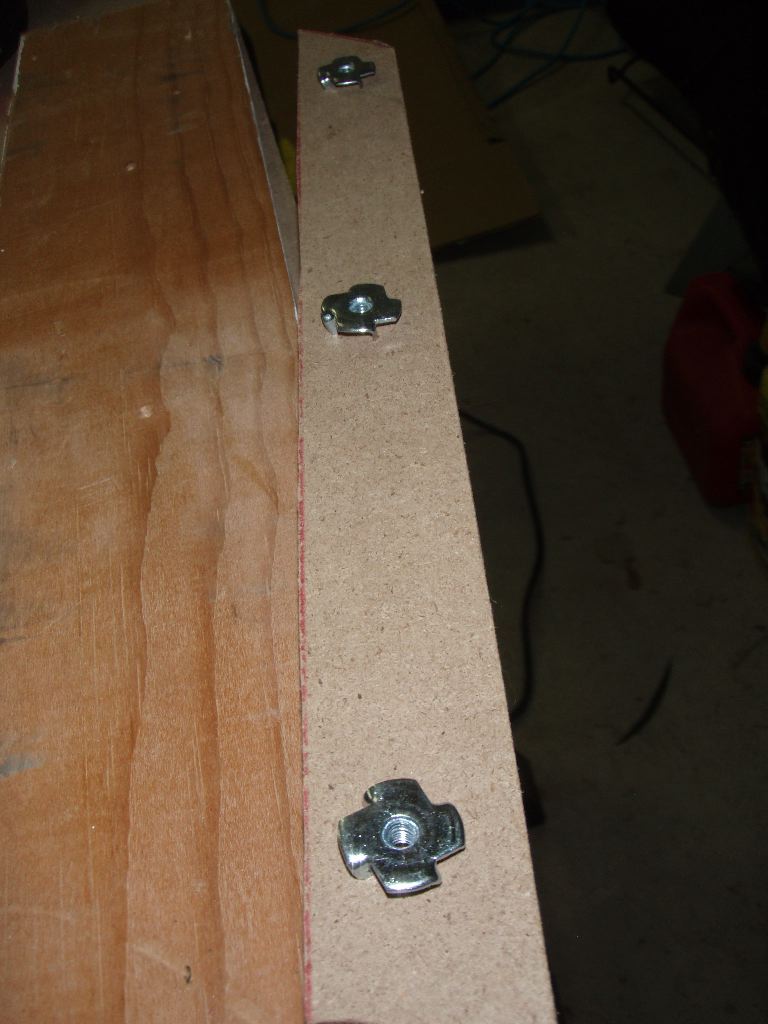
A set of T-nuts were pressed into the wood from behind. These I squeezed in a bit with a clamp and then used the vice to fully seat.
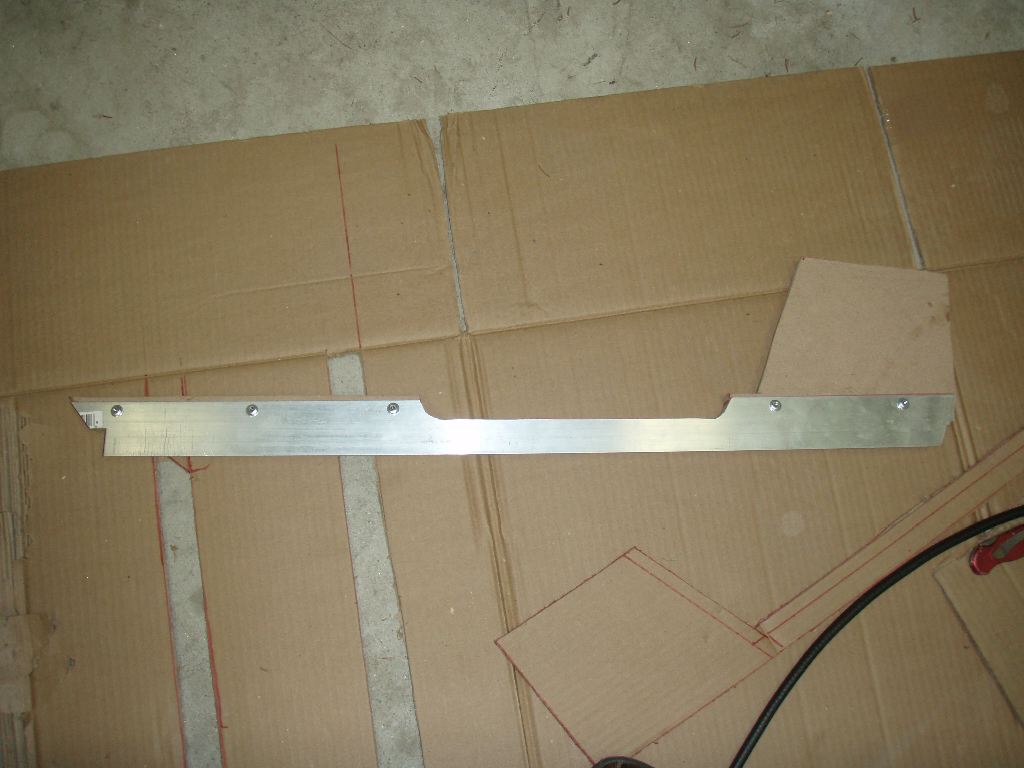
With the hardware in place and longer 1″ bolts, the cap head bolts went right in and the aluminum fit perfectly.
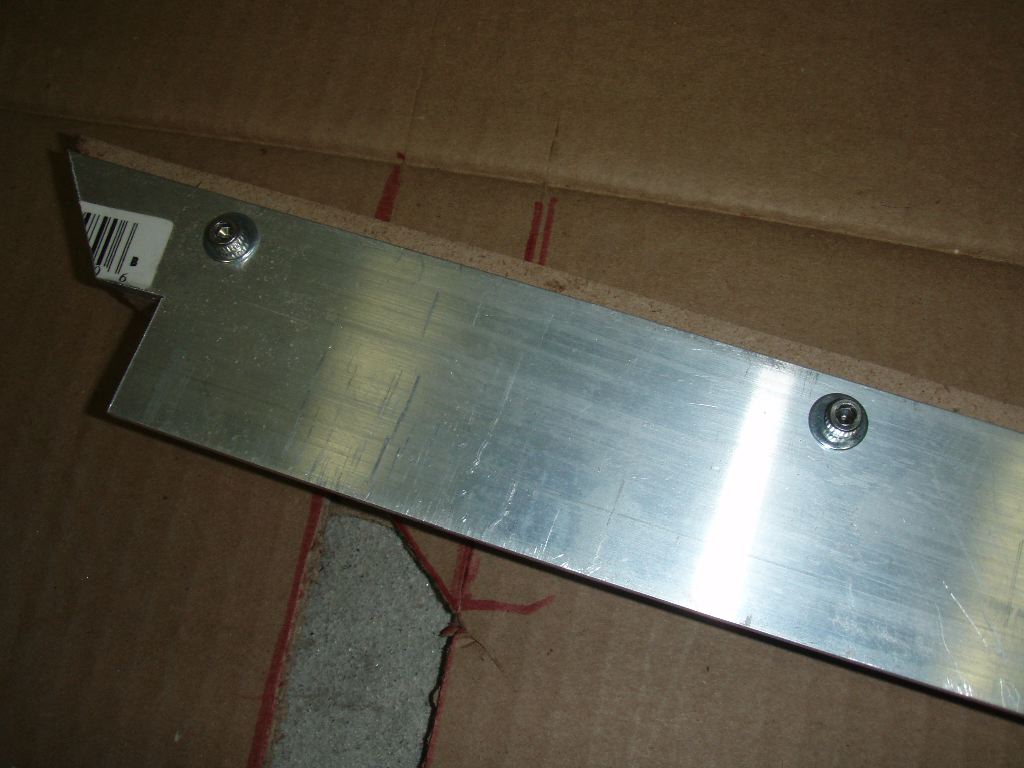
A close up shot of the mounting hardware shows the cap head bolts and washers. The aluminum will be wet sanded and polished.
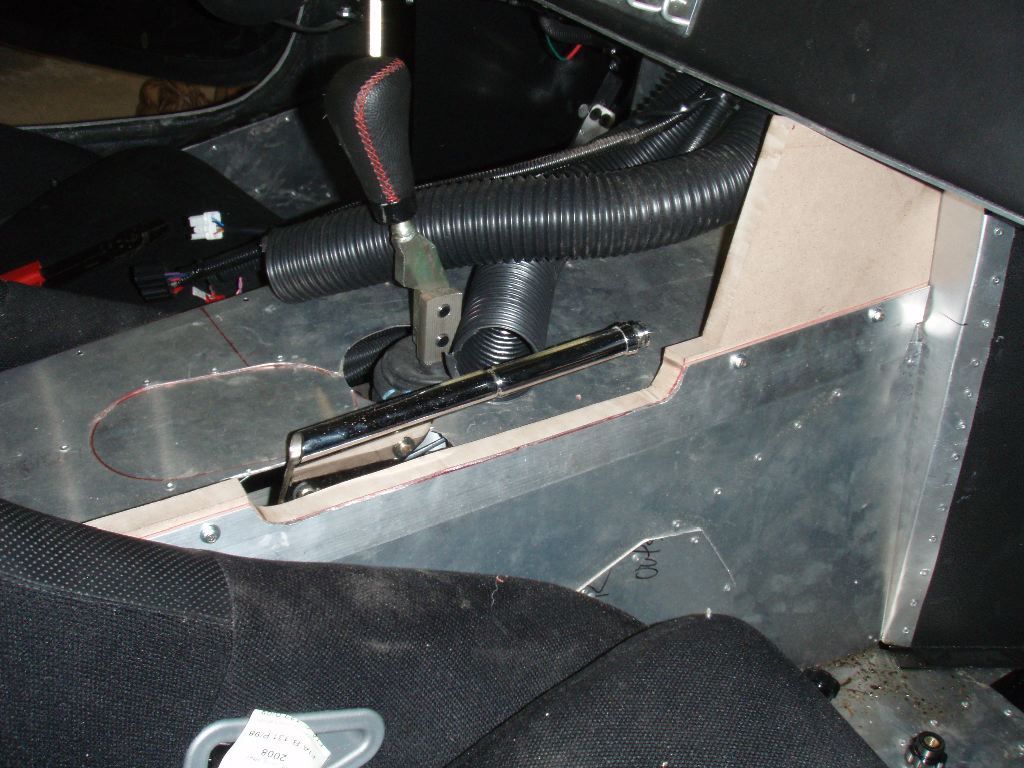
With the panel in the car, I decided this was definitely going to work. Its very rigid, fits snugly and looked good.
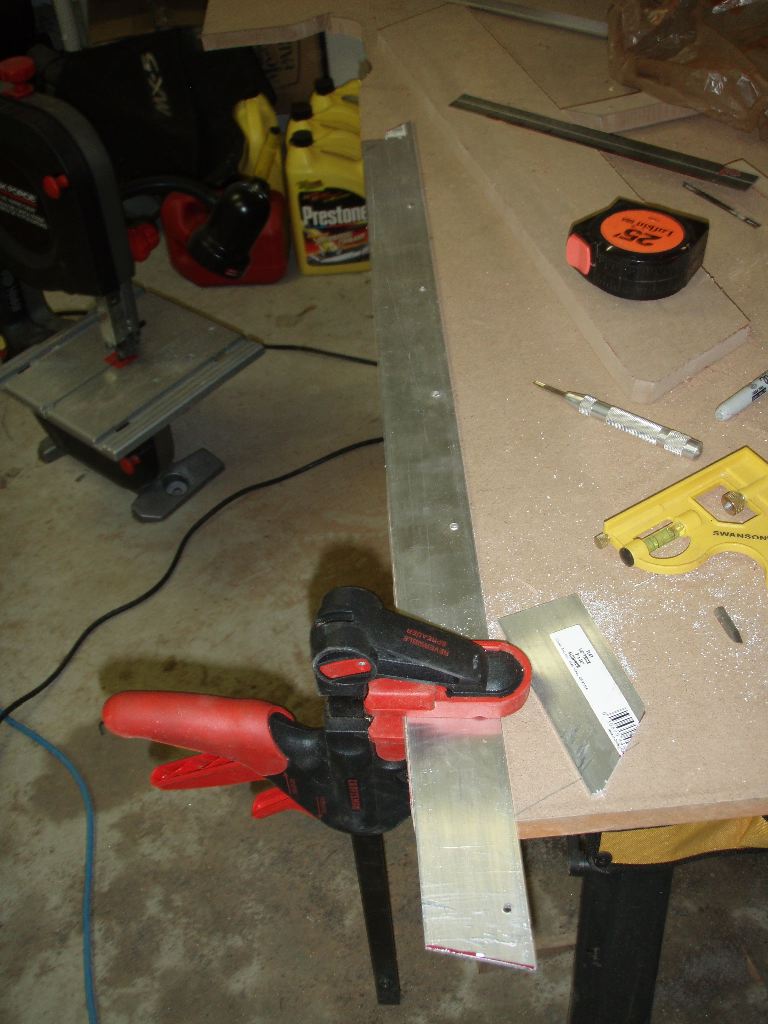
With the passenger side done, I quickly center punched and drilled seven holes, 5″ on center, along the driver’s side piece of aluminum. I drilled those out and through the wood, and did the same 1/4″ holes in the drill press and fit in the T-nuts.
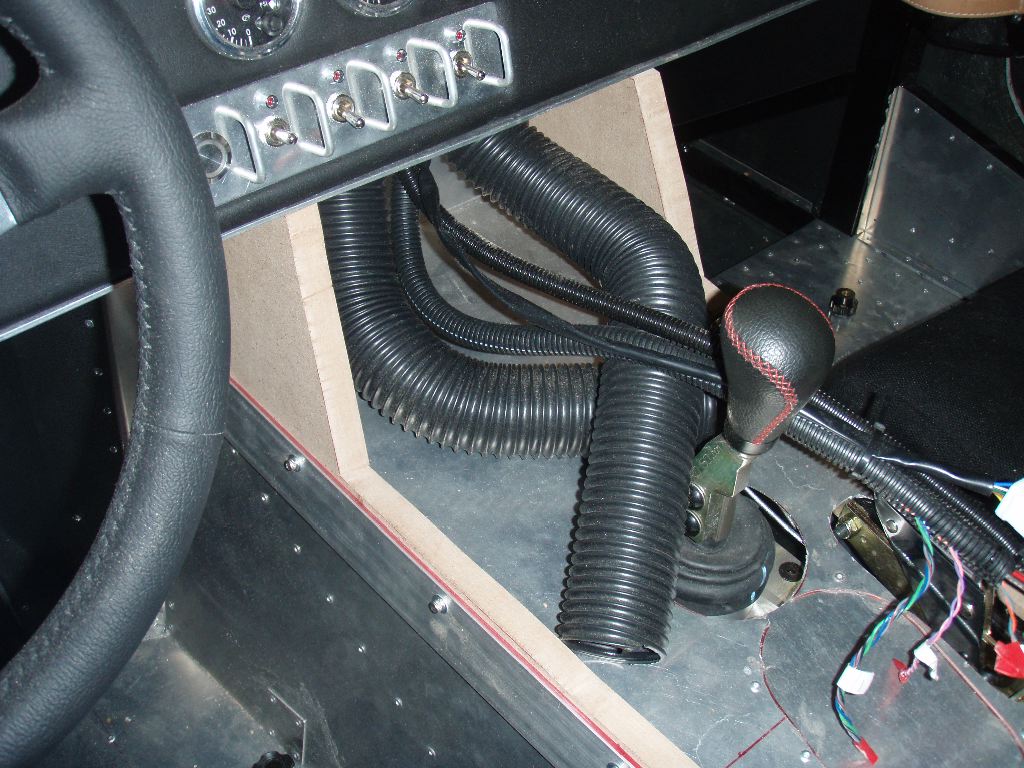
The driver’s side panel fit just as well as the passenger side.
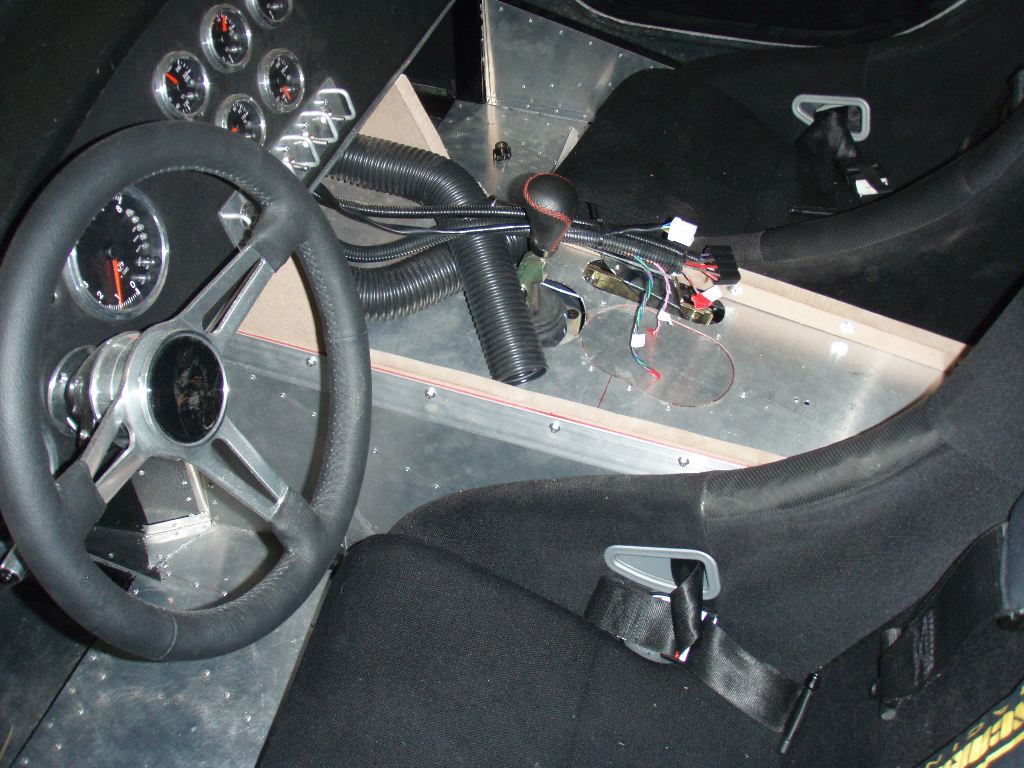
With the side panels done being fabricated, my next step is to sew the vinyl covers for them, paint and otherwise appropriately seal the MDF and then adhere the vinyl to the MDF. I have some angle aluminum stock that I intend to epoxy to the inside of the dash and set four rivnuts into. The dash panel will screw with slightly smaller 6-32 cap head bolts into it. I also need to get some bondo and get a good surface for the vinyl on the transmission tunnel.
I figure I have another solid day of work, but I’m finally happy with my plans around the center console. I may have time this week to do some more work, but next weekend I likely won’t. I’ll post more updates as I get more work done.