Although I seemed to have spent all weekend feeling very unproductive, I actually managed to get some stuff done. Along my goal of getting the engine started this month (ha!, not going to happen…) I needed to get the radiator in the car and start getting the cooling system plumbed.
This is a long post, so you might want to grab a snack first. I probably should split this into two posts…
The first thing I did, however, was put back together the rear end of the car. I had taken apart much of the rear end because I wanted to swap the brakes, etc from the left to the right and vice versa. While doing that, I realized I’d never gotten the spacer washers installed in the shock assemblies. When I went to do that, I realized that I hadn’t done it because the washers I had didn’t fit. Anyway, I called Factory Five on Monday and got the washers during the week.
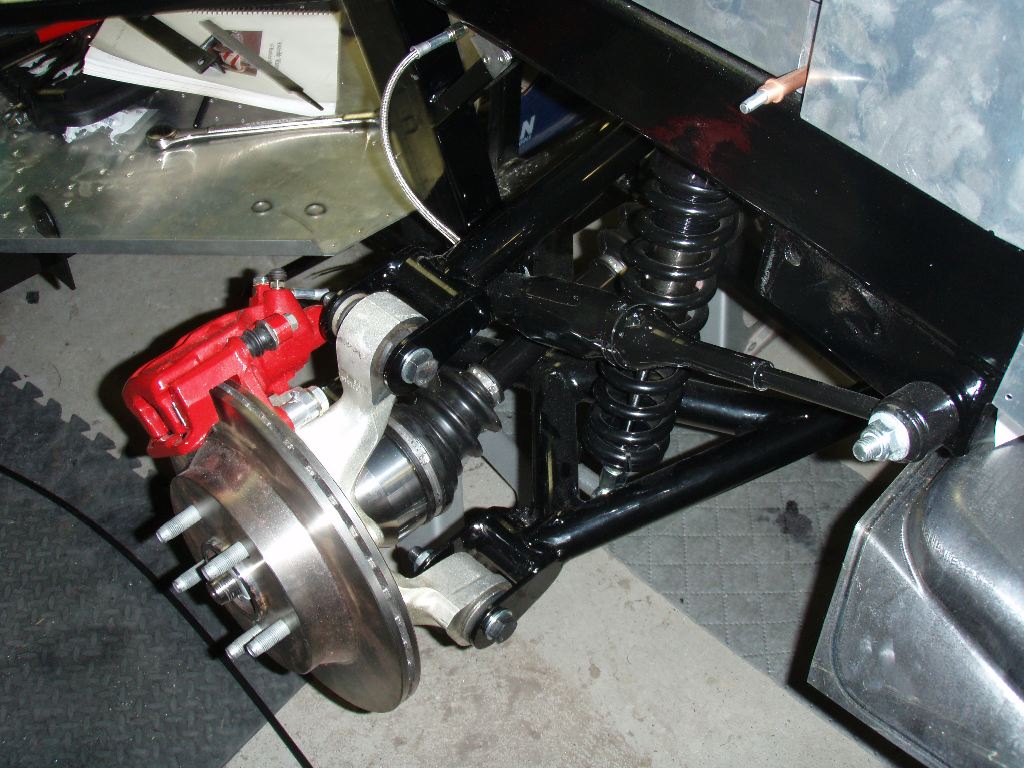
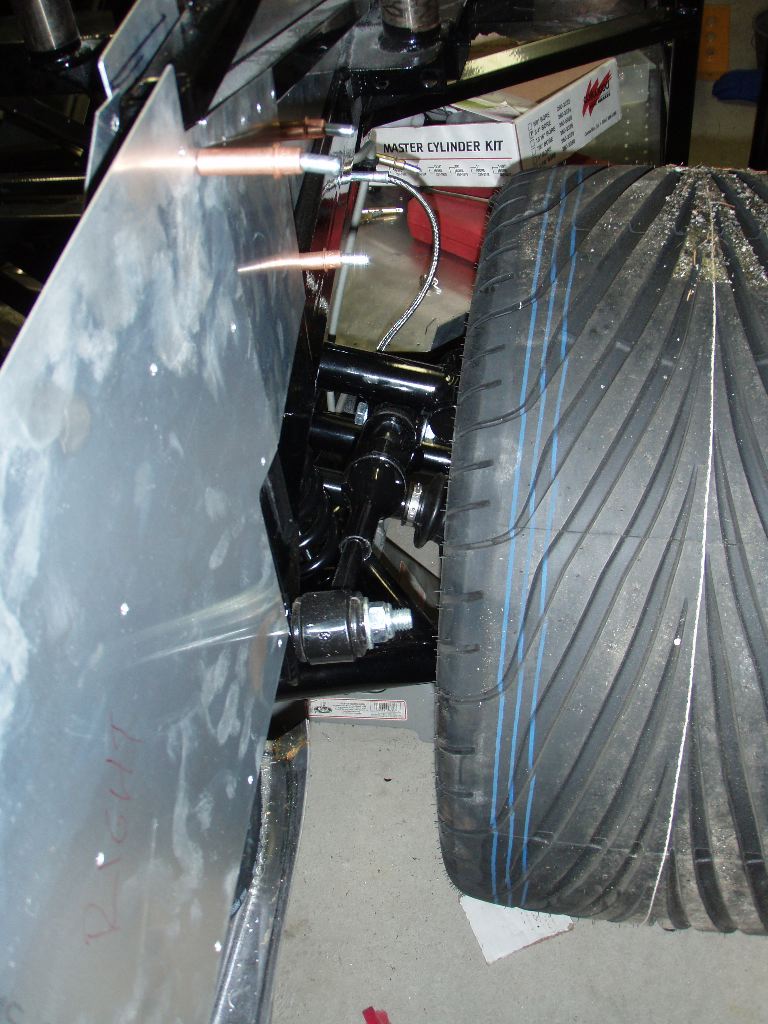
Everything went together nicely, and all of the outboard bolts are torqued now. The inner ones are still loose, and I may leave them that way until I do at least a preliminary alignment on the car. (In a strangely bad design, it can’t be adjusted without unbolting the control arms!)
As the photos above show, the brake lines definitely route better this way. I need to get the car onto the ground and make sure they still route okay, but I suspect they will. I may do that during the week this week.
That work I did yesterday. While reassembling the drivers side, I needed to prop things up so I could keep both hands free. To do that, I held the whole assembly in my lap and was forcing it into place with… well… I suppose they could be described as “thrusts”. In either case, I hope no one was watching on the live camera, and I will not be posting pics of the bruises I have on my legs now from the rotors.
I started doing some work on the radiator yesterday as well, but decided I wasn’t happy with it and undid it.
This morning I worked on getting the radiator fan and shroud mounted to the radiator. Yesterday I’d taken the fan off and painted the shroud with some silver hammertone spray paint. Its got a similar texture to the powdercoating on the car, but is silver not dark gray.
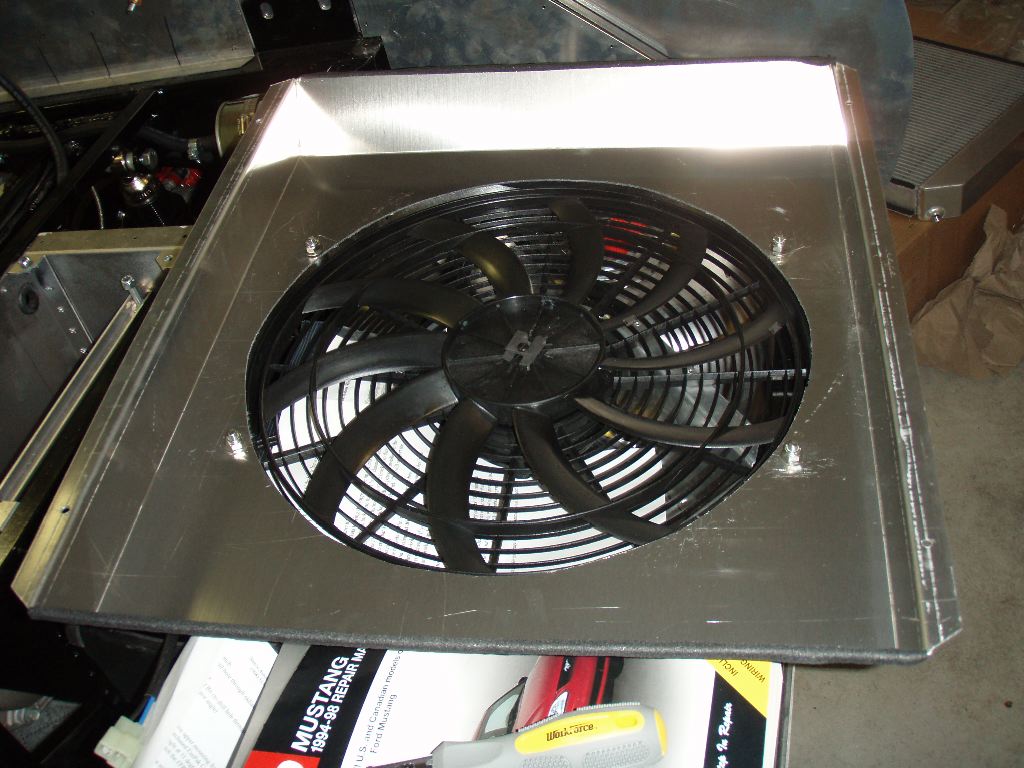
The edges of the shroud are all covered in a closed cell high density foam tape to prevent chafing on the radiator.
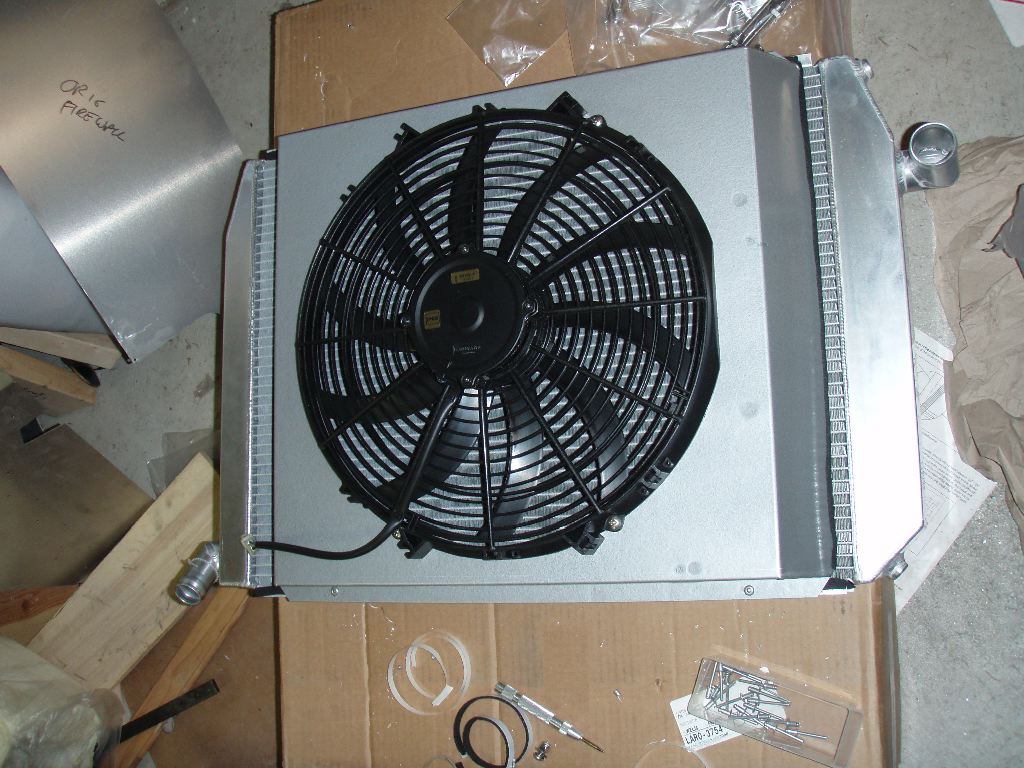
I then took the shroud and riveted it to the radiator. I had bought the Breeze Automotive upper radiator and shroud mount kit, but wasn’t particularly happy with the way it was going to be mounting the radiator and shroud. Rivets were clearly a better solution in this case, because the flange on the top and bottom of the radiator are fairly narrow.
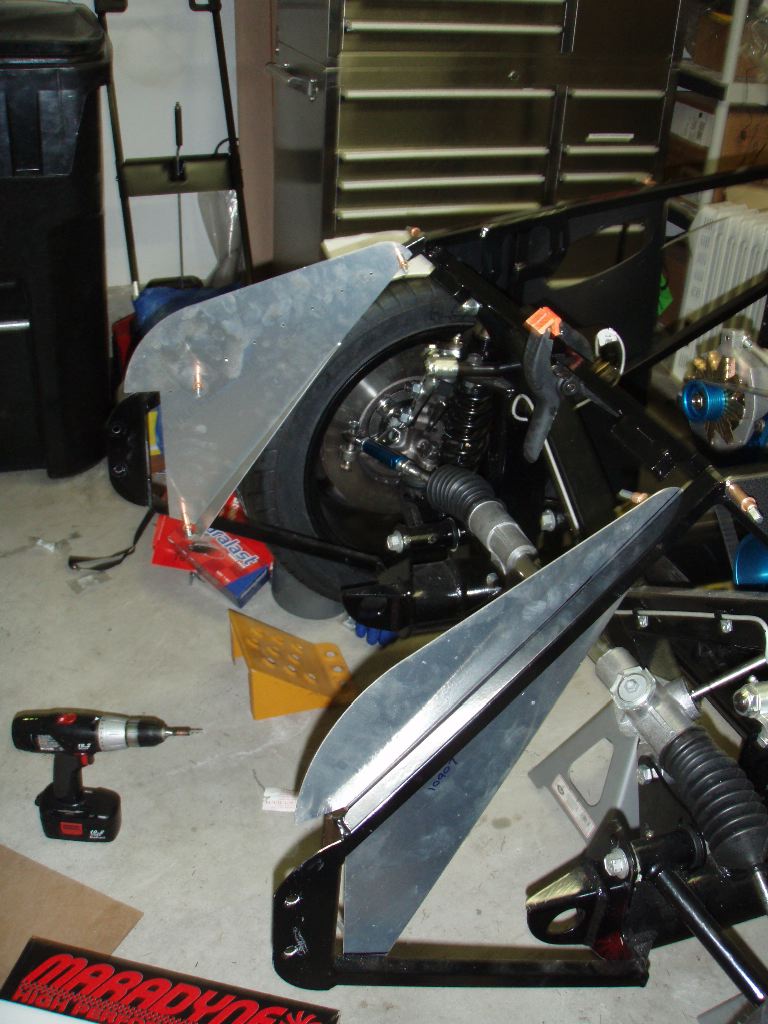
The next step was temporarily mounting the radiator side aluminum so I could position the radiator. Stupidly I drilled them all at this point. We’ll get into why that was stupid a little later in this post.
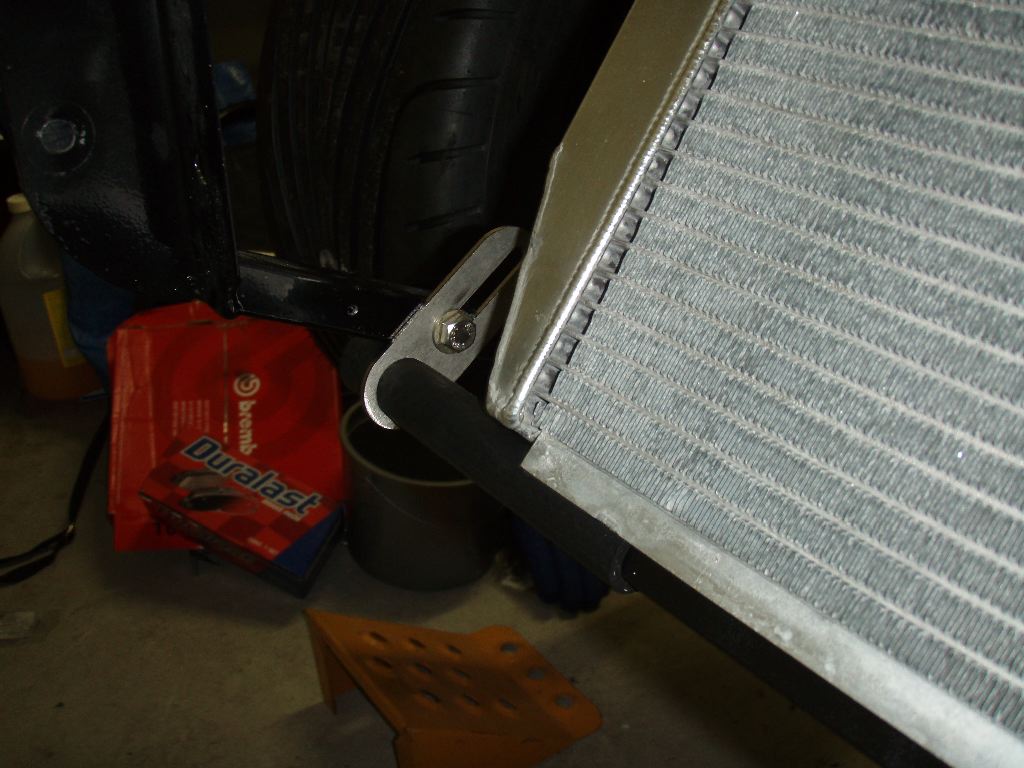
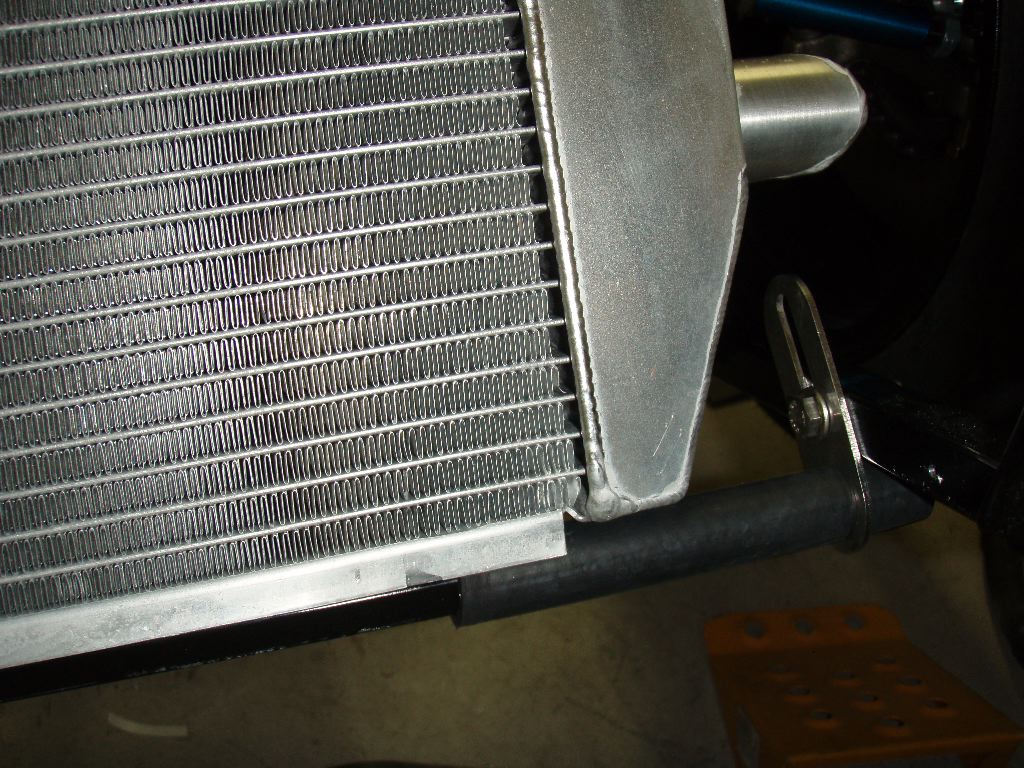
The Breeze bottom mount basically uses a half inch steel cross bar with rubber tubing around the ends of it. Those rubber tubes then fit into a bracket which bolts to the car so you can adjust the height and position of the bottom of the radiator.
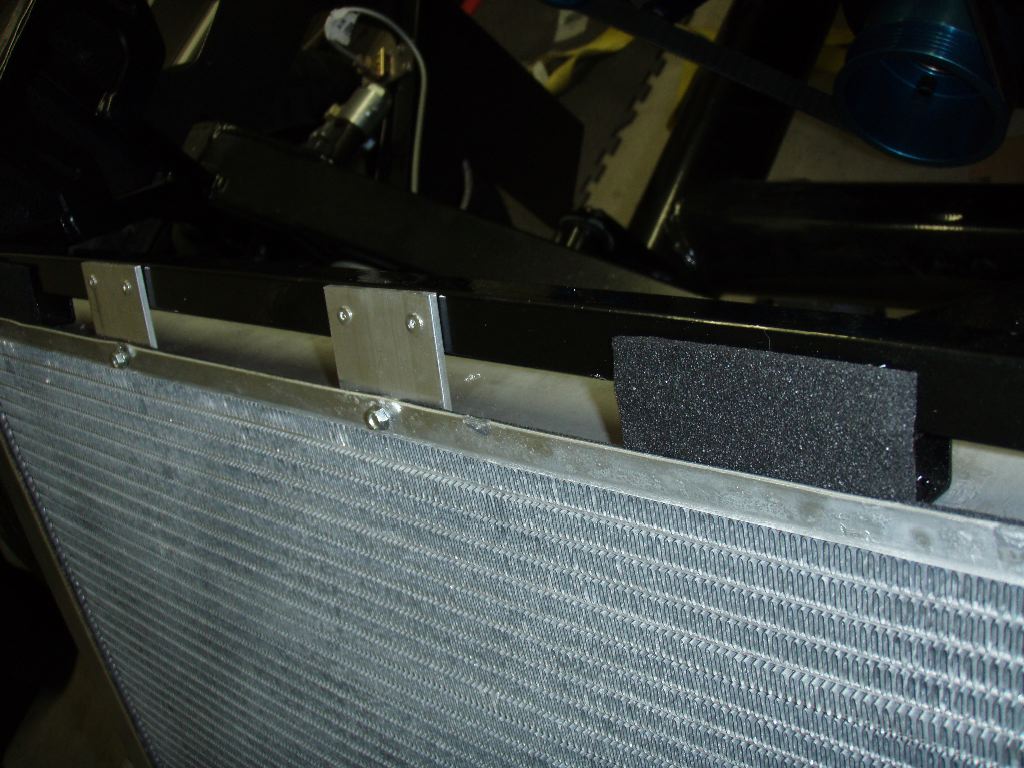
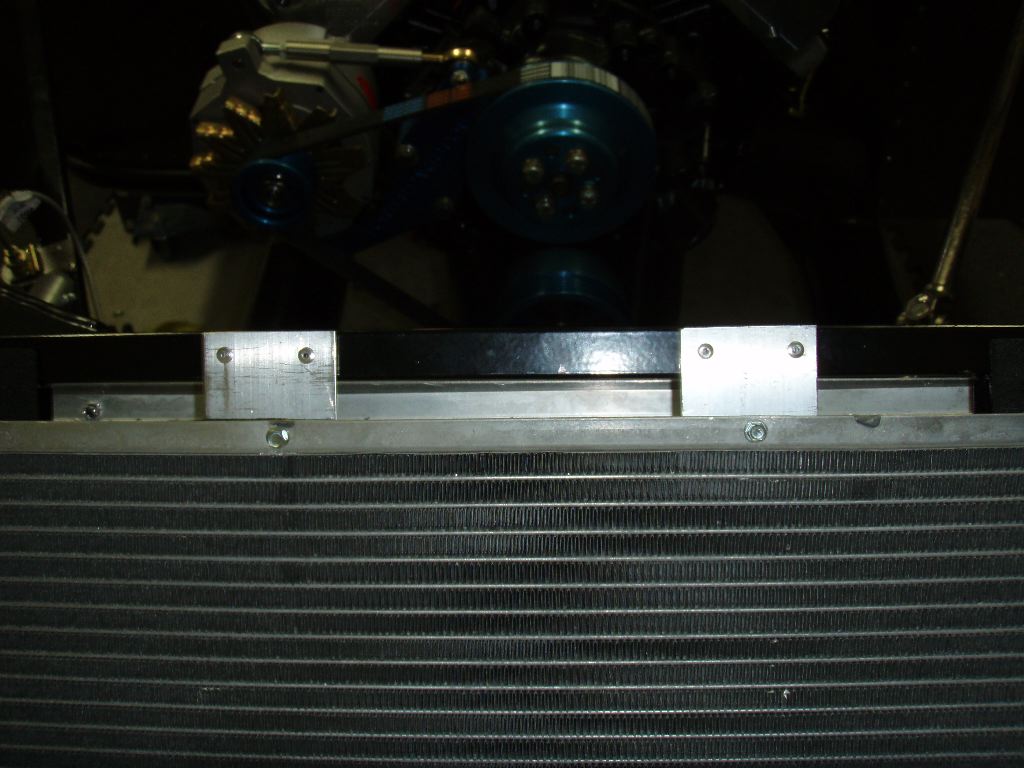
The top of the radiator rests on a crossmember in the frame. I put more high density foam tape to dampen vibrations, and then made two small brackets which are riveted to the car and screwed to the top of the radiator loosely to hold it in place.
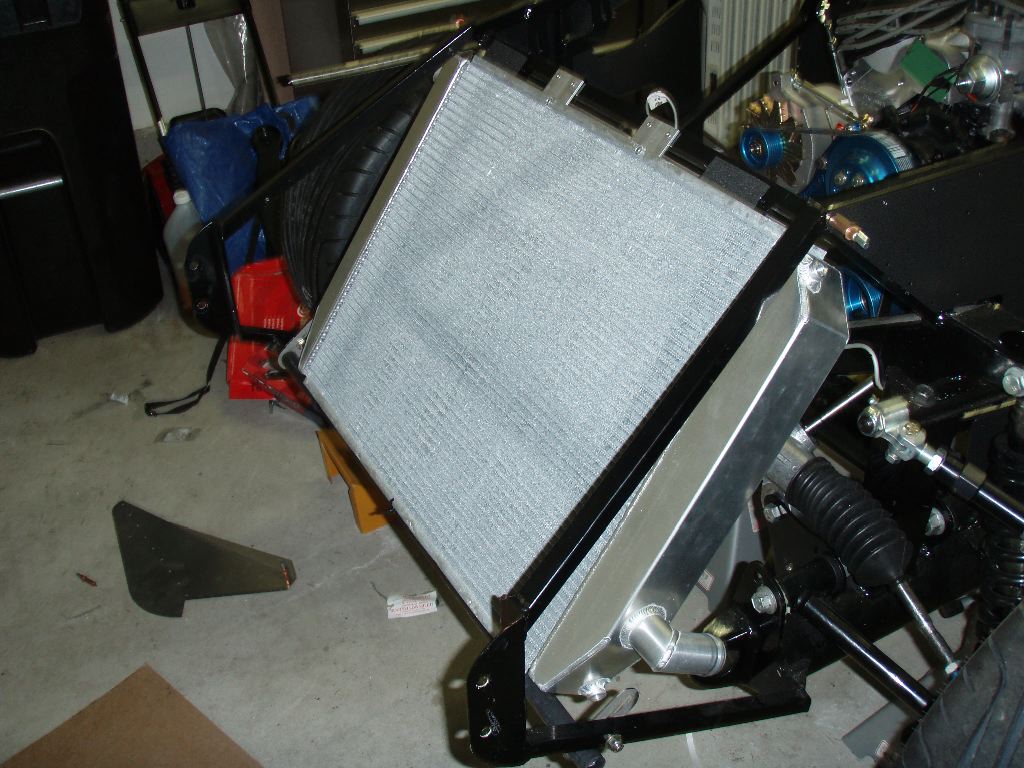

Now, the reason I shouldn’t have drilled all the holes in the side aluminum is that I have them positioned wrong. I’m not sure yet if I’m going to leave it or have to pull and redrill them (or maybe see what it would cost to get two replacements from factory five).
So radiator is installed.
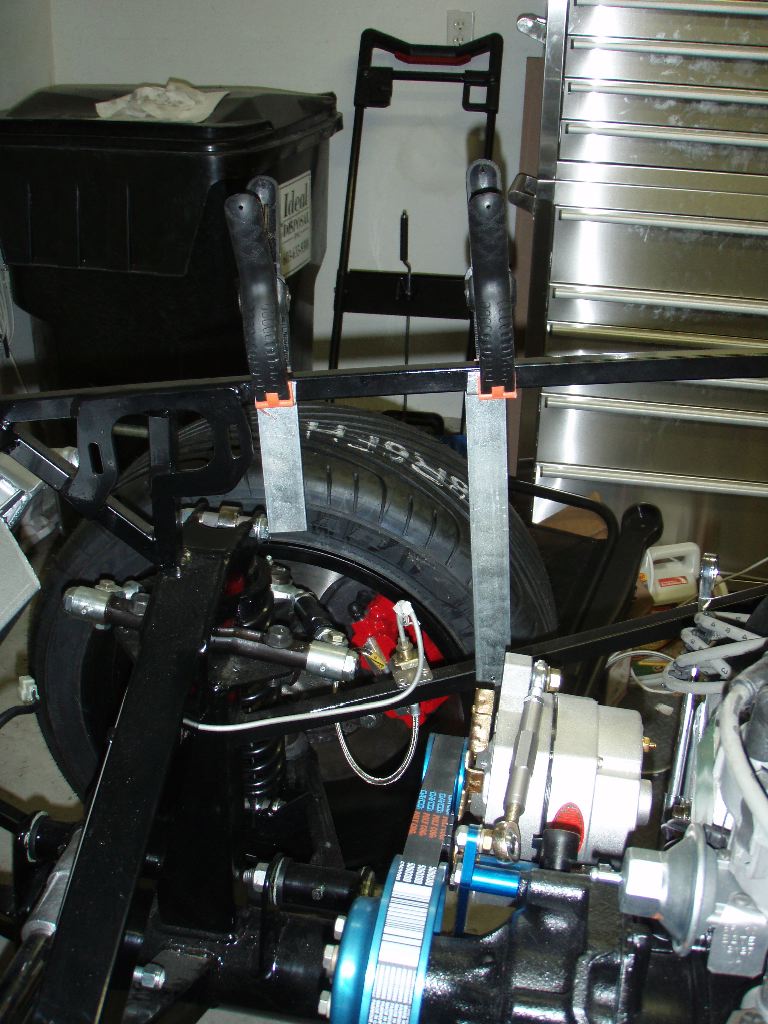
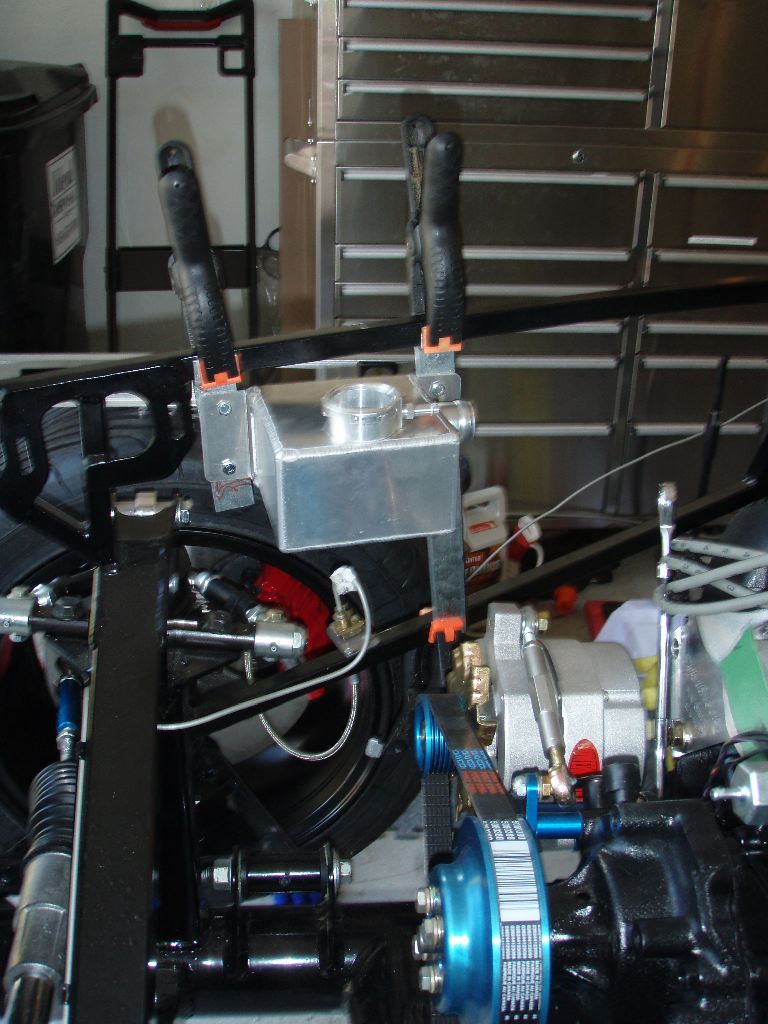
The radiator in the car does not have a radiator cap on it — unlike most cars, the filling has to be done remotely. I have the Fortes Degas tank which mounts on the passenger side of the engine bay to fill the system. Getting it mounted was the next step.
The radiator hoses come out the top of the engine, into the degas tank, then jogs through the F-panel into the passenger wheel well and then into the radiator. In theory the tank could probably be mounted directly to the F-panel but it seemed like a poor support for it. Instead I decided to fabricate a mount using the leftover steel from making the brake reservoir mount.
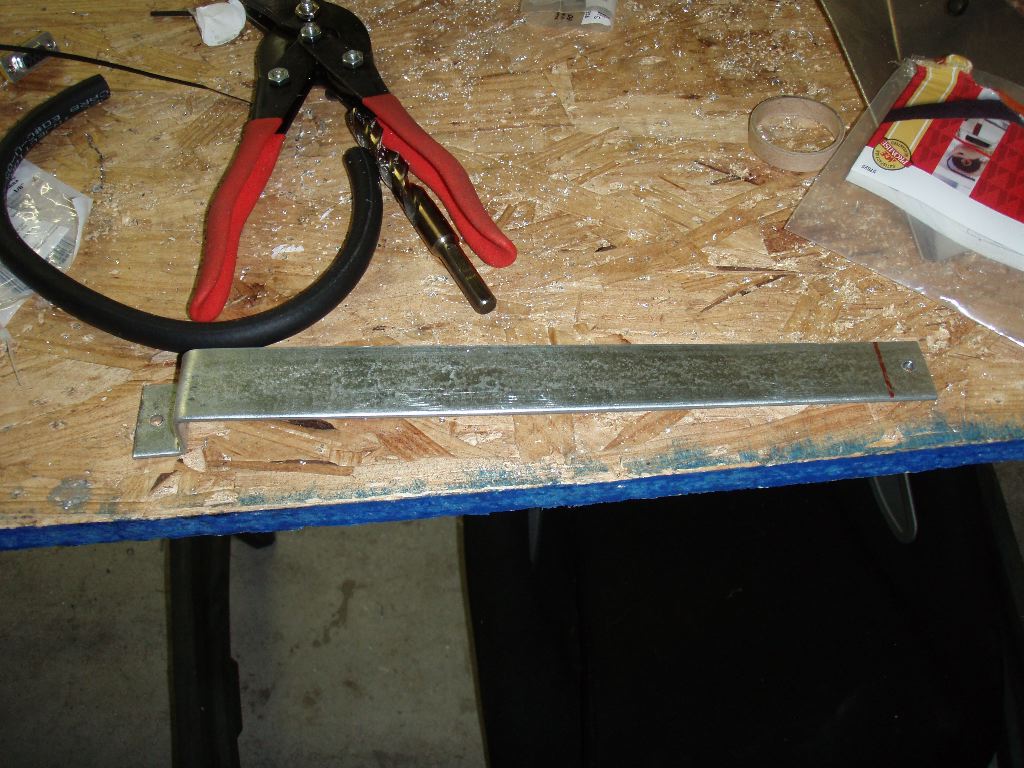
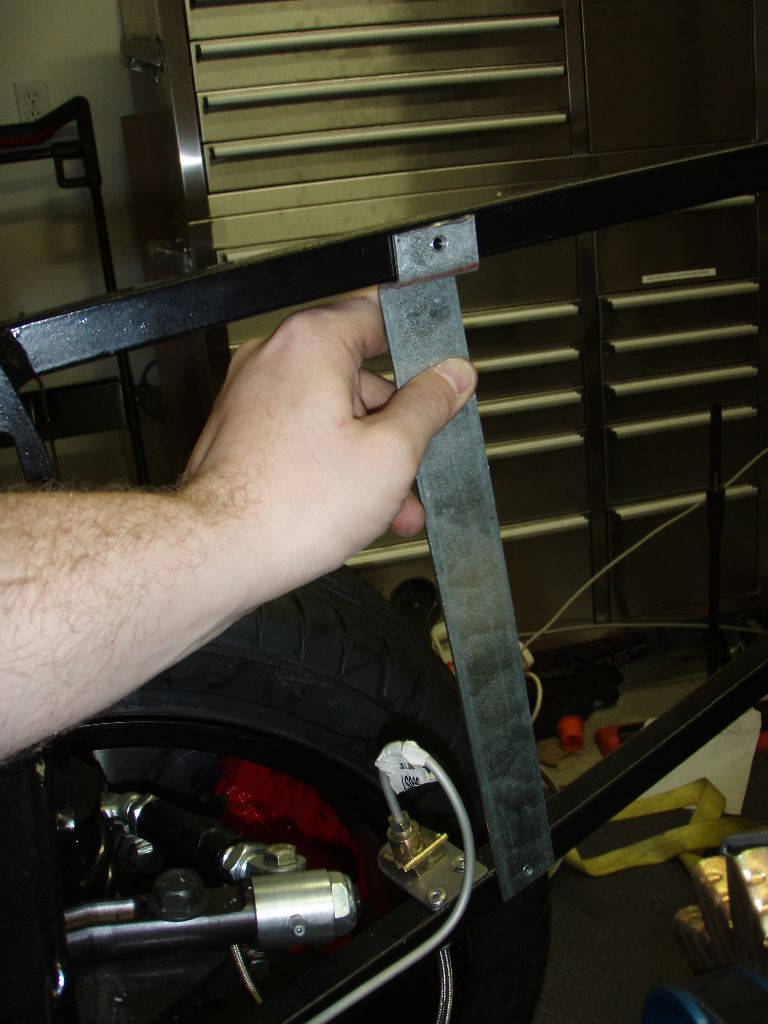
The brake fluid reservoirs used a solid panel with a vertical support to hold it in place. I needed to position this farther forward in the car and right against the F-panel. A steel plate mounted behind the frame would’ve moved the F-panel, and one in front puts the degas tank too far into the engine bay. If I had a large metal brake, I would’ve made a panel that curved around the 3/4″ steel tube at the top of the engine bay, but I had to do the best I can with what I had. The strips of steel I could bend in a vice with a big hammer. The photos above show the bracket I fabricated.
This holds the right-hand bolts on the degas tank. To hold the left, I couldn’t run a long mount between frame members because of the routing of the brake lines. Instead I made a shorty one that was basically the top half of the right mount.
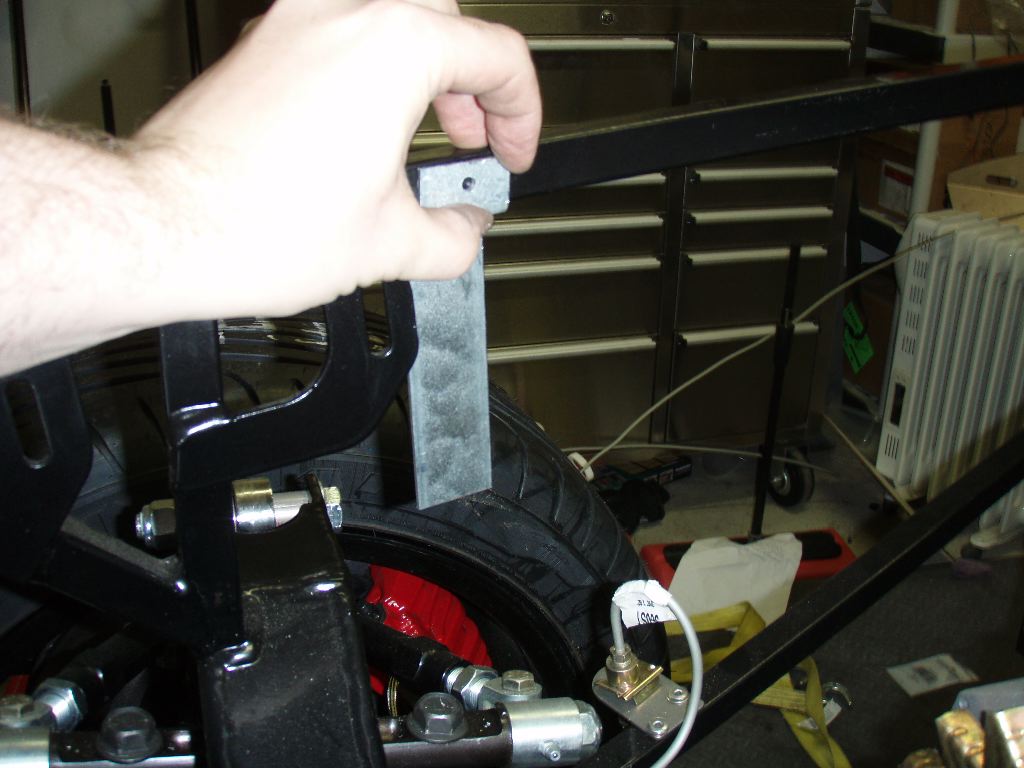
I painted the parts today, but it was a nice day and I decided to go out and enjoy it. I’ll get these bolted up and mounted this week, but here are the rest of the photos of it mocked up in the car.
