The Powerjection 1 (formerly Boss-EFI) system showed up last week, finally. Between that and the dash gauges finally showing up on Friday, I was in a good position to start making more progress again. As always, I didn’t get nearly as much done as I would’ve liked, but I did make some progress.
The first thing I did, after unpacking all the parts and getting familiar with the installation was to install the coolant temperature sensor. Unfortunately I remembered I did that first as I’m typing this and didn’t get a picture of it. I had been concerned I didn’t have enough places in the water jacket for all the sensors I needed — since I’ve got the radiator fan sensor in the de-gas tank and had two more I needed mounted (one for the Powerjection system, and one for the dash gauge). Thankfully there were two openings in the intake manifold.
Once that was installed, I installed the carburetor studs in the intake manifold. I had bought them last night based on sizing information I found on the FFCobra forum. Unfortunately they were at least a quarter inch too short, so out they came and I made a trip to Autozone to get 2.25″ studs.
A quarter inch thermal insulator and gasket came with the system to go between the “carburetor” (fuel injection unit) and the intake manifold. On top of that went the injection unit itself. The unit itself is impressive. I opted for a cast (rather than polished/machined/etc) one to save money. The core of it is a four-barrel 750cfm throttle body, which has four fuel injectors installed on the side. The fuel lines, fuel pressure sensor and other mechanical bits are hidden within the unit, so it really looks like a carburetor. Fully programmable, 21st century and looks vintage. Expensive as hell, though.
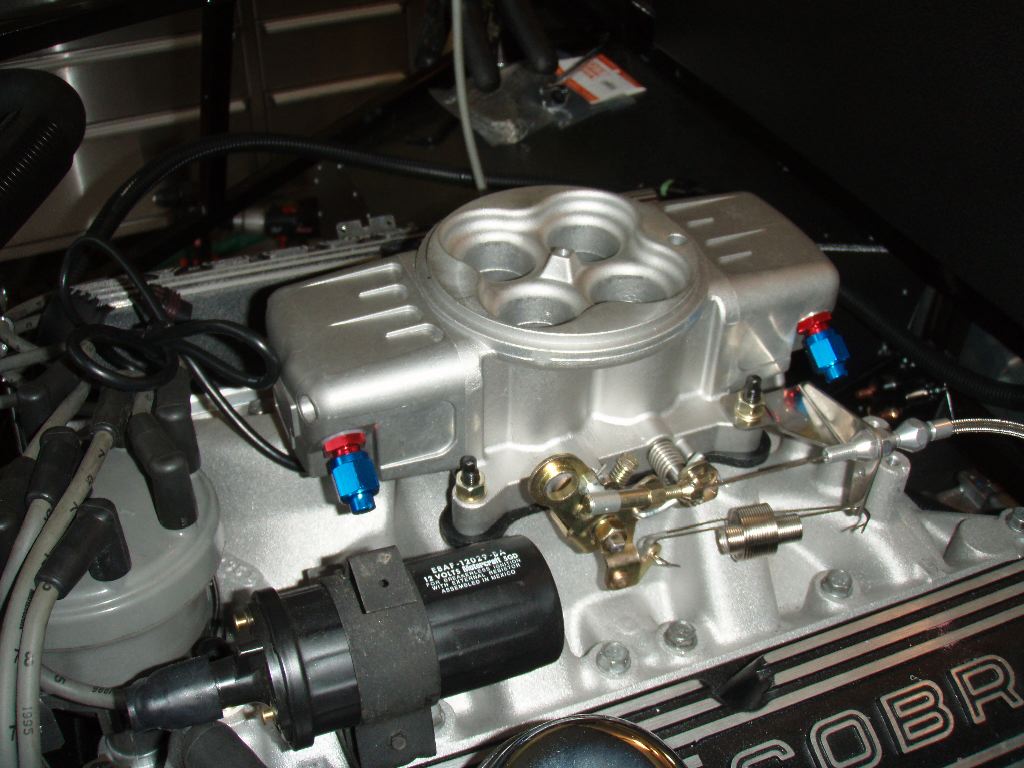
On the side of the unit, a standard carb throttle linkage attaches, which in turn opens the butterfly valves in the throttle body.
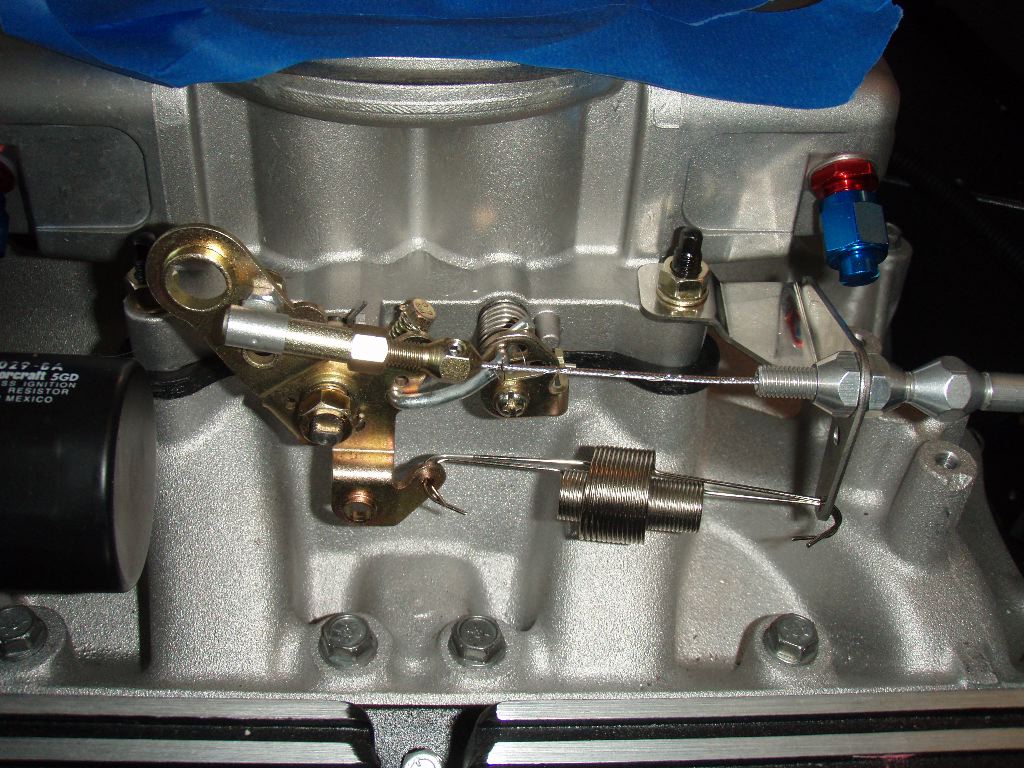
In this closer up photo, the cable can be seen attaching to the unit. Unfortunately I had the cable fray while installing it, so I have to buy a replacement inner cable. Its only $25 but I was not happy. I pulled off the frayed strand and installed this one anyway so I could effectively measure twice, and cut twice to make sure I have the length right.
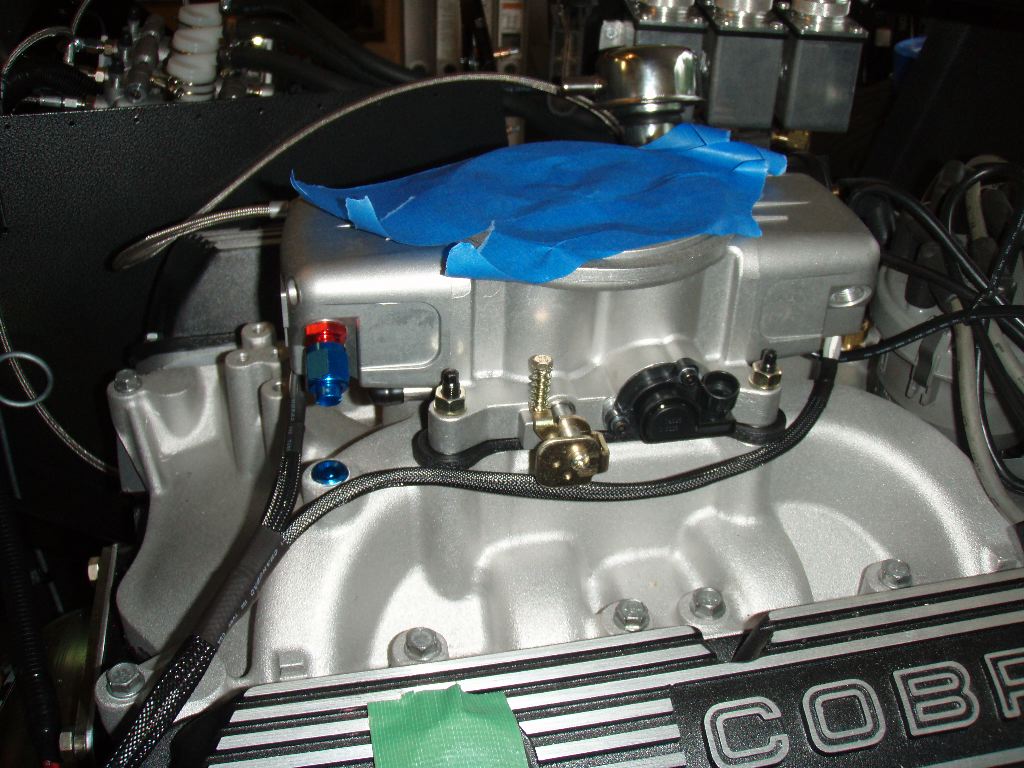
In the first photo above, the two blue aluminum caps cover fuel inlets. On the other side there is one fitting and an open fuel feed location. I’m going to move the cap on this side up to the front of the throttle body. I had to order the correct fitting for connecting the fuel pressure regulator to the unit. I should have it late this week or next week. The Powerjection unit can take fuel at any of those four points (or pairs of them). There’s a hidden cross feed within the unit so I only need to run fuel to one, however.
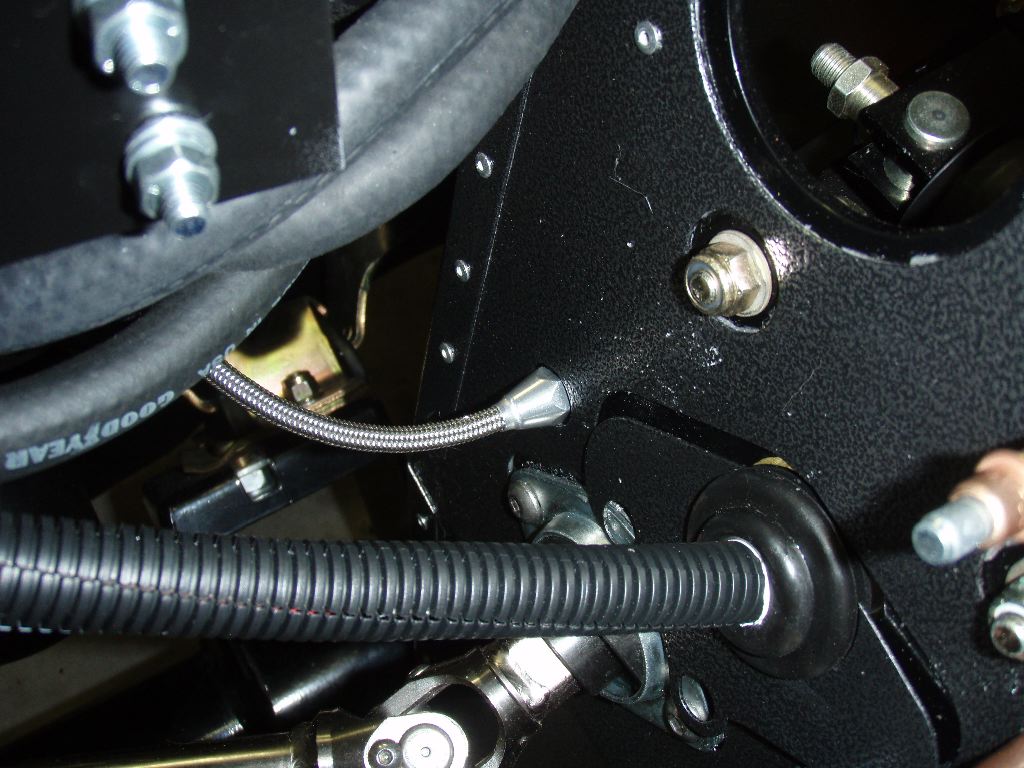
The throttle cable exits the front of the footbox and clips to the gas pedal. I put a seat in and tested the pedal positioning — I think they’re going to be okay, although I don’t think it’ll be possible to heel/toe in this car. The pedals are too far apart. (Actually Breeze bent the pedal to make more room and I wish they hadn’t because it put the gas pedal too far to the right…)
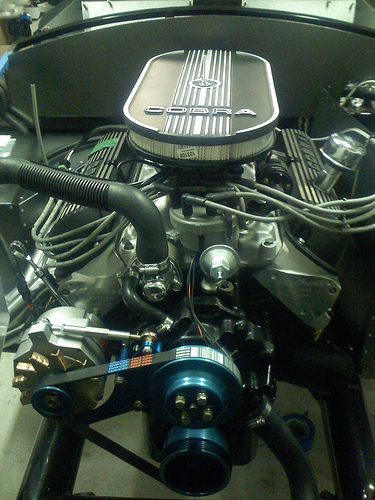
I took a minute and threw the air cleaner on to get a view of the engine when its finally all buttoned up. Sorry for the quality — I shot this one with my phone and its up on my flickr, its not saved on this site.
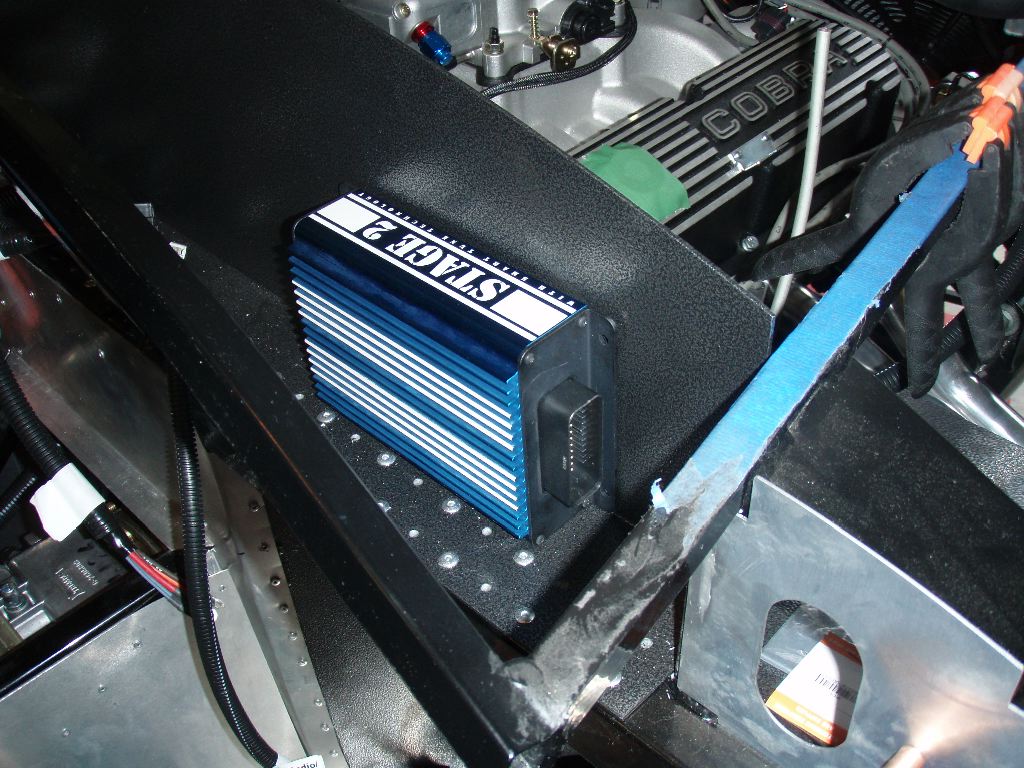
The ECU mounts behind the dash. I played with positioning, but I think if I mount it before fabricating the parts for the heater core, I’m going to end up being unhappy because things don’t fit. I may need to bump up the timing on that, or perhaps run the ECU wiring into the drivers footbox and putting it behind the drivers side dash.

While I was in there, I removed and re-attached the fluid feeds to the brakes and clutch — they weren’t quite right before and I wasn’t happy with them. The o-rings had shifted slightly and I was worried they’d leak. I used a little oil to lubricate them this time and had no problems.
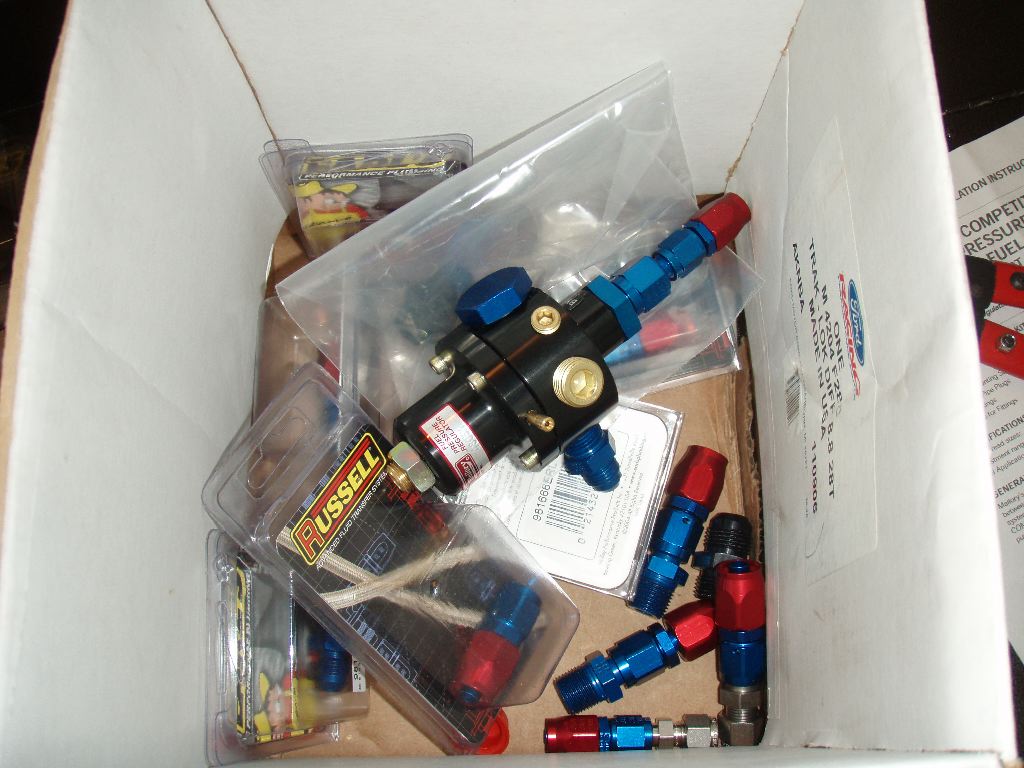
I also stopped and took inventory of all the bits that Mike Forte had sold me for my fuel system. Its a bunch of stuff I don’t need and a couple things I did need that are missing. I have way too many hose ends, although maybe I can use those and the leftover hose to dress up the fittings in the rear or something. He also didn’t include the -8AN adapter I need to get fuel INTO the fuel pressure regulator. One more part to order.
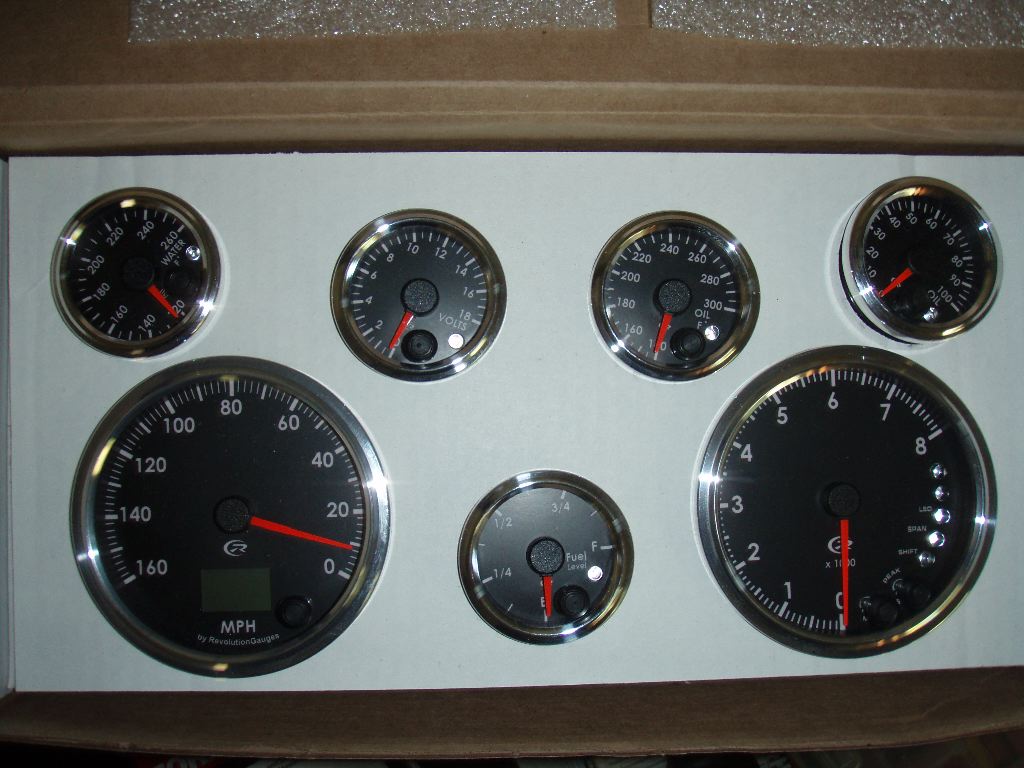
Last thing I did was start to look at the dash and gauges. Its unclear how much of the harness that I bought from Factory Five I can use with these, which is strange because these gauges are just a higher end version of the new ones they sell. Some cutting and soldering may work. The gauges were custom made by SpeedHut.com for me with the lighting, font and color combinations I wanted. I also had a custom made reverse rotation speedometer (lower left gauge in the photo). Its got a full trip computer. The tach has a programmable progressive shift light, too.
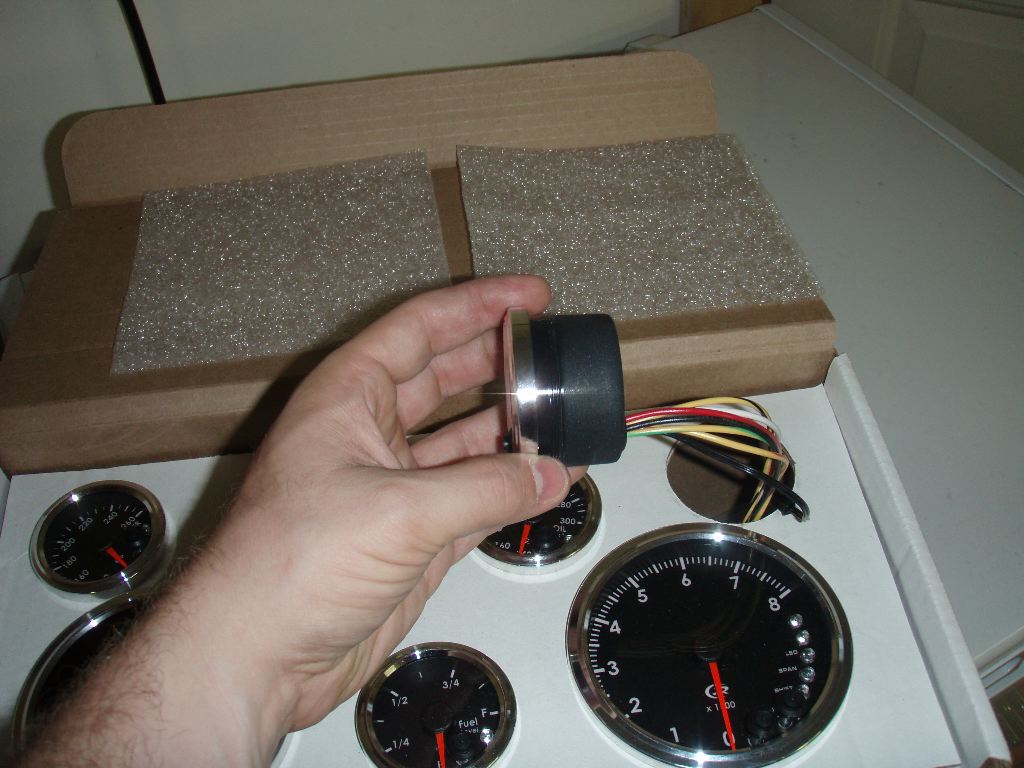
One of the best part of these gauges is their size. All seven are the same thickness as the one I’m holding in this photo, and none have any cables coming out of them. This makes for a LOT more room behind the dash, and I can probably get creative with heat/fresh air ducting as a result.
I’m going to plug away as best I can this week. I’m starting to think I really need to try to find a local builder who is willing to come up and work with me here for a few days or a week in July to get over the hump and get the car drivable. Its close — mostly just details here and there now.
I’ll see how that search progresses. This week I intend to get the fuel lines all run, and get some of the real wiring in.