Yes, I know its been almost a month since I posted an update. This post comes just in time, as I was just about to pass a month since the last post. So why the long delay? Well, its been a combination of being busy with summer, being stressed out at work, and struggling with more problems finding parts I need.
I have gotten some work done, though. Read on for details …
While it may not seem like much (and really isn’t much) July was spent working on the battery wiring. The goal was to get the battery box wired up, get the remote battery terminals installed, get the master disconnect switch installed, and get the wiring run to the front of the car. This should’ve been an hours work, maybe two, except for problems I kept running into.
The first problem I ran into was the discovery that most guys seem to have their master disconnect switches wired up incorrectly. They are using the switch either as a safety switch or a security device, neither of which is served the way most people seem to have it wired (and frankly the way Breeze seems to intend it to be wired given the parts they include with their kit). The problem basically amounts to where they have the alternator wired. Typically the battery and alternator meet on one side of the starter solenoid with the master power feed to the car. This delivers battery power to the car and the starter and power from the alternator to charge the battery and power the car.
Typically people wire the disconnect into the battery line. Makes sense, that cuts power from the battery to the rest of the car. The problem is, doing that means you have no security benefits AND no emergency shutoff benefits. Why? Start the engine and turn the switch off… the car keeps running because the alternator provides power to the car. Your battery won’t charge but thats pretty much it. If someone wants to steal the car, the power may be shut off but because the alternator is on the engine side of the battery cutoff switch, a bad guy can push start the car. Whoops. Not good.
The disconnect needs to switch power to the car, but the alternator charging line needs to be on the battery side of the switch. Turning the switch off then prevents both battery and alternator power from getting to the car.
The problem? Not enough cable to do two high-current runs from the back of the car to the front. Additionally the Ron Francis wiring isn’t set up right to do this (and frankly has undersized alternator wiring anyway!)
It took several weeks of looking around to find a local source of 4 gauge wire. Unfortunately I kept thinking it should be easy to find and didn’t just get online and order some. Live and learn.
So, the progress. First things first I drilled the hole for, and installed, the disconnect switch. I had pre-drilled the battery disconnects prior to powdercoating, but hadn’t decided where I was going to put the disconnect until recently.
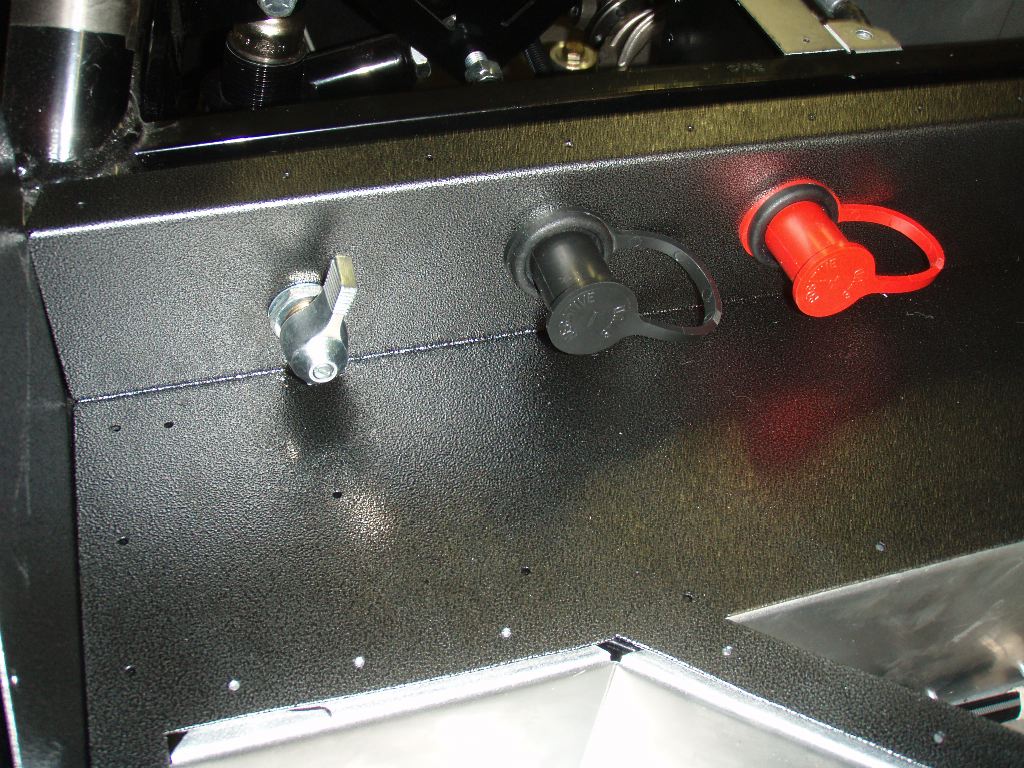
Putting the switch in the trunk means I can’t shut the car off from the cockpit but it makes a more effective security device. (And its not the only one in the car — the others will not be posted on here!)
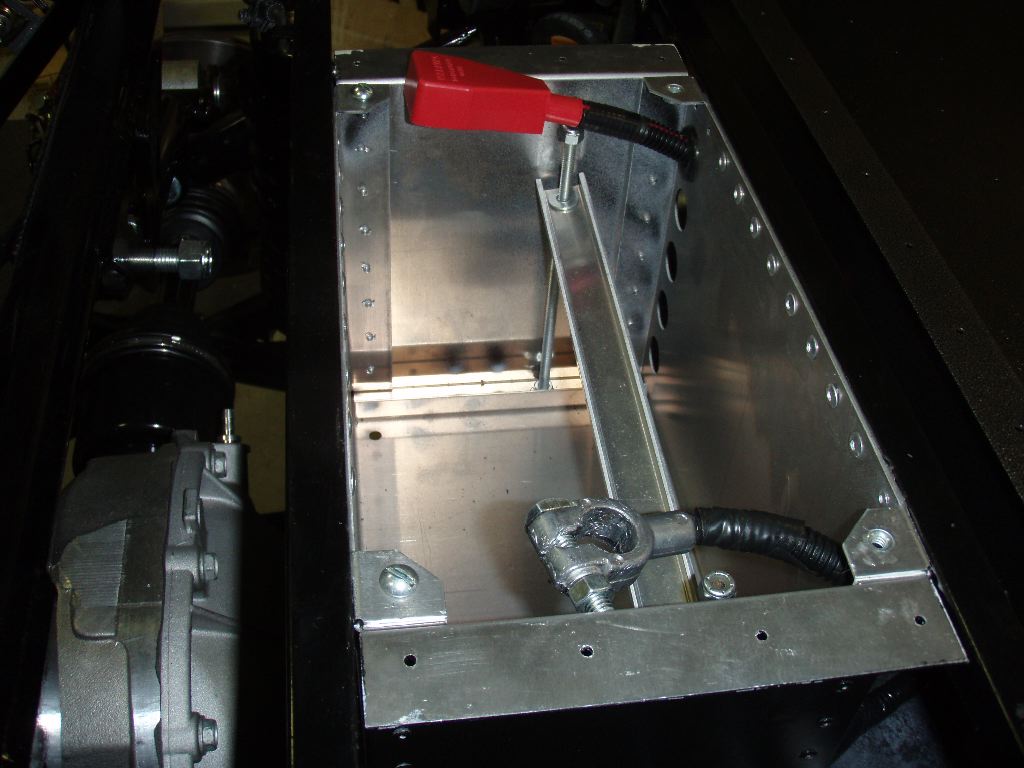
The next step was installing the battery cables into the battery box. They come out the rearward side, which is a little cramped but keeps the wiring out of the way of where I’m guessing I’ll have amplifier wiring going.
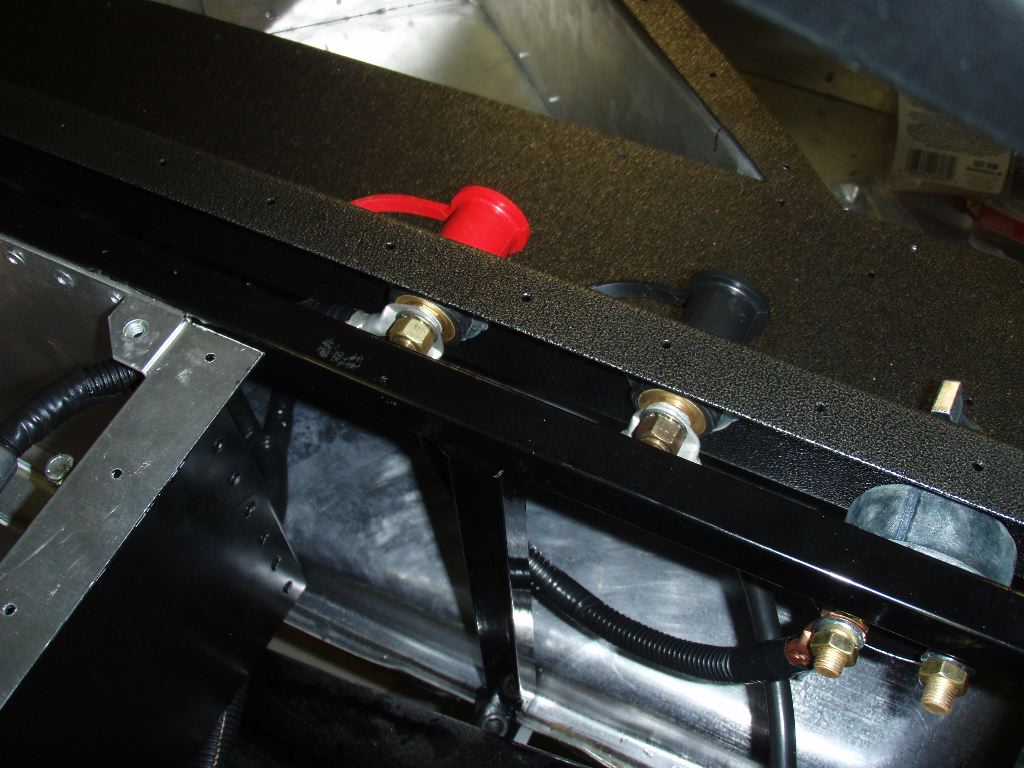
The ground and hot lines run first to the remote charging terminals. Because the battery is under the trunk floor, this is how one would jump start or charge the car. The hot side then is jumpered to the switch on the right of the photo.
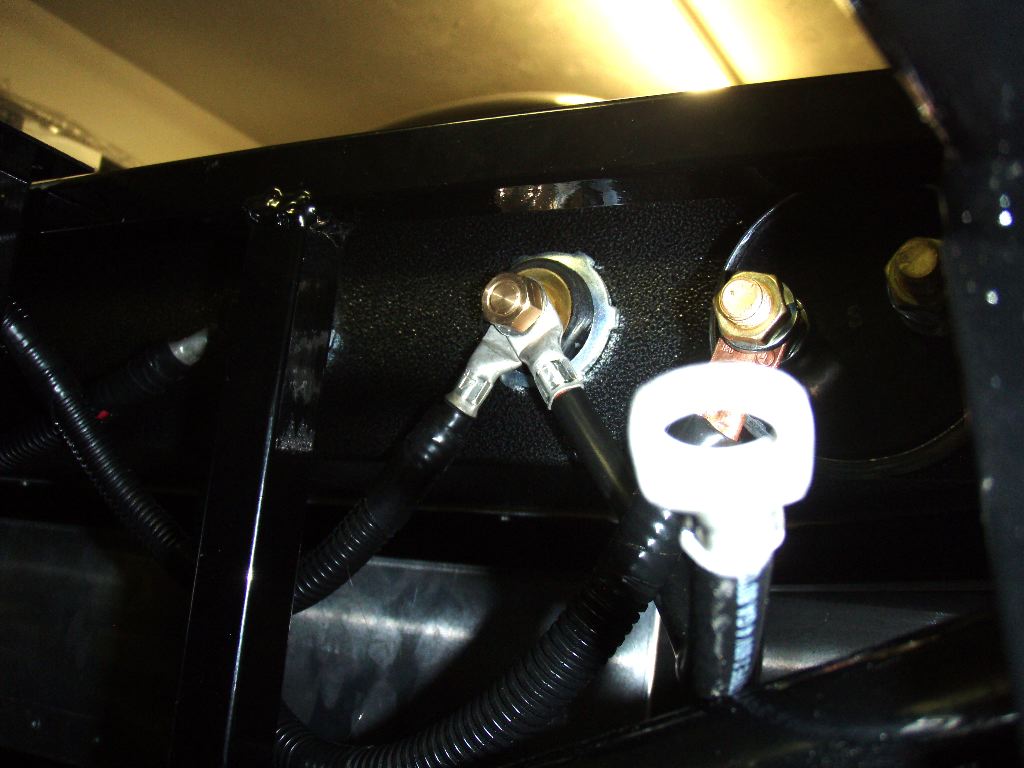
A better view of the back of the terminals and the disconnect switch. The cable in the foreground is the primary ground for the car.
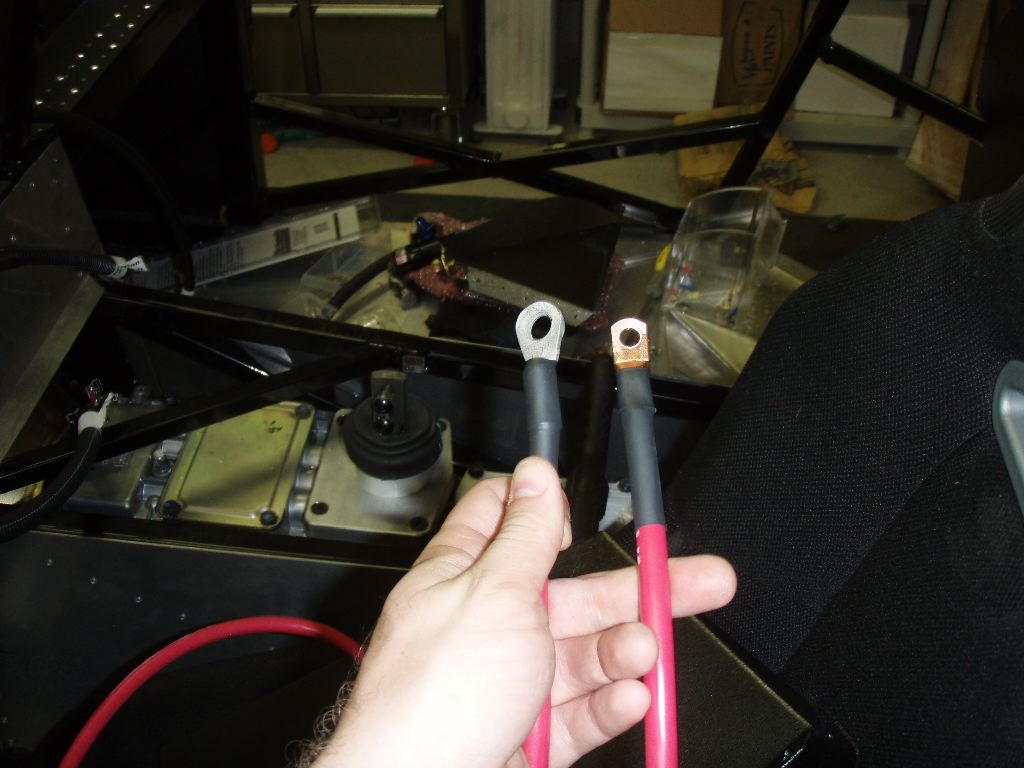
All of the cables were custom made with crimped on connectors. This is the primary power feed from the switch to the starter solenoid. The connectors are crimped and then covered with heat shrink tubing, and then covered in wire loom.
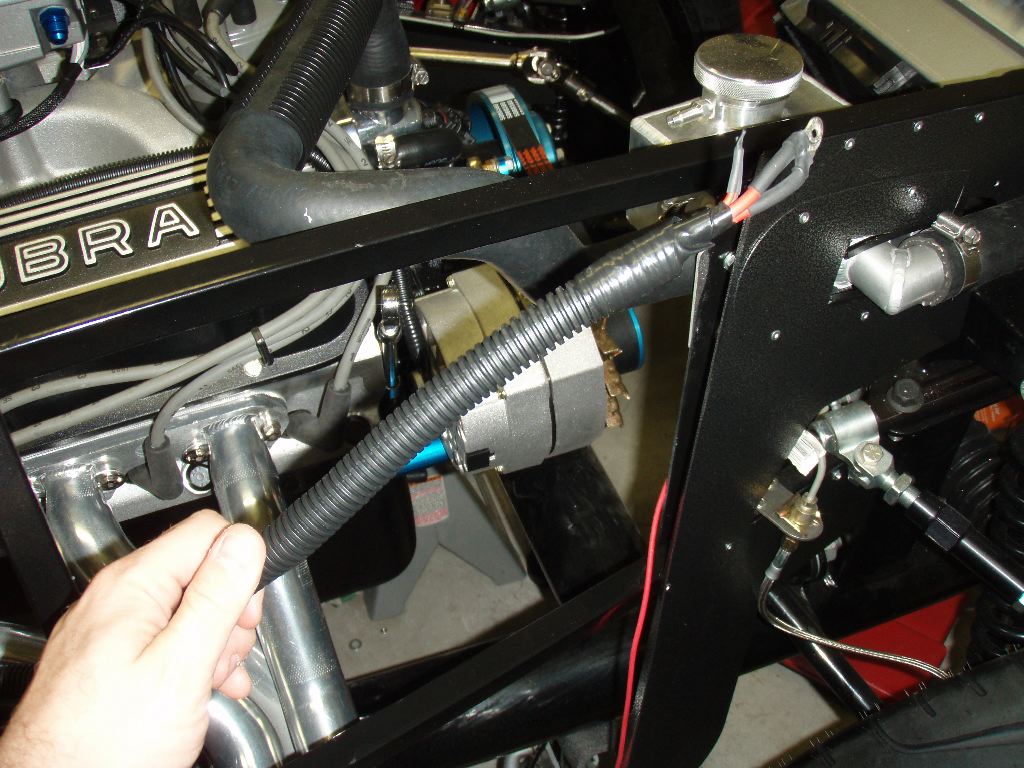
This is the original alternator wiring in the Ron Francis harness — this basically runs into the dash and back out to the starter solenoid. I will pull these cables back out. I may leave them intact and disconnected in the harness or may just cut the unneeded wires, depending on space behind the dash.
Instead of these I needed to run a 4 gauge line from the alternator to the switch. This may seem large, but I’m planning on having a 1000 watt amp in the trunk and could easily overheat a 6 gauge line from the 135 amp alternator.
The line is from home depot and is actually 4 gauge primary wire meant to connect service power to a switch panel. Its a big inflexible but works.
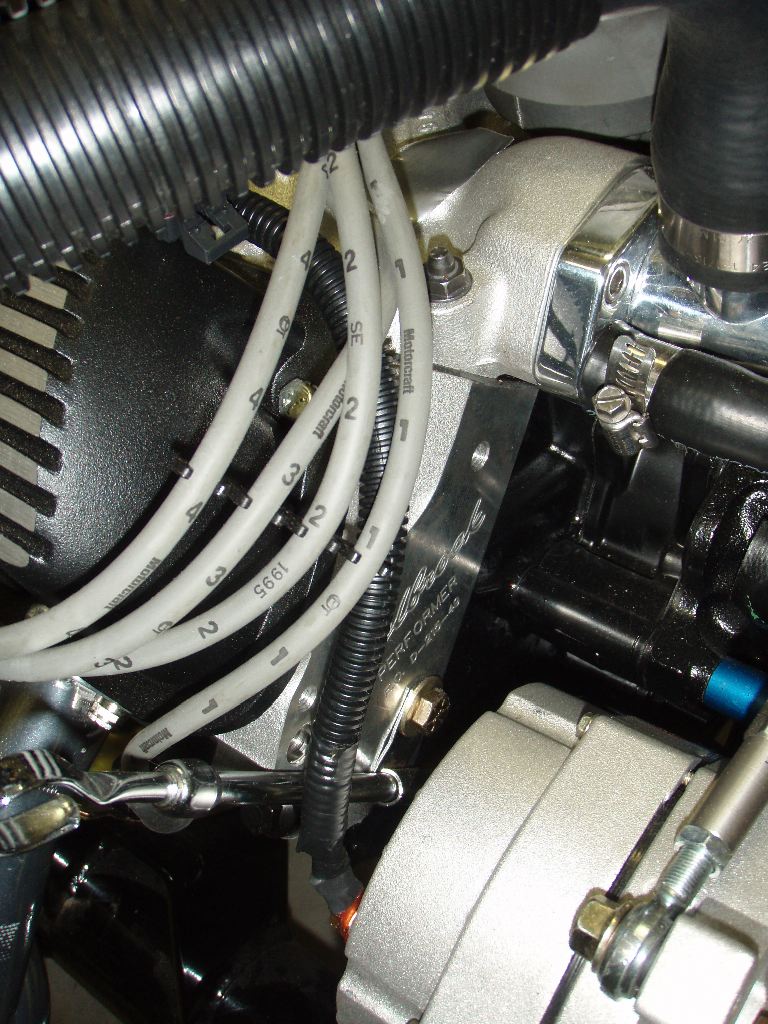
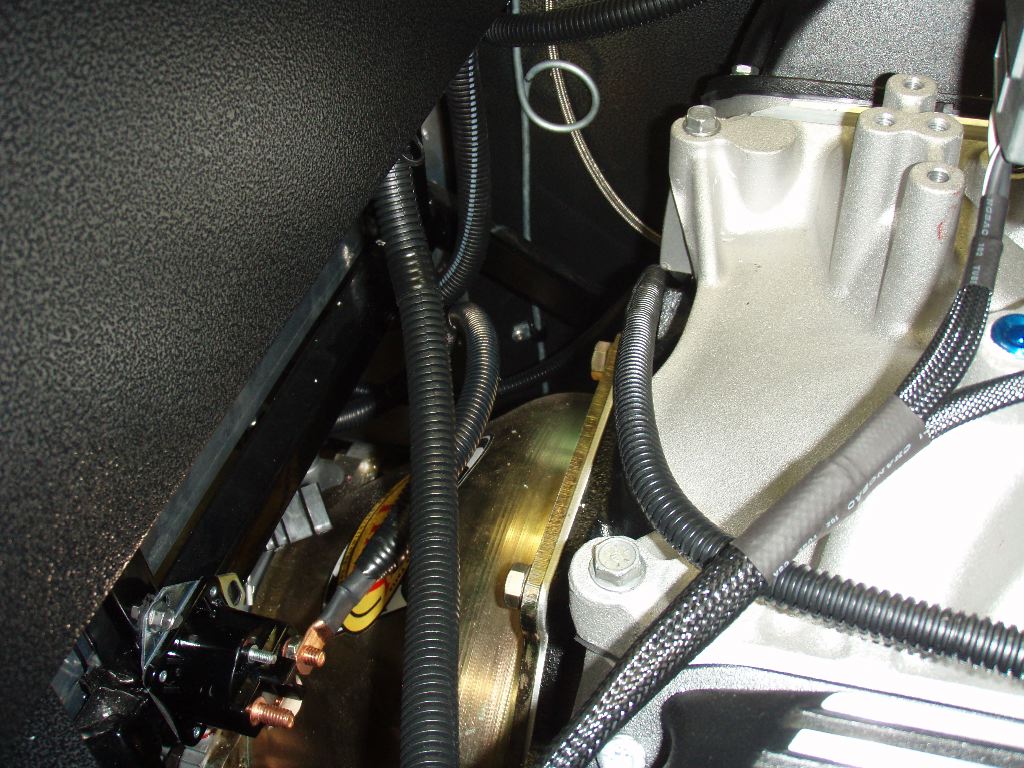
The same crimp-and-heat-shrink was done on this cable. One end attaches to the alternator then runs along the top of the intake manifold. Running it here keeps it both out of the way of the headers and looks better than running it down the front of the engine.
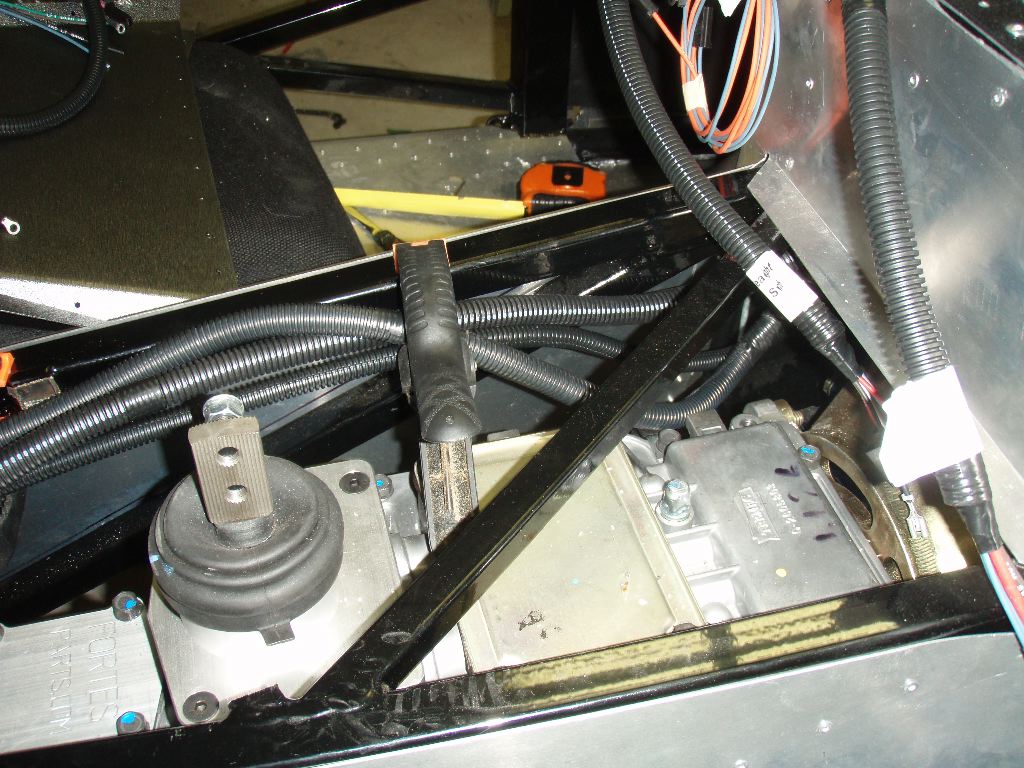
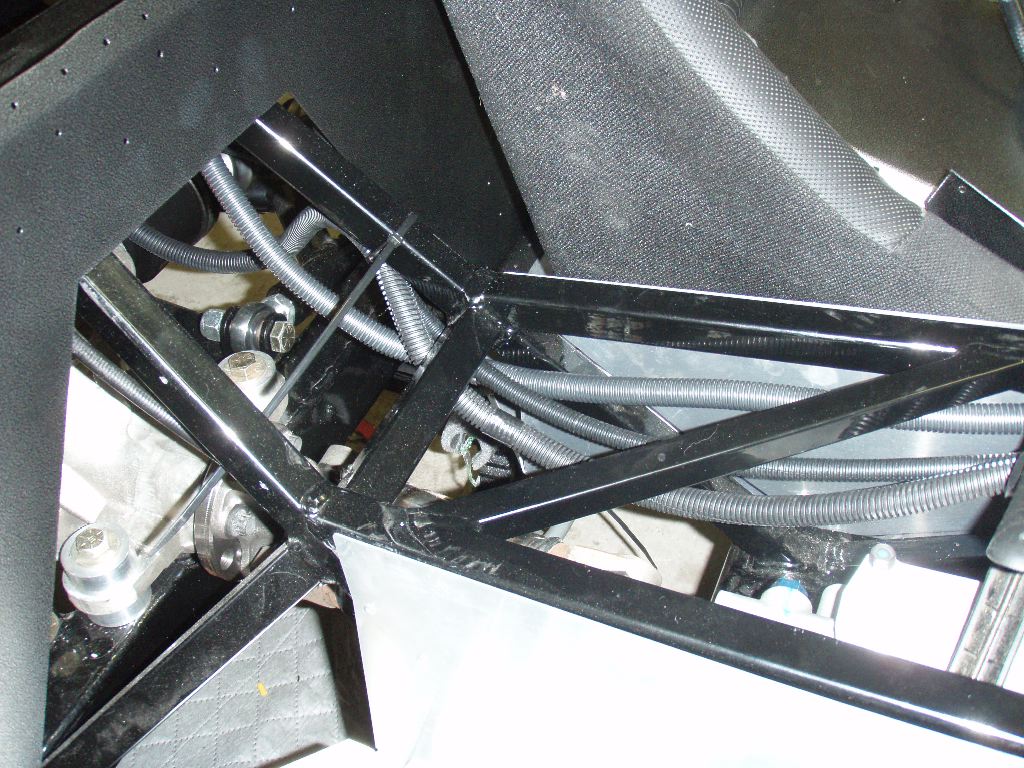
From there it runs along the top of the transmission tunnel. In this shot there are three wire bundles visible — the power line, the alternator line and the rear wiring harness all run together. At the back of the transmission tunnel they run up above the suspension and IRS cage to the rear of the car.
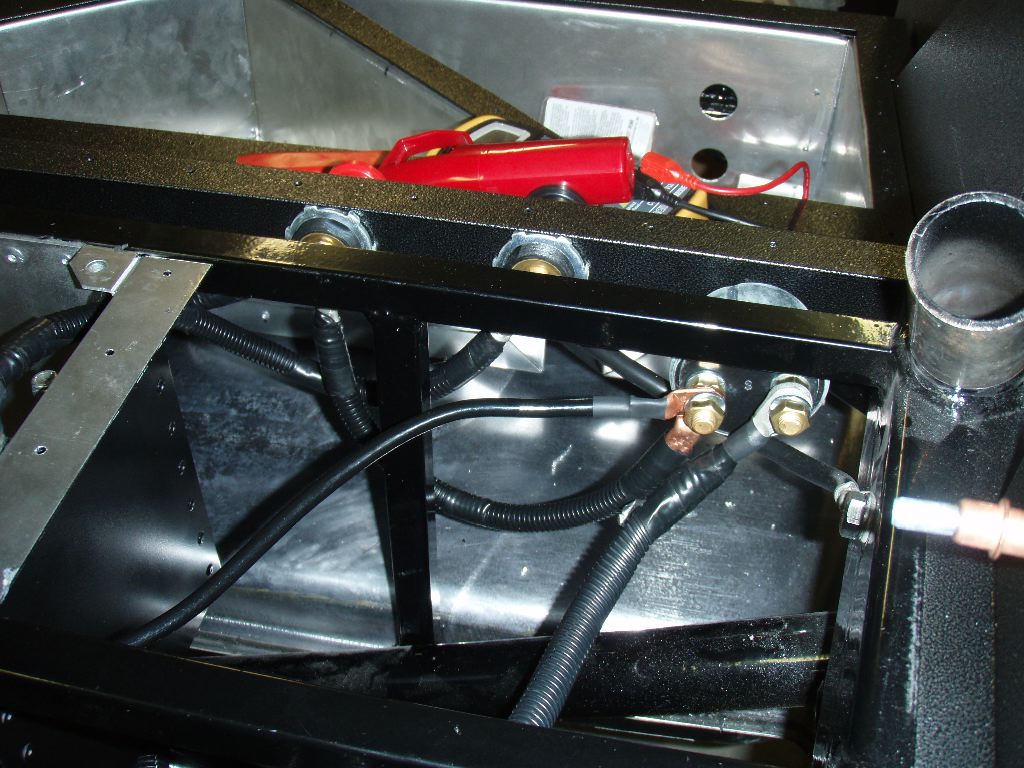
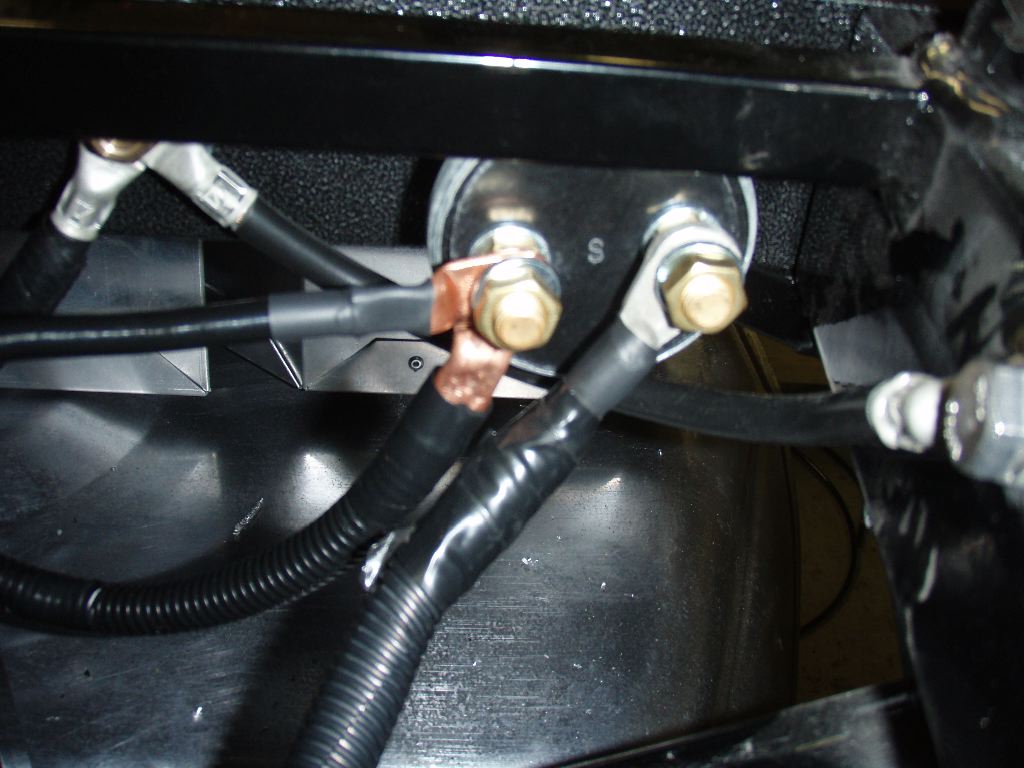
In these photos, the feed line from the battery and alternator can be seen on the left of the switch. The right terminal goes to the solenoid at the front of the car.
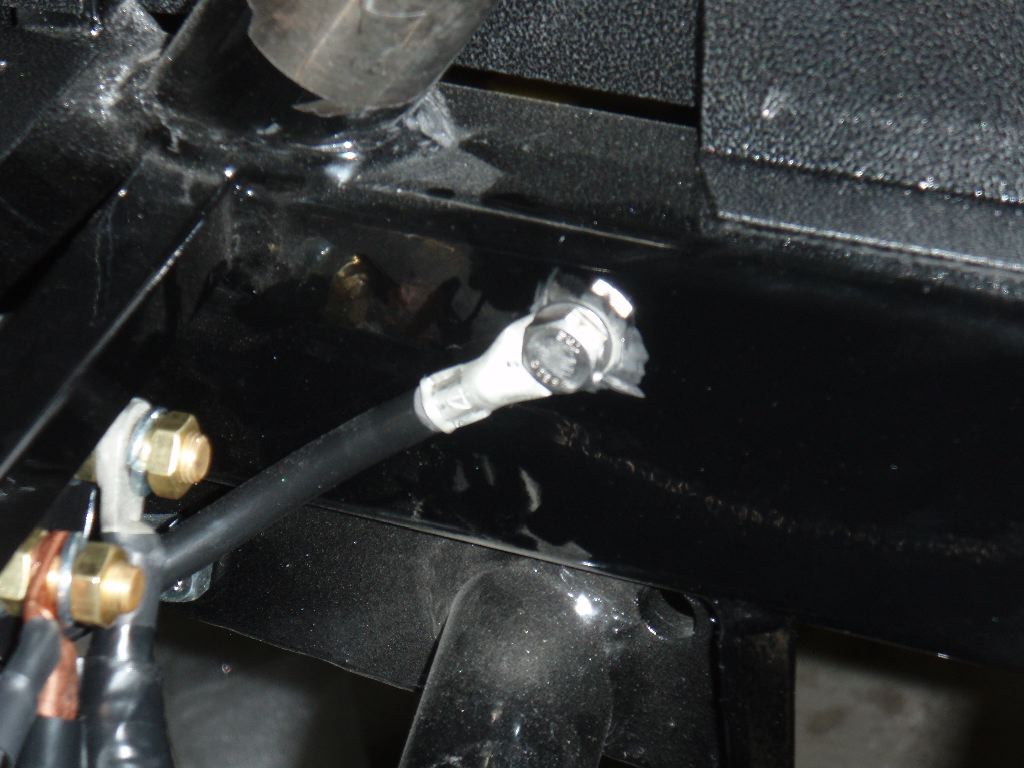
The ground runs from the ground terminal to the frame of the car above the rear suspension. The bolt hole is drilled and tapped and the ground strap is bolted into the car. This probably should be mounted with a RivNut but I haven’t bought a RivNut kit yet.
Its become clear this month that my goal of having the car drivable and street legal before winter just isn’t going to happen. Originally I was hoping to get a builder in with me for a week to move it ahead, but work has been too busy to take the time off. At this point I’m not sure even a week would make a big difference. I’m rethinking how I want to proceed. I may, instead, get someone to help me a day here or there to just get it moving ahead and try to get the car “done” by spring. It may mean driving next year unpainted, but that’s life. Driving it unpainted is better than not driving it at all.