I spent a few hours yesterday again working on the wiring for the dash as well as the rest of the car. I got the Molex connector onto all the sensor wires and finished up the gauge wiring in the dash. The harness from there to the rest of the car I haven’t started yet, but probably will today.
I didn’t get any photos of the back of the dash, but I will next time I take photos of that work and I’ll post what the final bundle of sensor wires looks like. I did get some photos, and did some other work as well, so read the rest of the post for details.
I spent about an hour mocking up the headlight installation, as well. The headlights I’m using are the Osram Xenarc H1 HID lights I removed from the 911 before I sold it. These are (grandfathered) DOT-legal HID lights, which I really liked having on the 911. They get wired fairly differently than a normal headlight, however, and I (of course) no longer have the instructions. I pulled appart the harnesses I’d put together in the 911 and went through the wiring. Basically, I determined that most of the complexity in the 911 wiring has to do with retrofitting the lights into an existing car. As far as I can tell there’s basically a circuit that runs from the headlight switch to two relays, which switch power to the ballasts. From there a special cable carries the multi thousand volt feed to the HID bulbs in the light assemblies. The high-beam wiring works as normal.
To wire this into the car, I’ve removed the low-beam wiring from the Ron Francis wiring harness back most of the way to the footbox. The rest of the wiring I left intact, including turn signal and high beam wiring. I will be mounting the relays close to the footbox, and putting together another harness that runs to the ballasts which will be bolted to the upper surface of the X-member in the front of the chassis. It took some mocking up to determine if the HID power cables going to the lights would reach, but it appears it will.
So… photos. I wanted to determine that my gauge placement is suitable and figure out where I can and can’t reach in the car for switches. For that, I decided to mount both the dash in the car and the turn signal setup as well as the steering wheel.
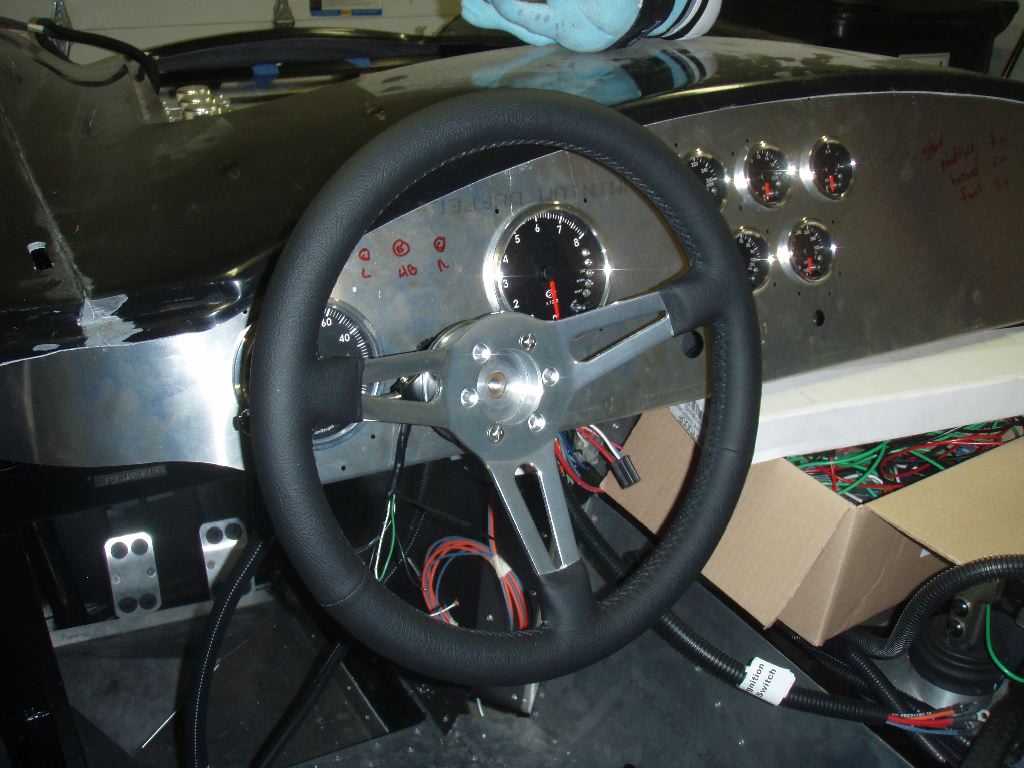
The end result — the car looks even more like a car!
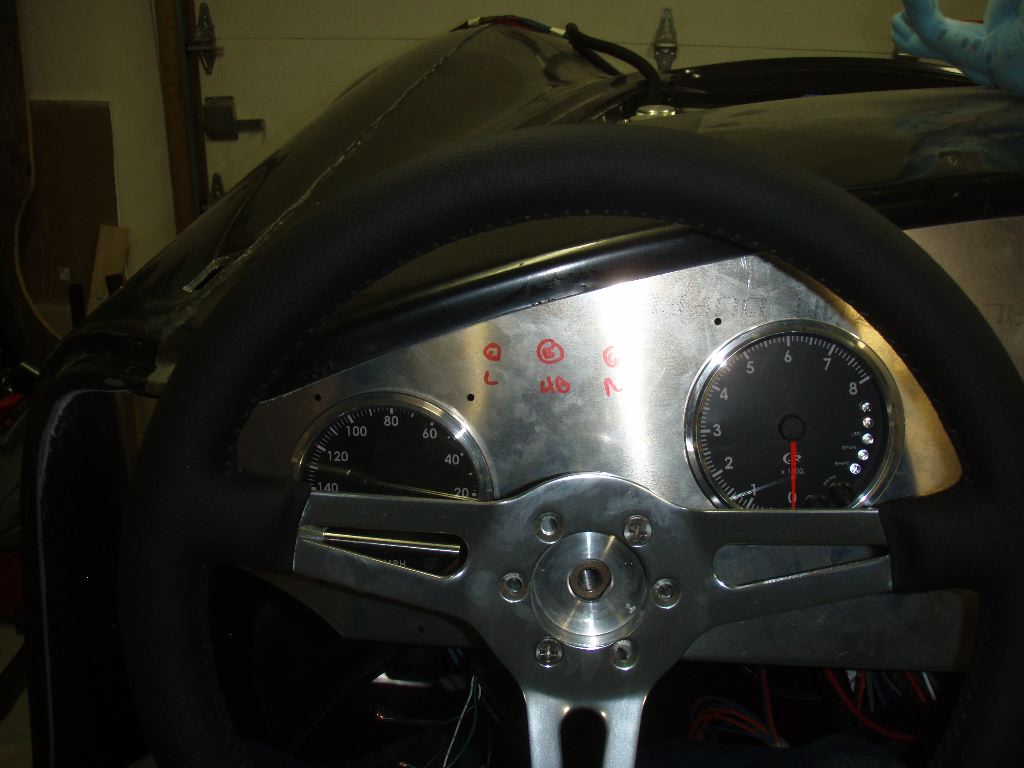
From the drivers-eye view, the gauges are very readable. The speedometer is slightly obscured, but no worse than it was in the 911.
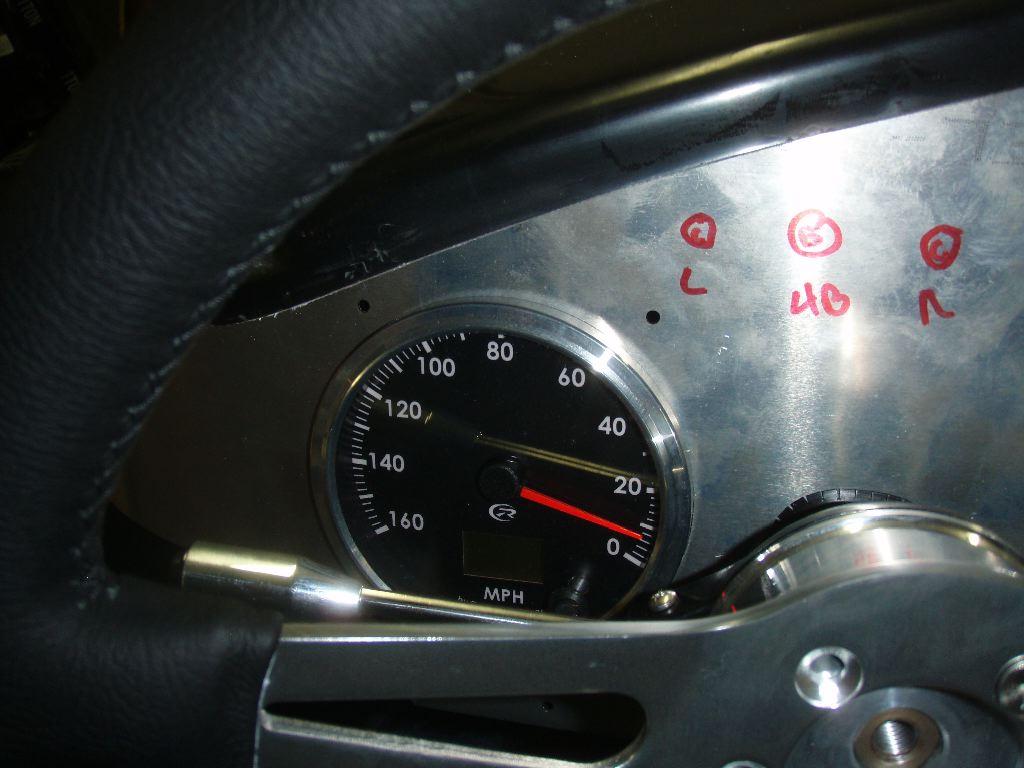
Leaning forward slightly gives full view of the speedometer, as well as its trip computer. Yes the needle isn’t on zero. I’m hoping the gauge isn’t damaged, but worst case if it doesn’t zero when I give them power (possibly today), I’ll ship it to SpeedHut to get fixed.
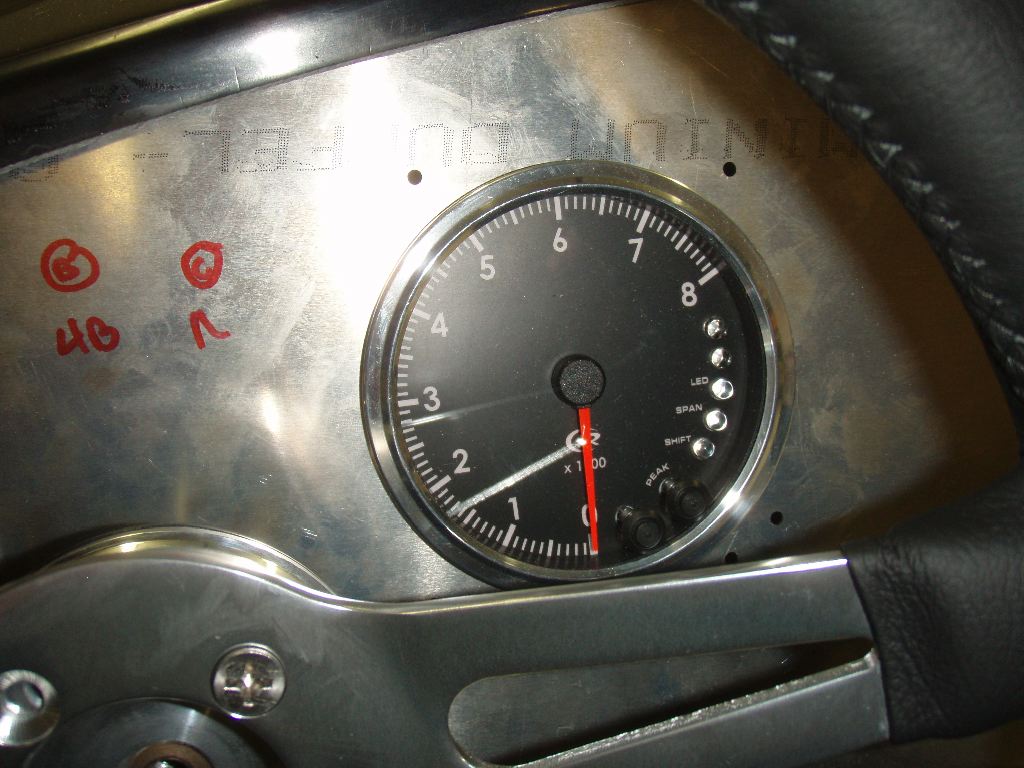
On the other side, the tach is largely unobscured. Thats more important, anyway. In this close up view, the shift lights can be seen on the right side of the gauge.
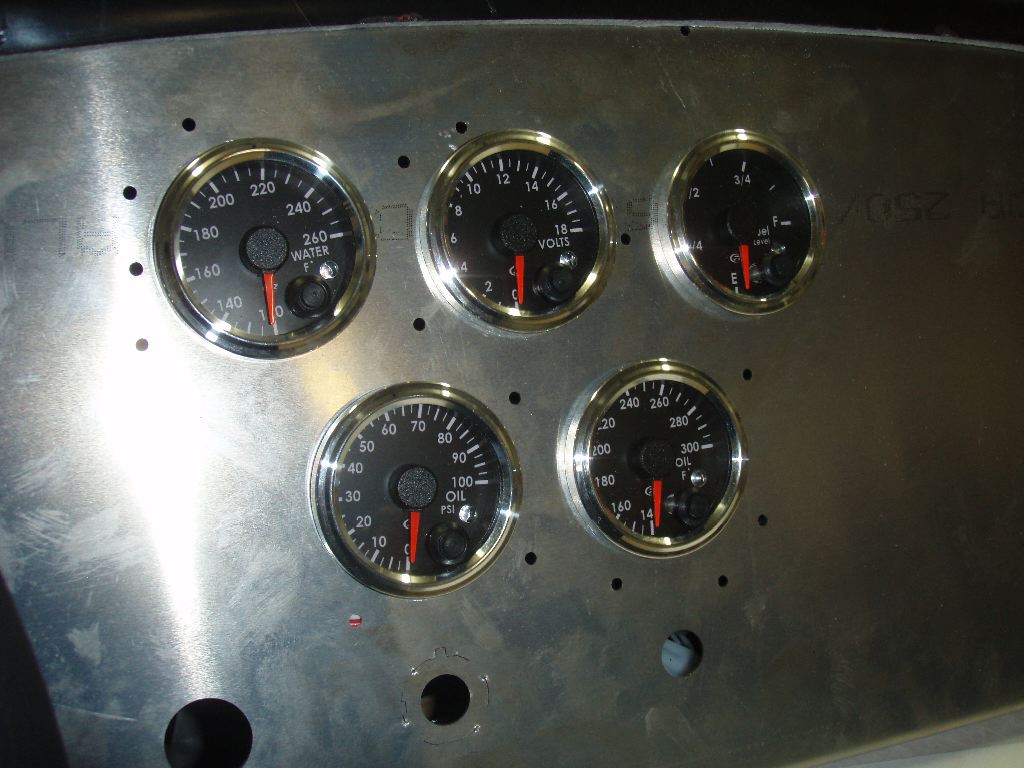
The other gauges are also very readable from the seated position.
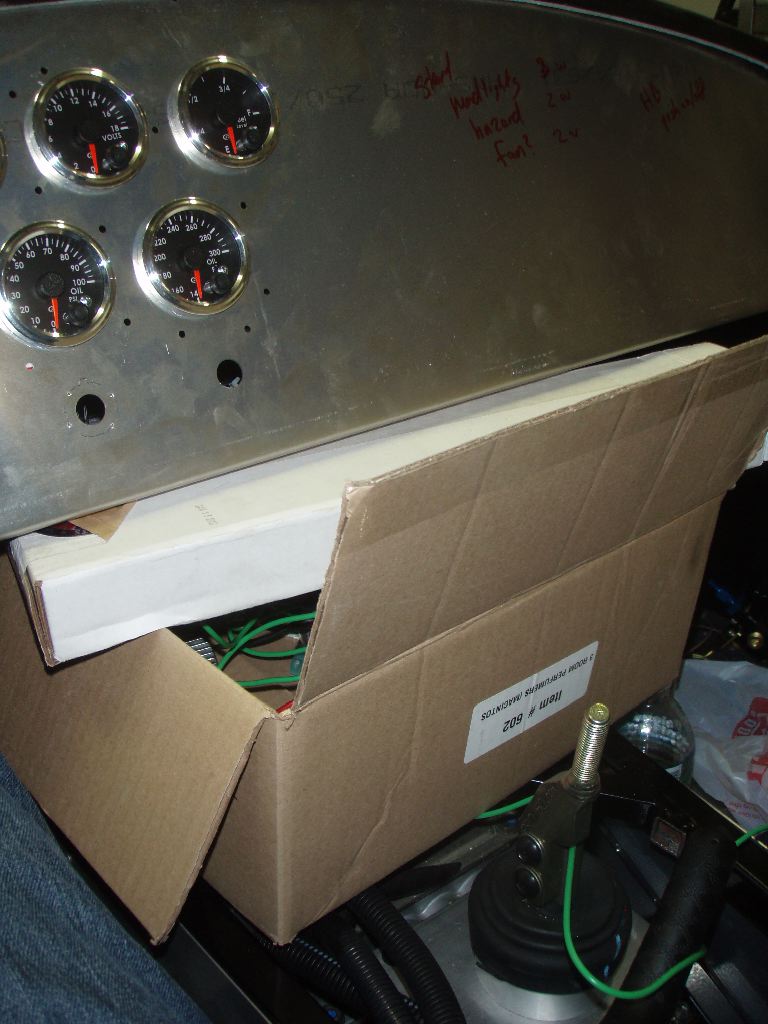
The position of the mid-shift shifter can be seen. The boxes are wedging the dash in the car. (With the body on the car, I can’t clamp it to the chassis as I had before…)
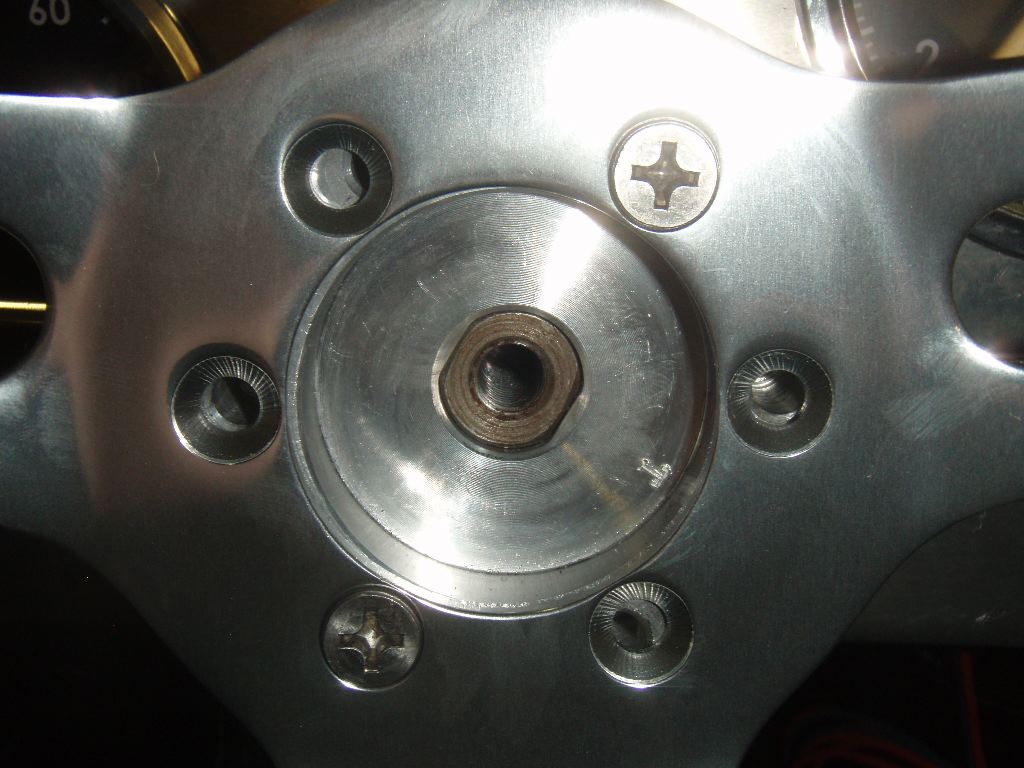
One problem I ran into — the bolt holes in the steering wheel don’t match the holes in the hub. Its unclear to me which of them is wrong. I’m investigating…
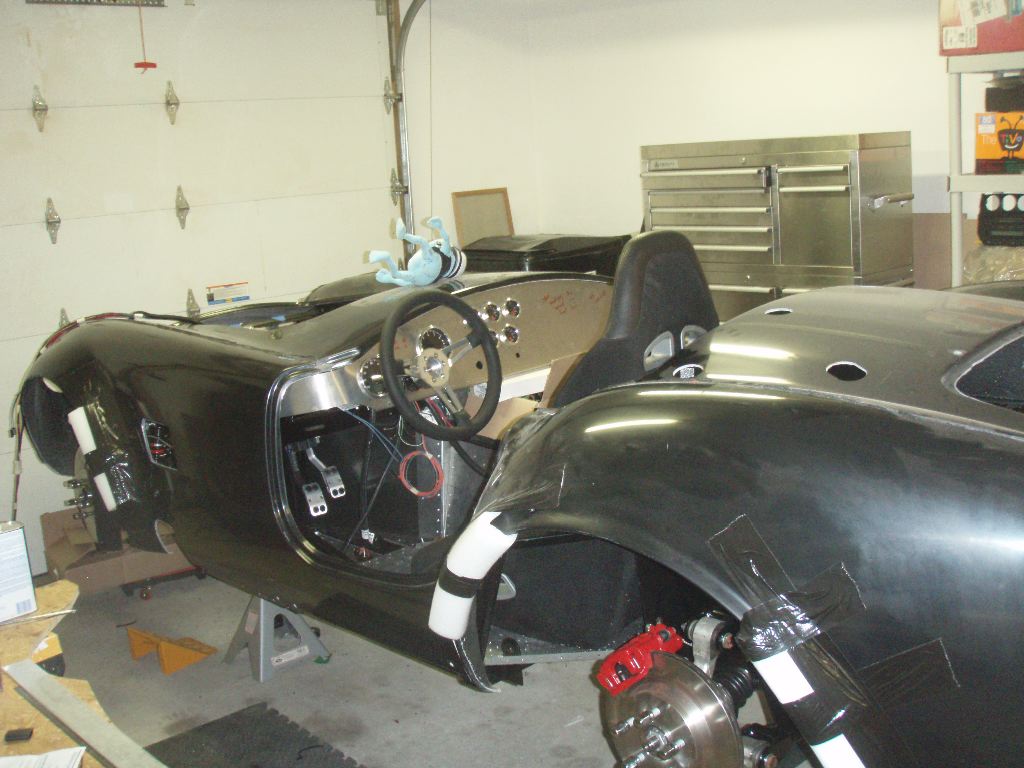
In general, its really starting to come together. Today I hope to wrap up the light wiring, both front and rear. Once I do that, I’ll need to get the body back off the car. Hopefully I’ll be able to get a couple guys at work to come up at lunch and help me this week.
I’ll likely post another post later today or tomorow with more pictures!