Its been two weeks since I posted an update. Last weekend my parents were in town visiting and we spent most of it doing typical New England fall activities like going to apple farms, leaf peeping and things like that. As such, I didn’t really do anything with the car. We got the body taken back off, and I got the alarm / push button start ordered from Digital Guard Dawg.
Last week the parts from Digital Guard Dawg showed up, and I had the push button so I could finish the switch panel. This weekend was equally busy, but I did get some time in the garage today to work on the mounting hardware for the switch panel. Read on for details and pictures …
First off, a few photos of the car now with the body back off:
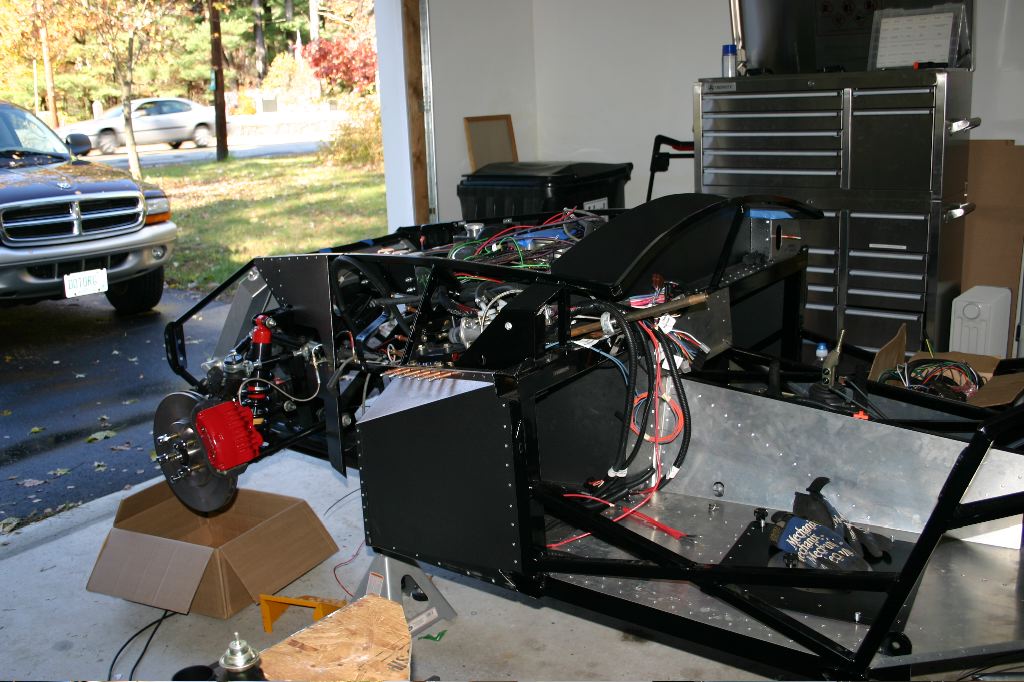
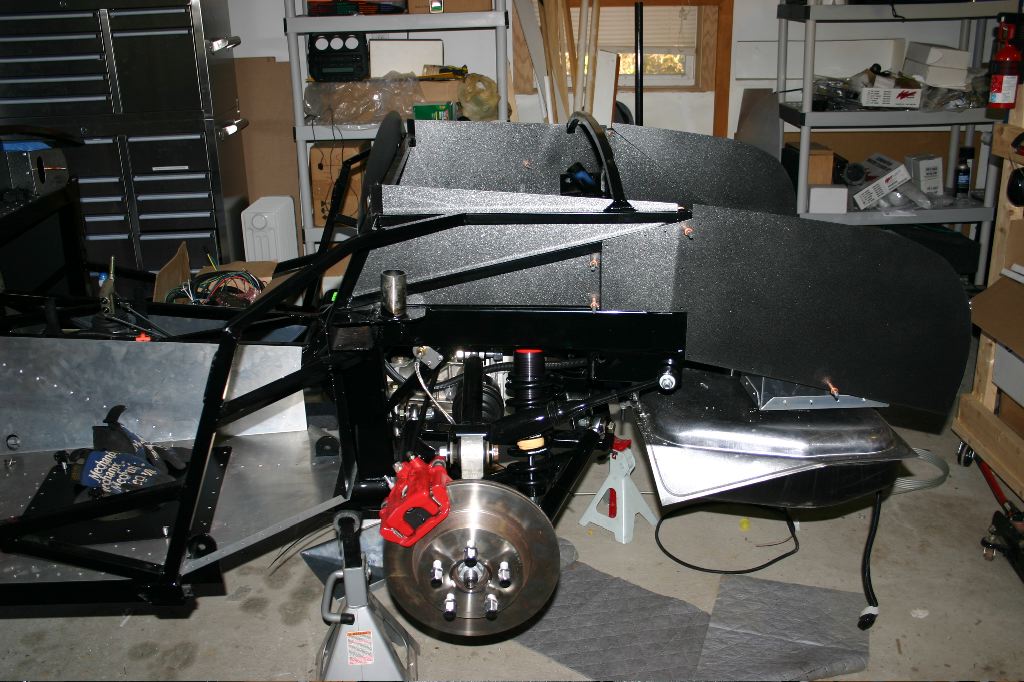
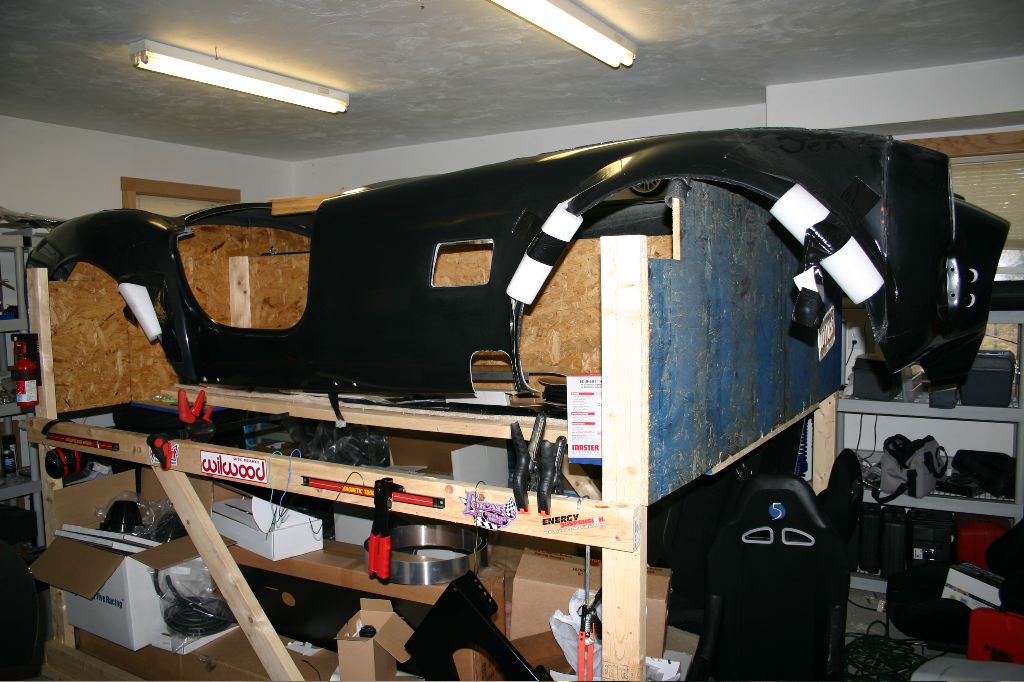
To mount the switch panel on the dash, I needed to make a backing plate to provide support largely because there were holes already drilled in the dash by Factory Five. A couple of the bolts that go through the switch panel into the aluminum handles were in places where there was holes in the stock dash. To solve this, my plan was to create a panel out of thin aluminum that would work like a large washer to support the bolts. The bolt holes would have to exactly line up with the switch panel, and the space where the LEDs and switches mount had to be left open so they’d fit.
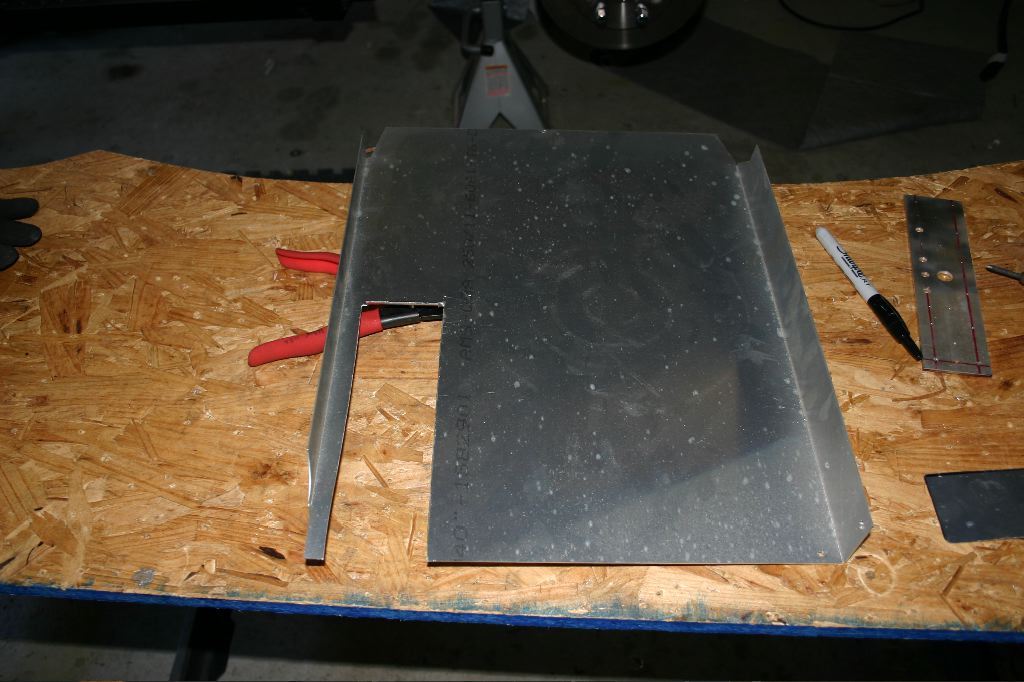
To start, I took one of the stock floor panels that came with the car from Factory Five. The FFMetal footbox floor panels replaced these, so these are scrap aluminum. I used my original “oops” switch panel that got trimmed incorrectly to trace the shape and used sheet metal shears to cut it out.
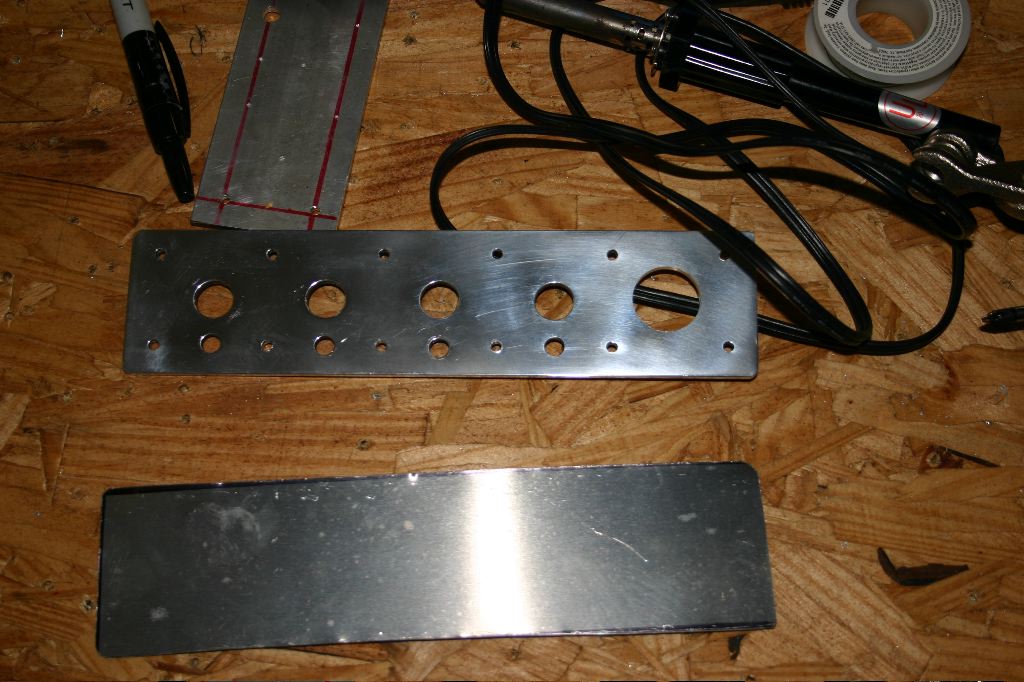
Using a centering punch, I marked the bolt holes.
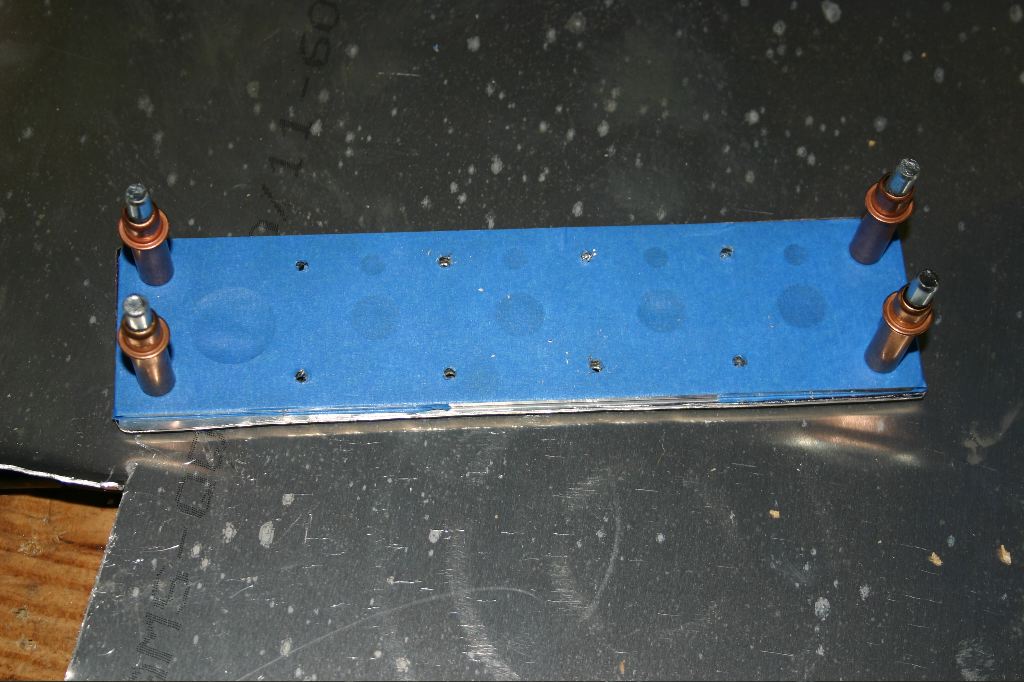
I drilled four holes, and attached the two panels together at the corners using cleckos. Once they were mounted together, I drilled the rest of the holes very carefully through the switch panel.
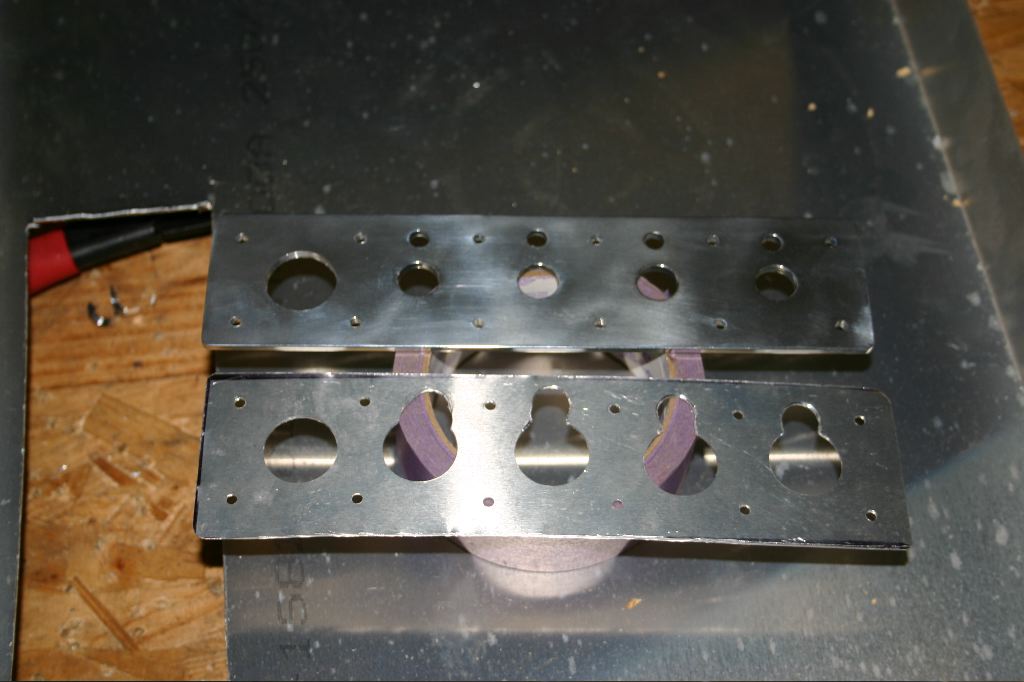
Using the hand drill and drill press, I opened up the openings where the switches fit.
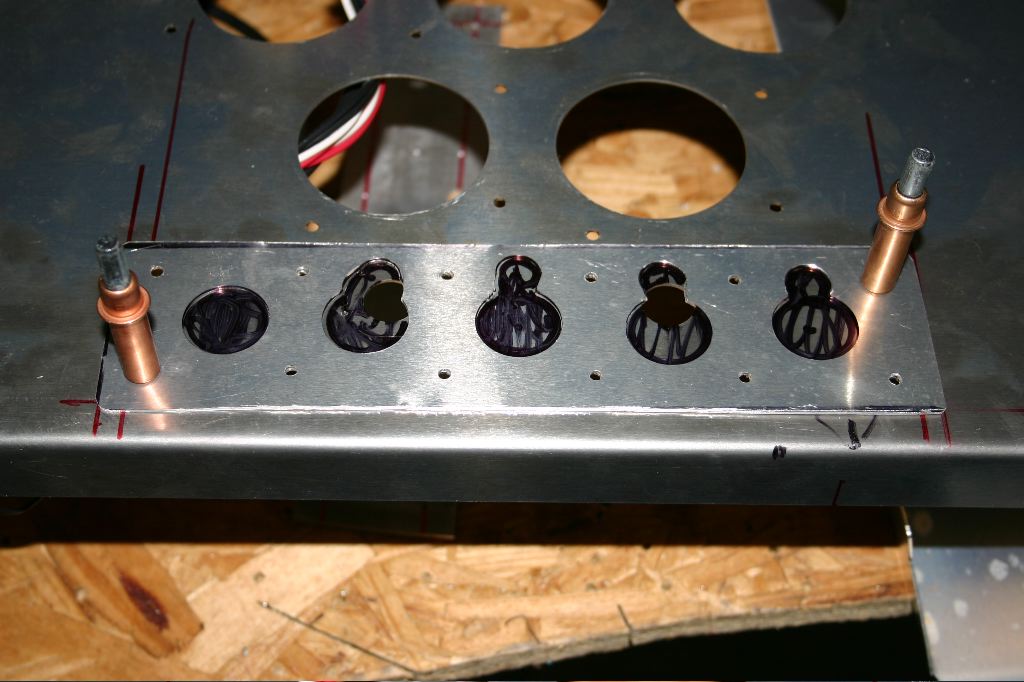
I once again used the cleckos to mount the panel to the dash, and marked the openings with a sharpie. These areas needed, at a minimum, to be cut out in the dash. The switches are supported in the aluminum switch panel, not the dash directly (this makes the need to be precise in drilling much larger holes through three pieces of metal a lot less critical).
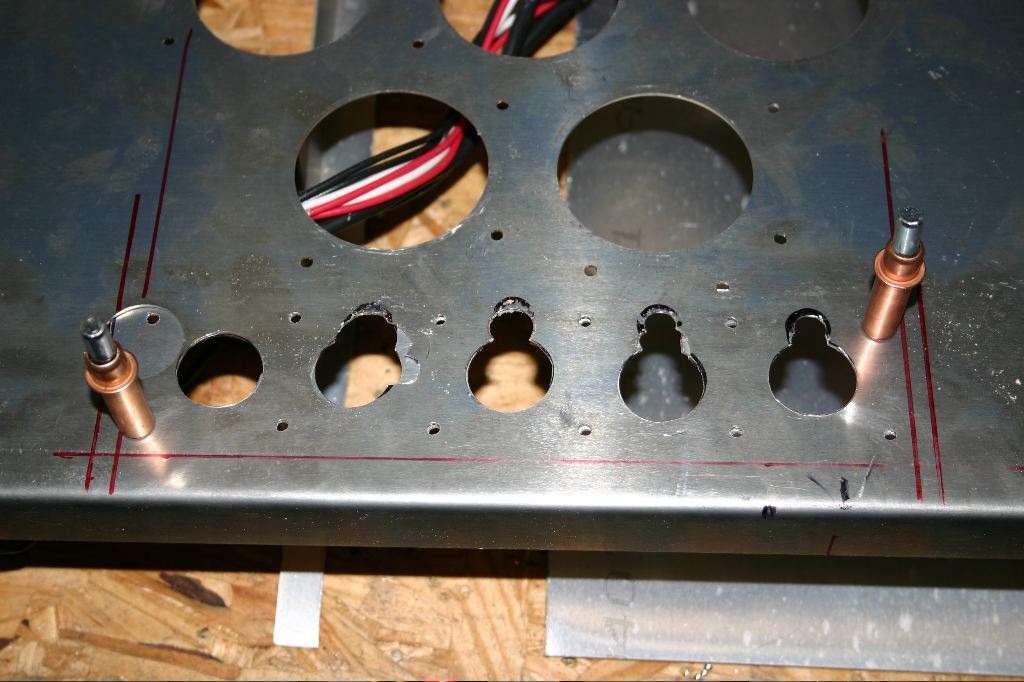
Once mounted behind the dash, its easy to see how the openings will work.
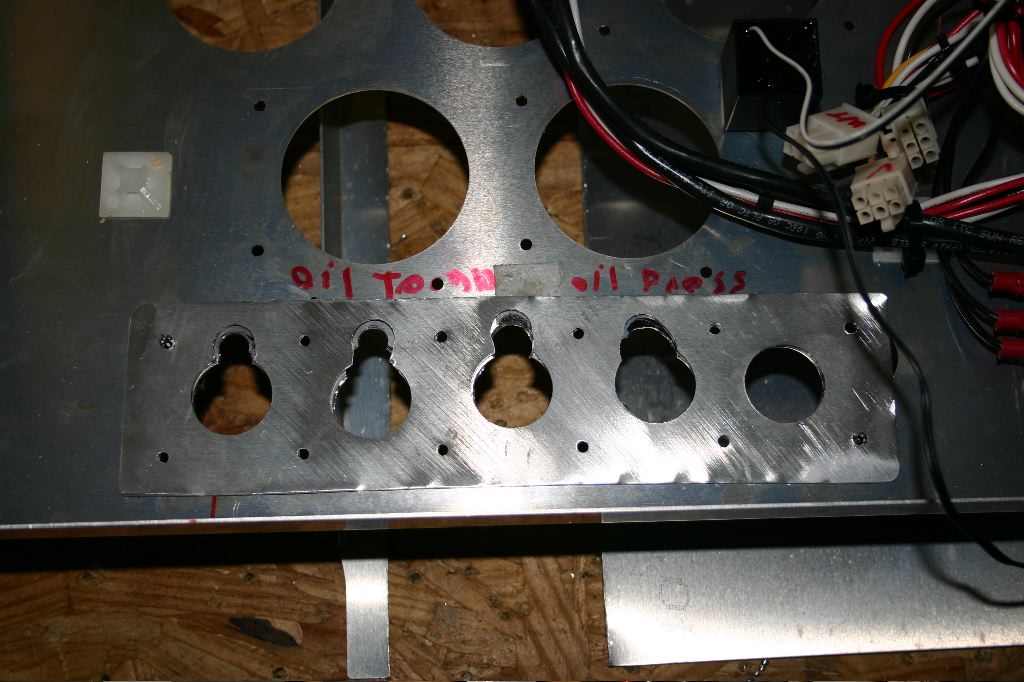
The panel frm behind. Small bolts will pass through the rear panel, through the dash and dash vinyl and firmly mount the switches to the dash via the switch panel itself.
I started to look at mounting the vinyl today, but decided to wait until some time this week to do it.
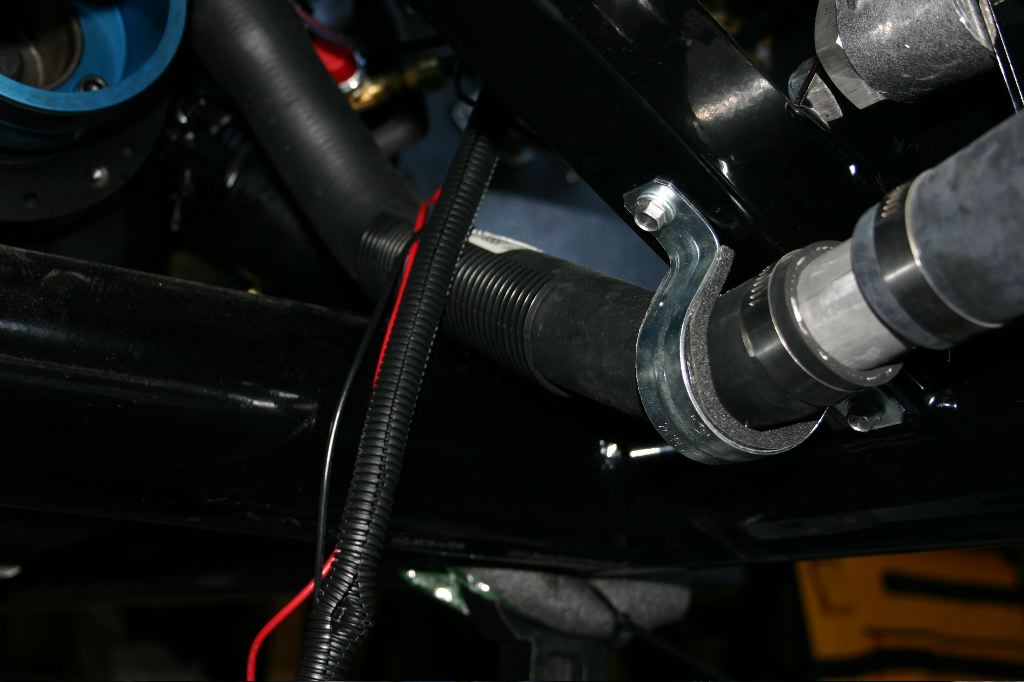
I also mounted the hose clamp to the X-member in the frame to support the lower radiator hose today. This only took a couple minutes, but it was one of a hundred details I need to be working through.
I spent about an hour poking through the wiring harness as well, trying to figure out how I’m going to run all the extra wires I need. I’m sure I’ll have more details about soon, as well.