This post is a little delayed — I meant to get an update written up last night for the work I did yesterday, but ended up busy most of the weekend. I’ll post a second update for the work I did today.
Yesterday was a busy day. I got an early start on the car, being out in the garage by 9, and worked pretty steadily until 4 or so, trying to get some details out of the way to be able to put the body on the car today. I’d hoped I could get all the details worked out and maybe get the body on for good, but I didn’t hit that milestone so instead this week will be for getting the lights on the car, and I’ll pull it back off next weekend.
What I did do, however, was get some work done on the dash, and dealt with the gasket leak problem I had with the headers on the engine.
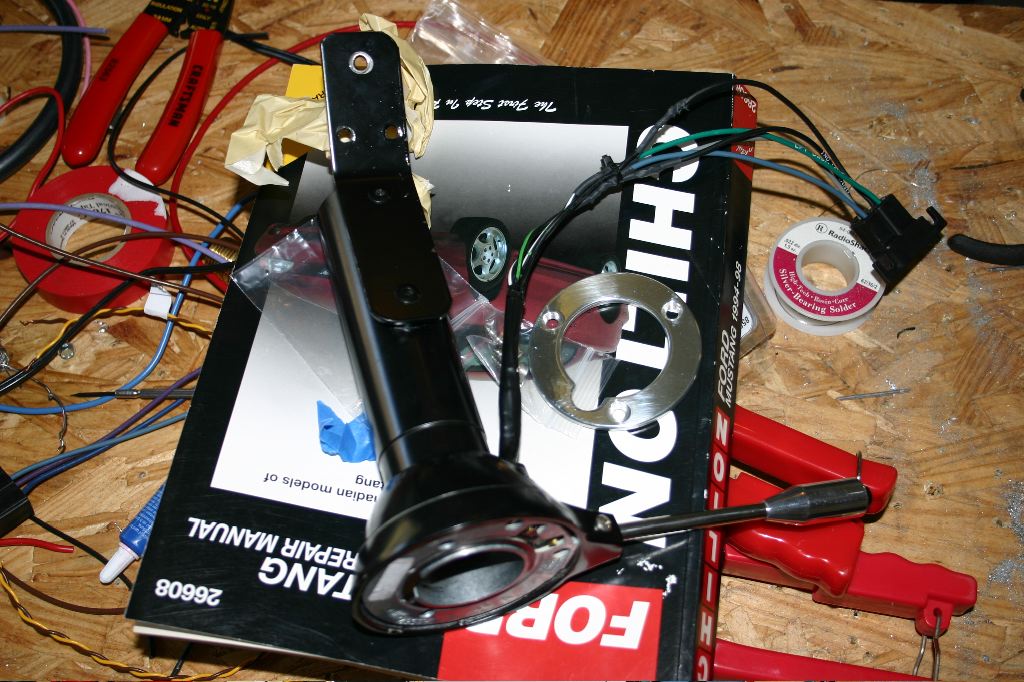
I started off taking a look at the Russ Thompson turn signal and trying to figure out why I couldn’t get the trim ring I bought for the dash onto it.
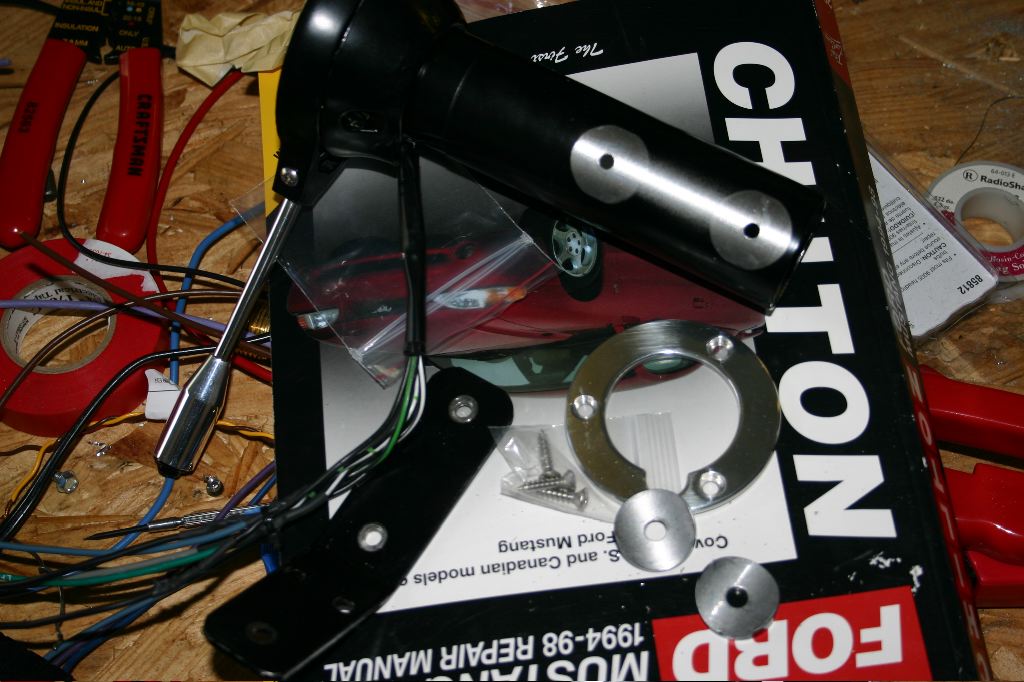
It was clear looking at it more closely, that the whole unit was in more pieces that I had thought. It turned out two rivets could be drilled out and the whole mounting arm came off with two spacers that weren’t actually part of the turn signal unit.
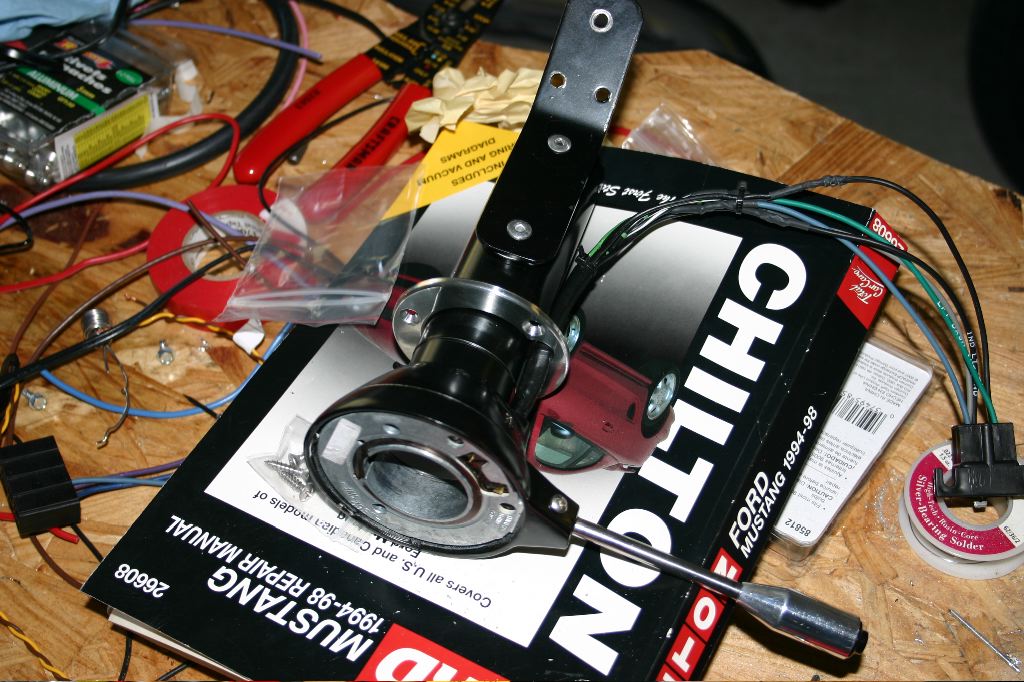
With the unit apart, it was easy to slide the trim ring on and I just used two more 3/16″ rivets to reassemble it.
Once I had that done, I decided to take a stab at mounting the panel I’d bought to close up the underside of the dash. At the same time, I wanted to get the aluminum trim fabricated that I was planning on using under the bottom lip of the dash. The plan was to run a 1″x1/8″ strip of aluminum the length of the dash, which would both serve as a cosmetic detail and help hold the vinyl down. It also, as it turned out, was a good way to get the screws into the under-dash panel.
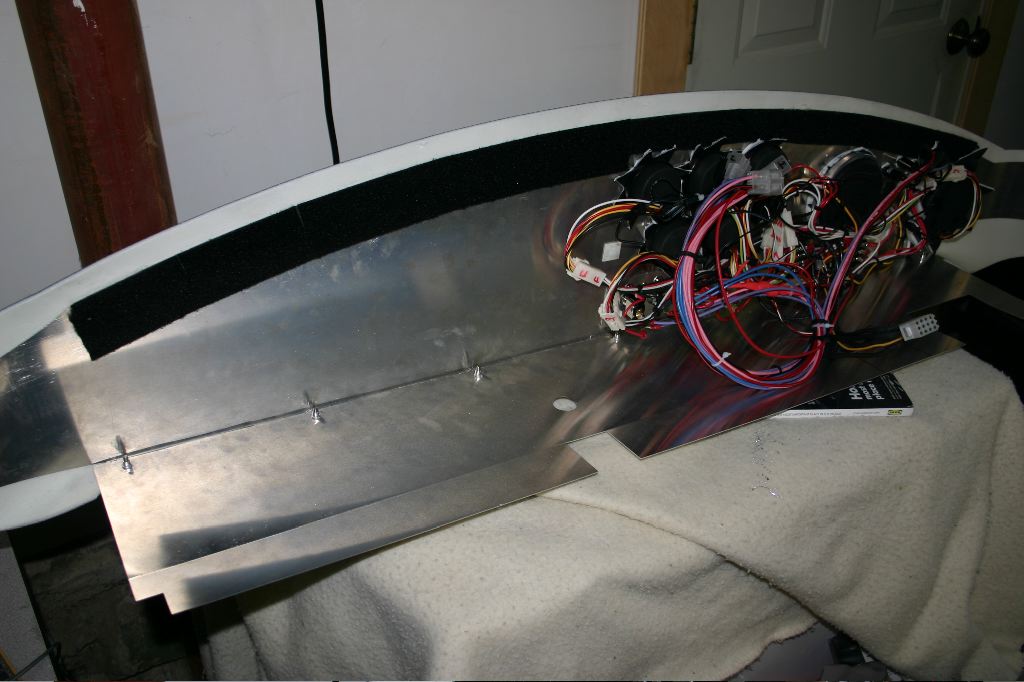
I didn’t get many in-progress pics taken, unfortunately. The basic process was to line up the dash on the car, then line up the under-dash panel to the dash. I marked the dash through the mounting holes on the panel. After removing the parts, I drilled a hole in the trim piece matching the hole in the underdash panel. I center punched the rest of the holes in the trim piece to match the dash, then drilled them. With the trim piece clecoed to the dash at either end, I drilled the rest of the holes into the dash.
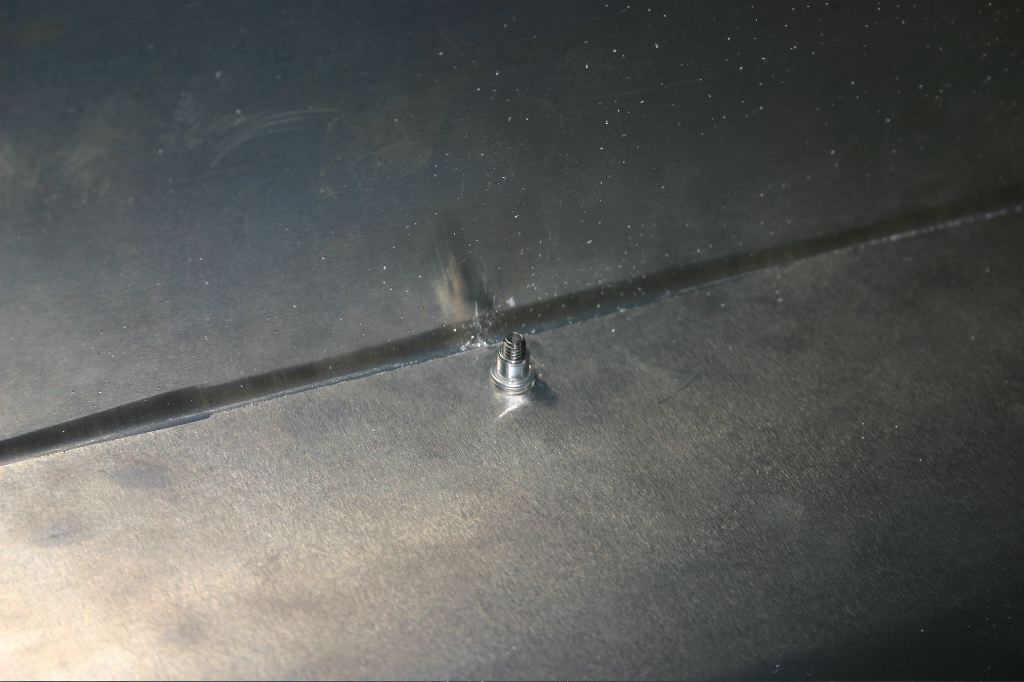
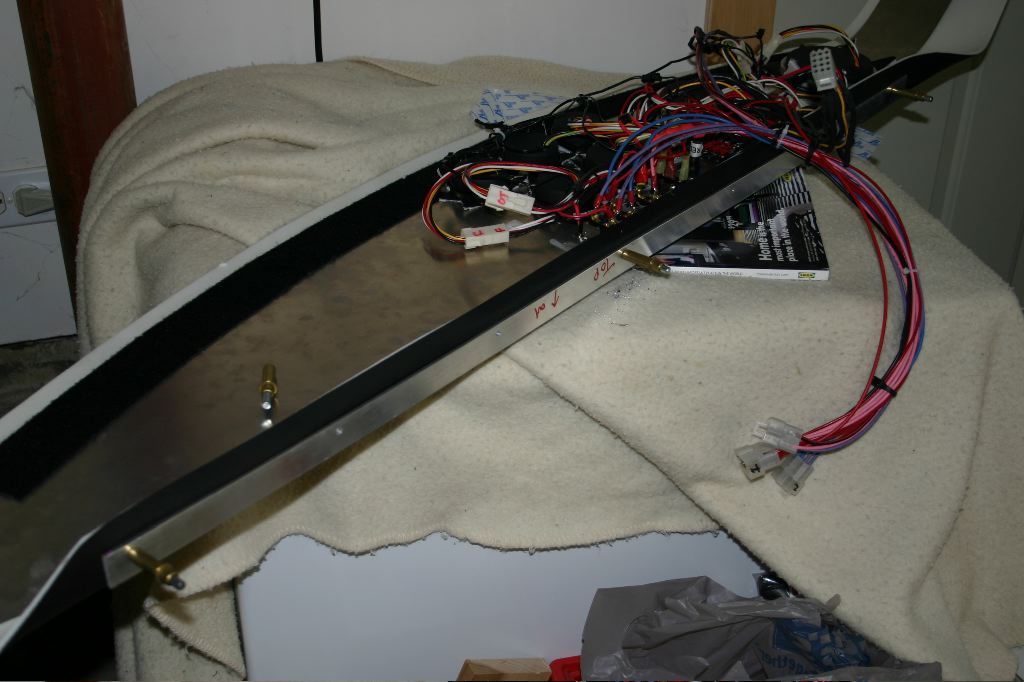
The original panel, as I bought it, had clips in it that would allow you to screw into it. The screws didn’t match the look of the rest of the hardware on the dash or interior, and I was having issue fitting them so I used my new rivet-nut tool to replace them with rivnuts. These are basically blind rivets that are threaded in the inside, so when you unscrew the rivnut setting tool from them, you end up with a threaded sleeve you can use with regular bolts. There are seven of them along the bottom of the dash. The bolts go through a stainless washer, into the aluminum trim, through the dash panel and into the rivnuts in the underdash panel.
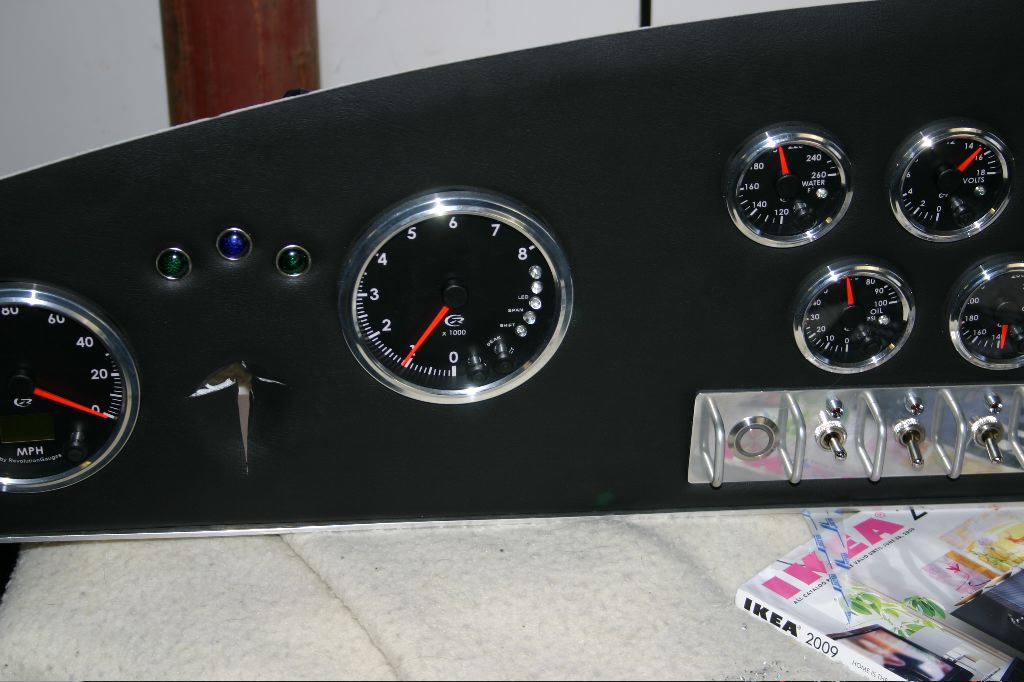
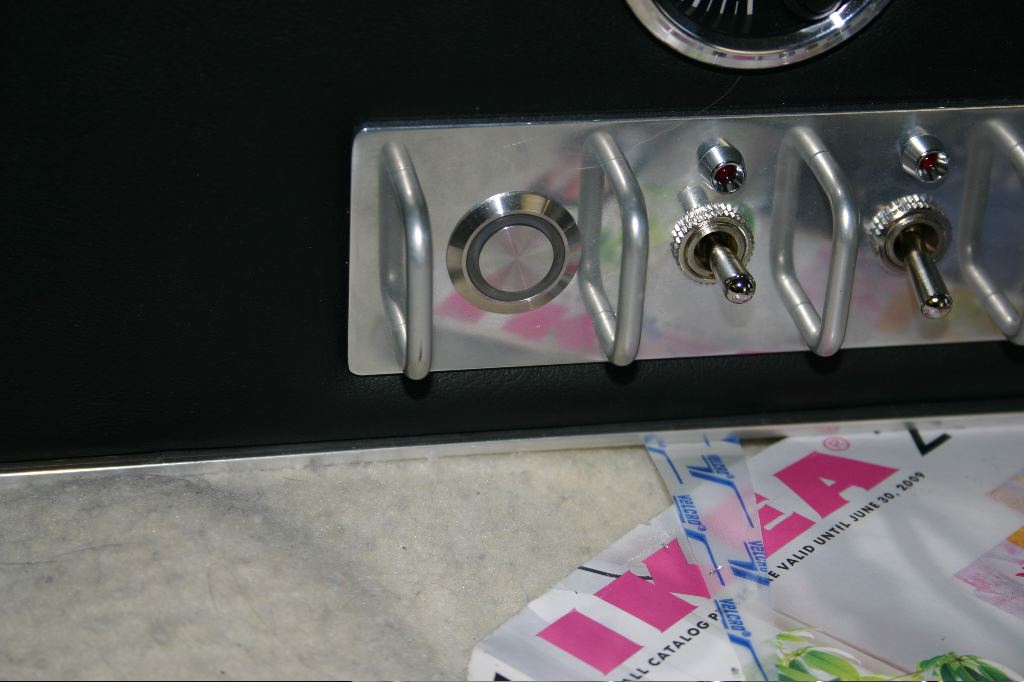
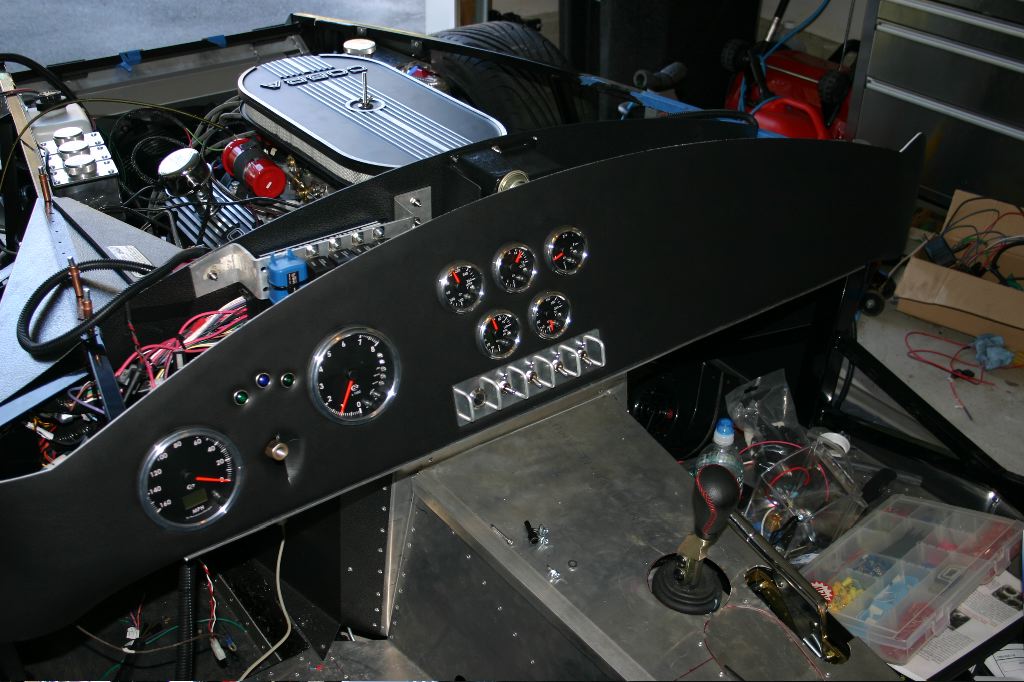
The trim piece, while functional, really looks nice on the dash.
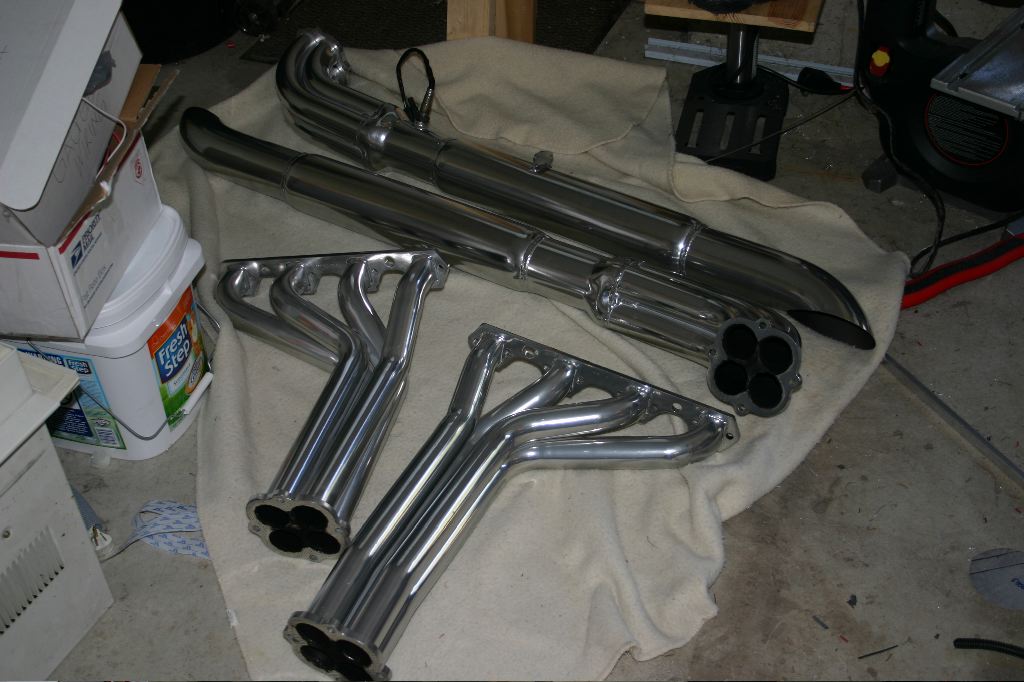
At that point, Jen came over and I had the help I needed to get the side pipes and headers off without dropping them. It was a lot easier last time, before I had everything else installed in the engine bay.

With the headers off, it was clear with the markings from the exhaust, that basically none of them had been sealing.
After cleaning the headers and the heads on the engine with brake cleaner, I used some Ultra Copper RTV gasket maker to seal them. Previously I had cheap gaskets that came with the headers to seal them to the engine. This stuff is basically some sort of formulation of silicone that can handle sustained 700 degree temperatures. I applied a bead around all the ports and bolts and bolted them back onto the car.

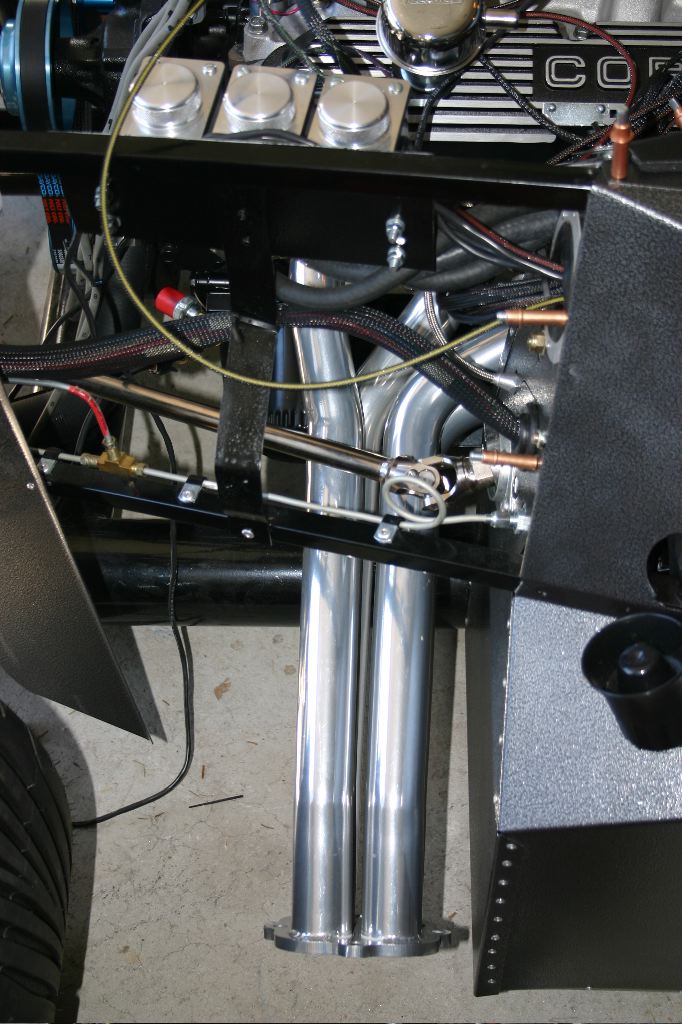
The RTV can be seen around the edges of the header here. I have to say, removing and reinstalling the headers is one of the worst tasks I’ve done on the car. It took me hours and I was exhausted after. It was bad before, but it was awful now with all the other bits attached in the engine bay. It can be done, but its difficult.
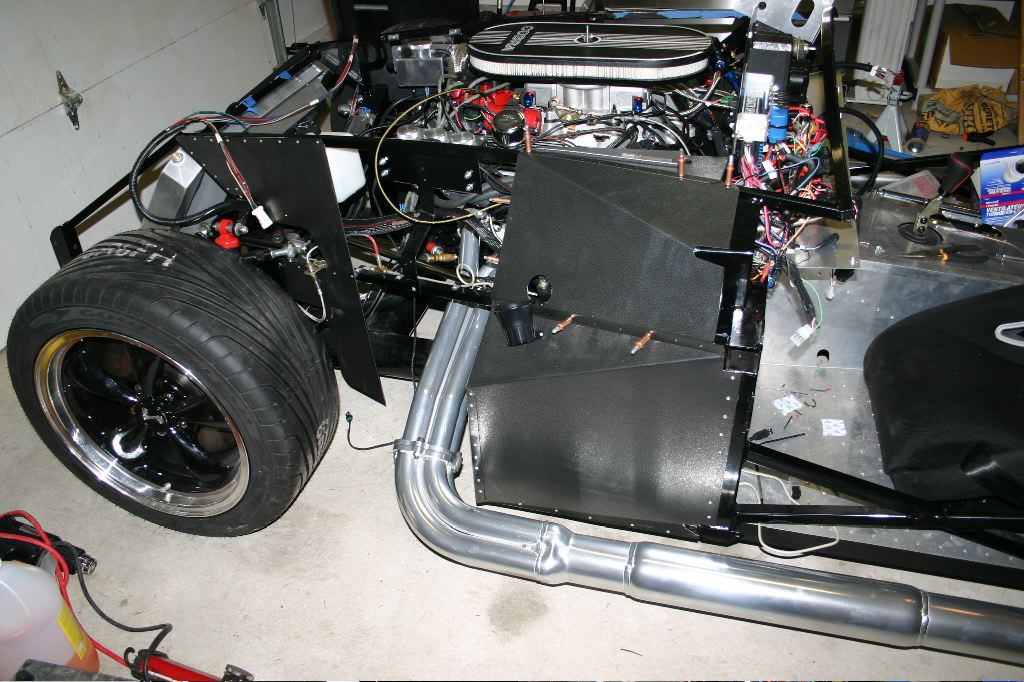
Thankfully the side pipes were much easier to put back on. I’m not 100% sure the gaskets for them were meant to be reused, but I did fire the car up again today briefly, and they appeared to be fine.
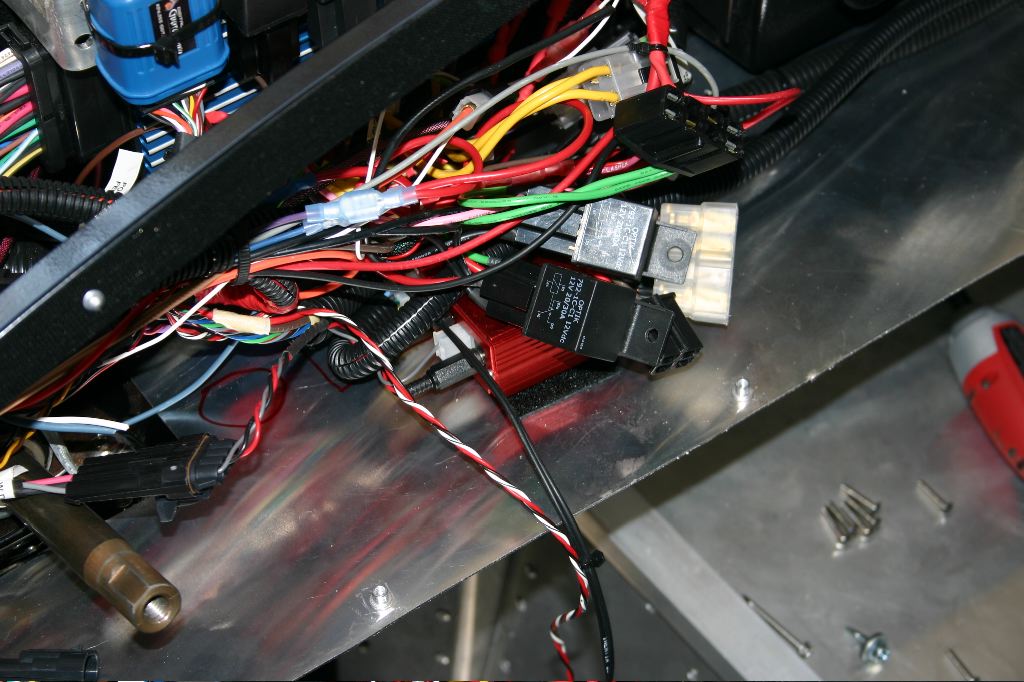
Lastly, I did a bit more wiring work behind the dash, including mounting the oxygen sensor controller with some velcro to the underdash panel. Having the panel there gave me a bit more options for mounting things.
That was it for yesterday. I’ll post another update in a while for the work I did today.