This post is a bit late because I had a hard drive fail in my computer last week. That both delayed the copying of the photos to the website so I could do a post, plus it took up a huge amount of time this weekend doing data recovery on the failed drive. Among the other things on the drive, it had the high resolution copies of the last eight or nine month’s worth of photos from this site on it.
It took a good bit of technical kung fu, but I managed to recover virtually everything on the system, so I can finally do an update.
Because of all the time I spent on that, I only for maybe seven or eight hours of work on the car in the last four or five days. I’ve been working my way down my punch list of items that needed to be done before I could install the body, but the list isn’t empty yet.
For a variety of reasons, some of the items I worked on were not items that were strictly on the “pre-body” list.
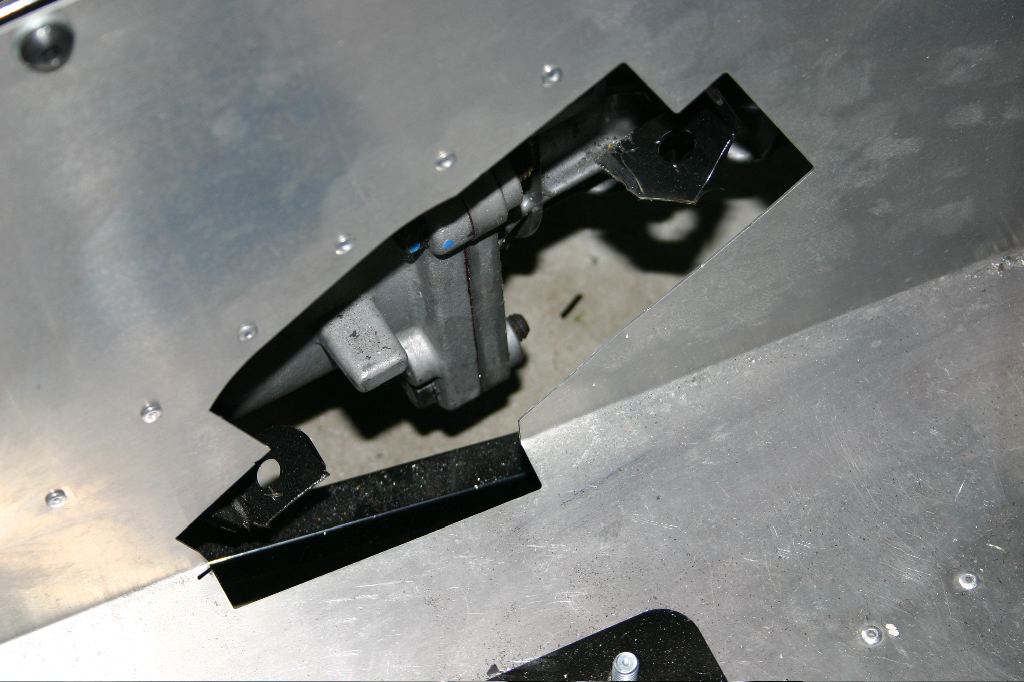
One of the first things I did was break out the Sawzall to cut out the emergency brake mounting bracket from the chassis. This was a real pain to do with the transmission and sheet metal in, but unfortunately I hadn’t made the form decision to have a tunnel-mounted emergency brake until after that was all set. While I was at it, I used the Sawzall and Dremel to open up the opening slightly where the heater ducting passes through.
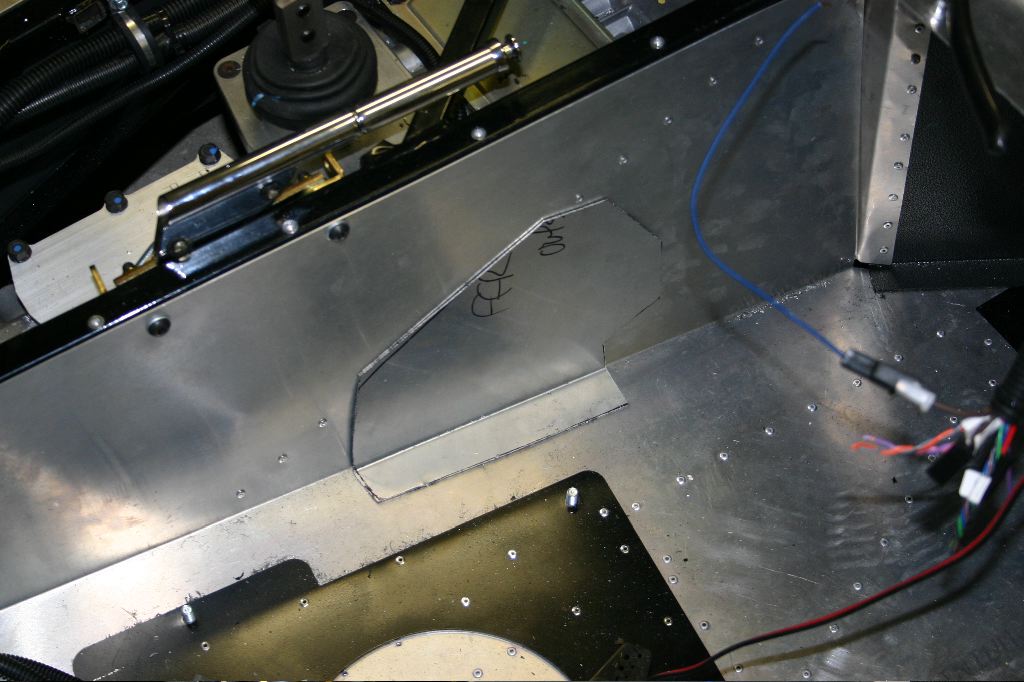
I also cut and fabricated the patch panel to cover the opening where the e-brake would’ve been. This took a rediculous amount of time — I think cutting and bending it took me almost two hours because I managed to break all the metal blades in my jigsaw and had to use hand snips and my bandsaw to cut it. I haven’t installed it yet, but will likely do that tomorrow.
Yes, both of these items were things I could’ve done with the body on. Part of this was getting the patch panel in place early so I have less sheet metal work to do once the body is on.
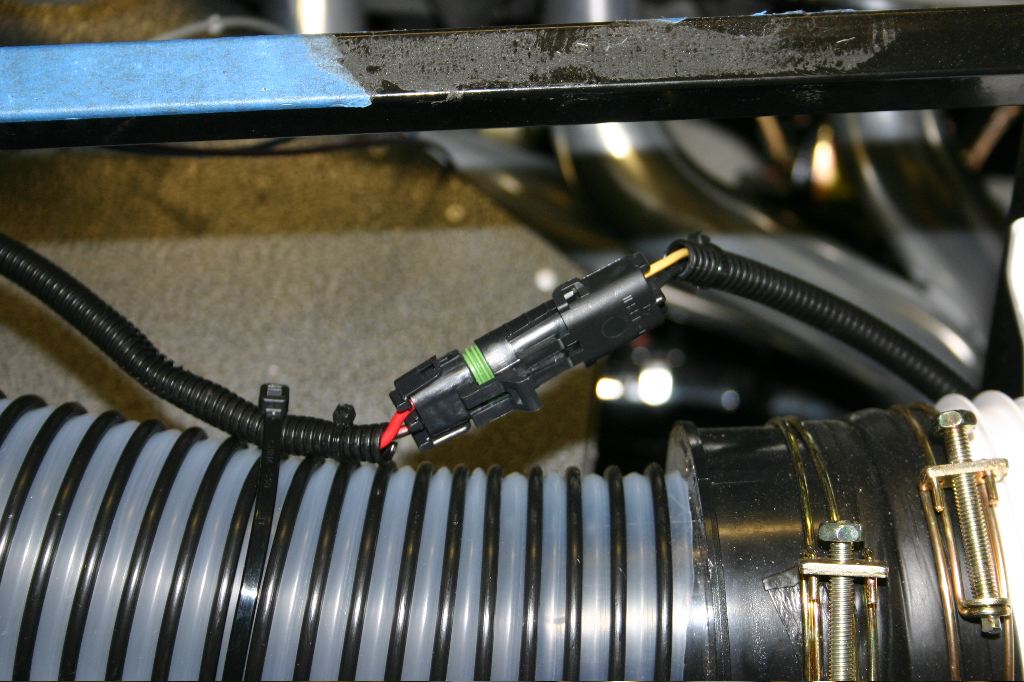
Last week I ordered a set of Weatherpack connectors and the appropriate crimping tool from RJM Injection. It showed up on Thursday, so I got a few things wired up. These connectors are weather-proof with rubber seals around the wires and connectors. I started off using a two conductor one to fabricate the wire harness for the blower fan.
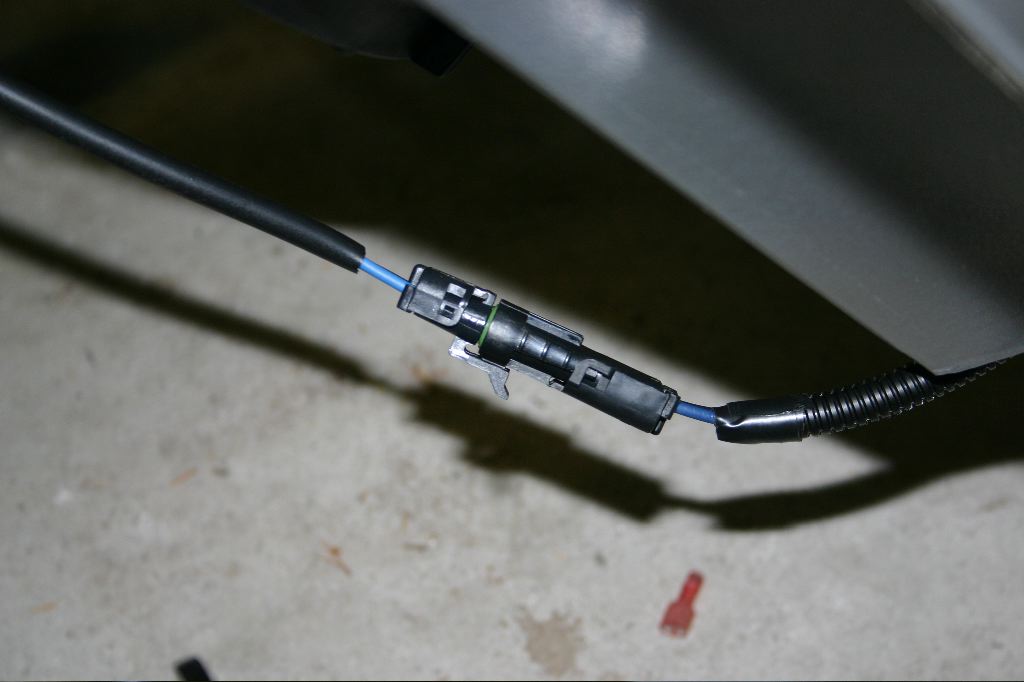
While I was at it, I cut off the connectors on the radiator fan and replaced them with a two-conductor Weatherpack as well.
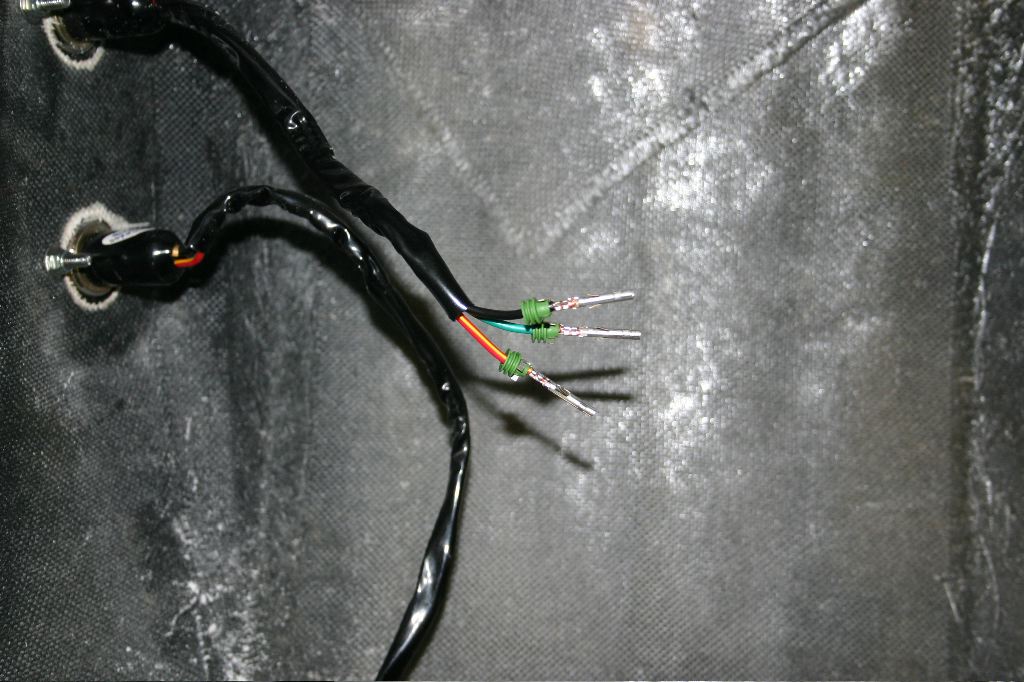
The tail lights were also a problem. Because there is one 4-pin connector to the chassis harness and two individual lights on each side, I had a problem with how I could remove the lights in the future — the wires are connected together behind the openings in the body. Each light has three wires — ground, dim, and bright. I basically just cut the wires to the top light in the middle and put a pair of male and female 3-pin Weatherpack connectors in the middle so I could disconnect and remove the lights.
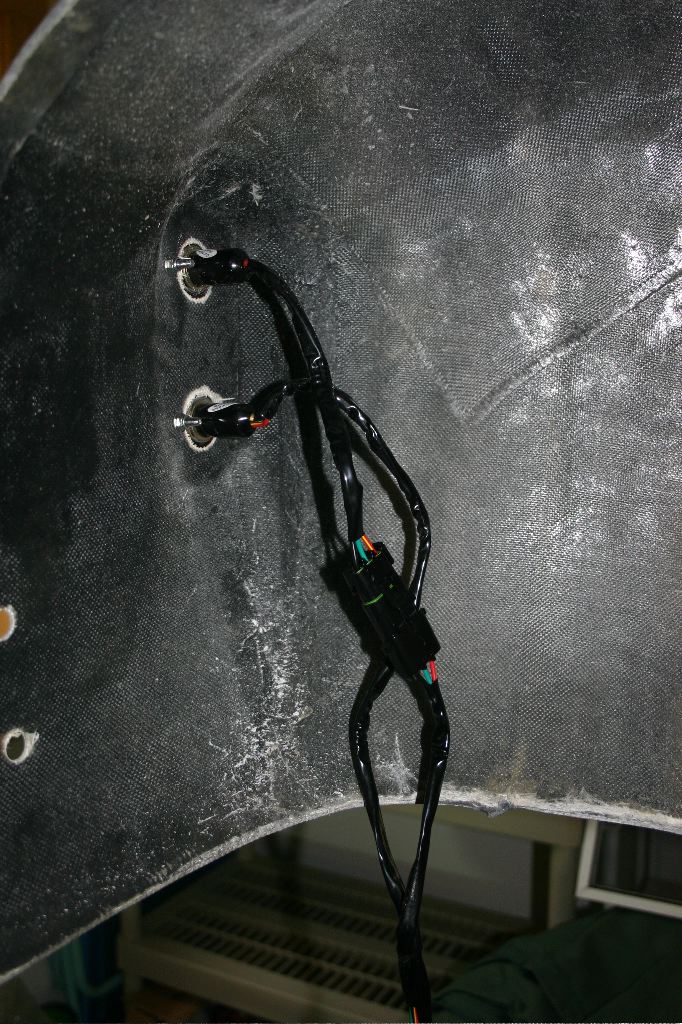
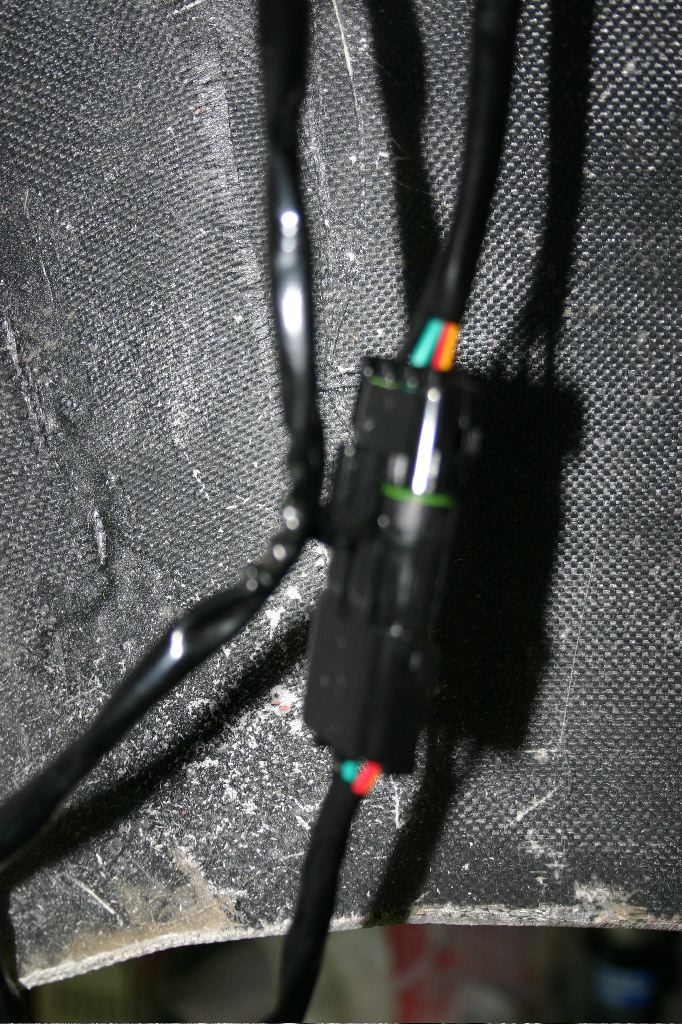
Having the right tool makes all the difference — a proper crimping tool works far better than the cheap generic tool I’d been using.
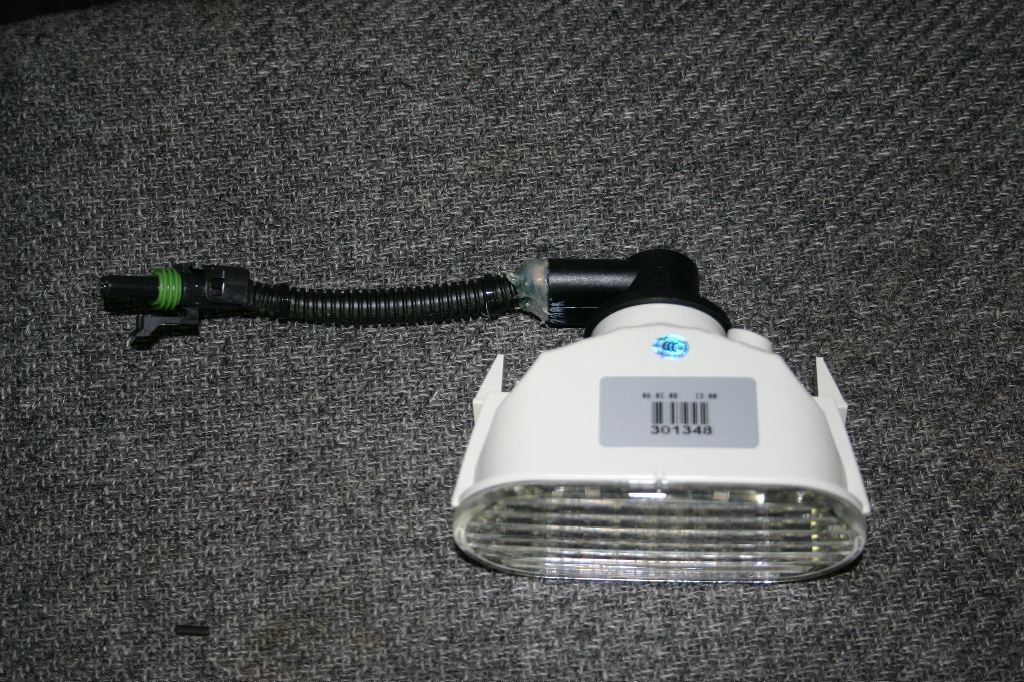
The last bit of Weatherpack wiring I did was to put a short pigtail on the backup light. I still have to fabricate a way to mount this to the rear of the car, and finish the wiring.
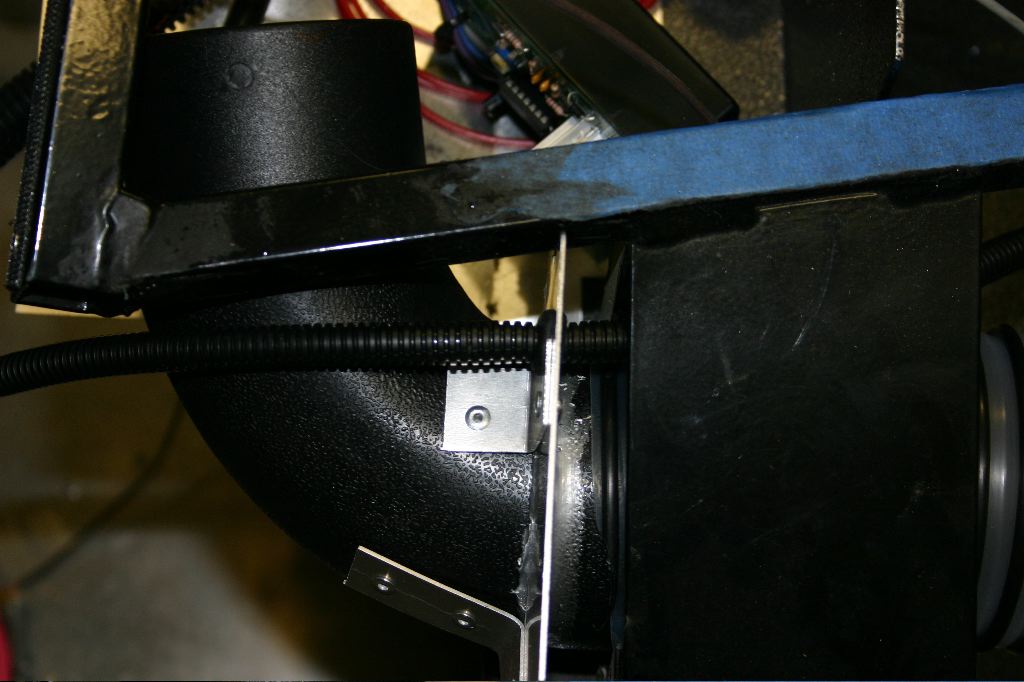
One of the tasks on my list that I needed to scratch off was rigging up the panel that the heater wiring and ducting goes though. This panel needs to be rigged up as one easily to install piece because it can’t be on the car before the windshield is installed (it blocks the bolts), but I have to be able to install it with the body on.
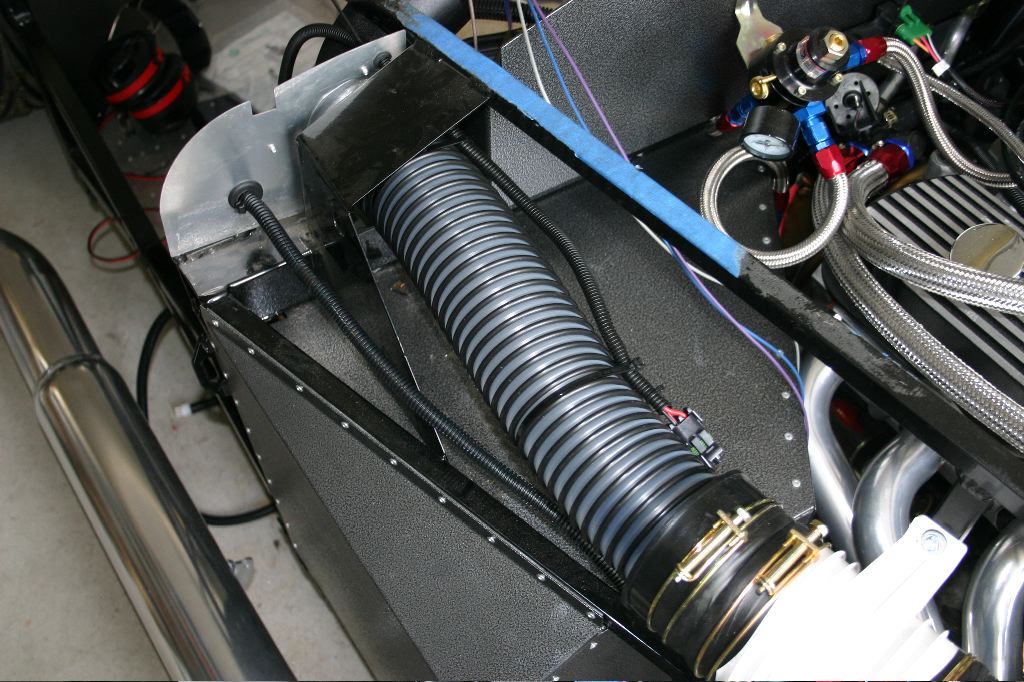
The wiring and vent hose pass through the panel and into the dash. The clamp on the panel side will be fixed, and once on the car I’ll use a clamp to mount the other end of the hose to the blower.
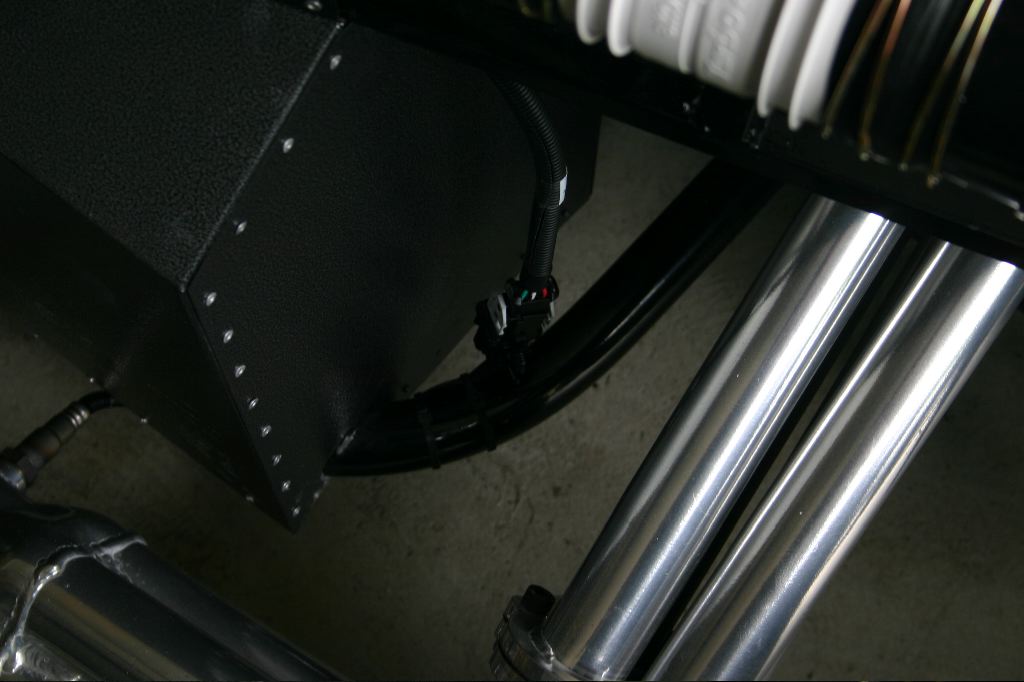
The oxygen sensor wiring also runs through the panel and clips to the O2 sensor. The pigtail for the O2 sensor is ziptied to the chassis. I’ll have to see how they hold up, but I think they’ll hold just fine.
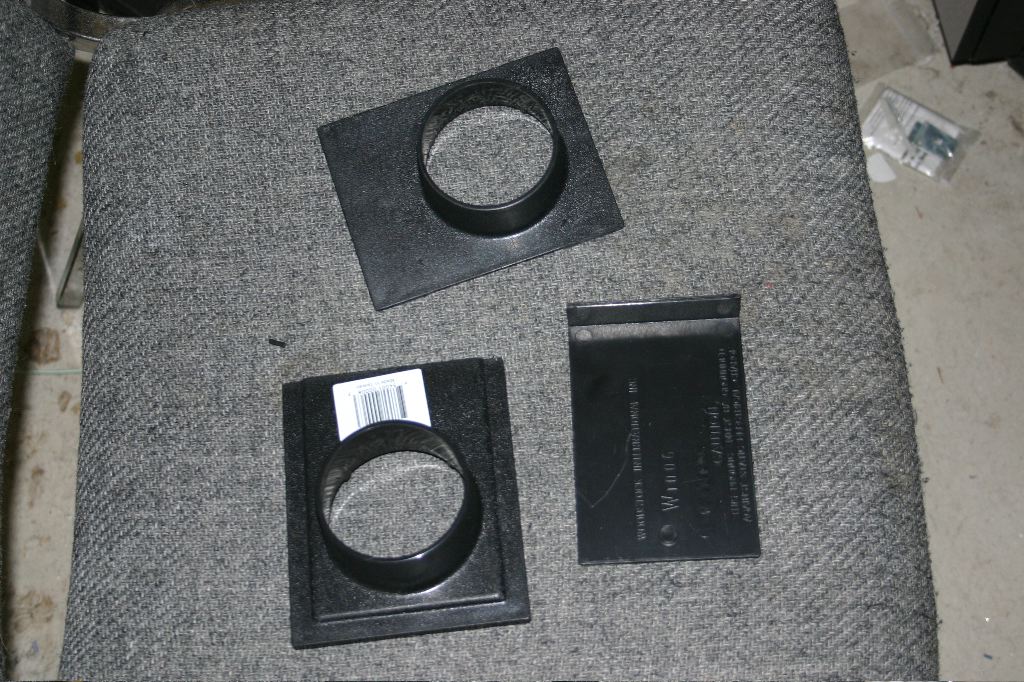
Another lingering problem I finally figured out a solution to was how to route the air from the blower to the heater core. The heater core had an unusual shaped opening that the original blower fit into. I needed to seal up the entire opening and leave a 3″ duct opening. While looking at the cheap $2 blast gate I’d bought with the other parts (which normally has a plastic slider to close off a vent hose), I wondered if I could pull it apart and use one of the panels as the duct plate on the heater core. It turned out the panel was literally exactly the right size.
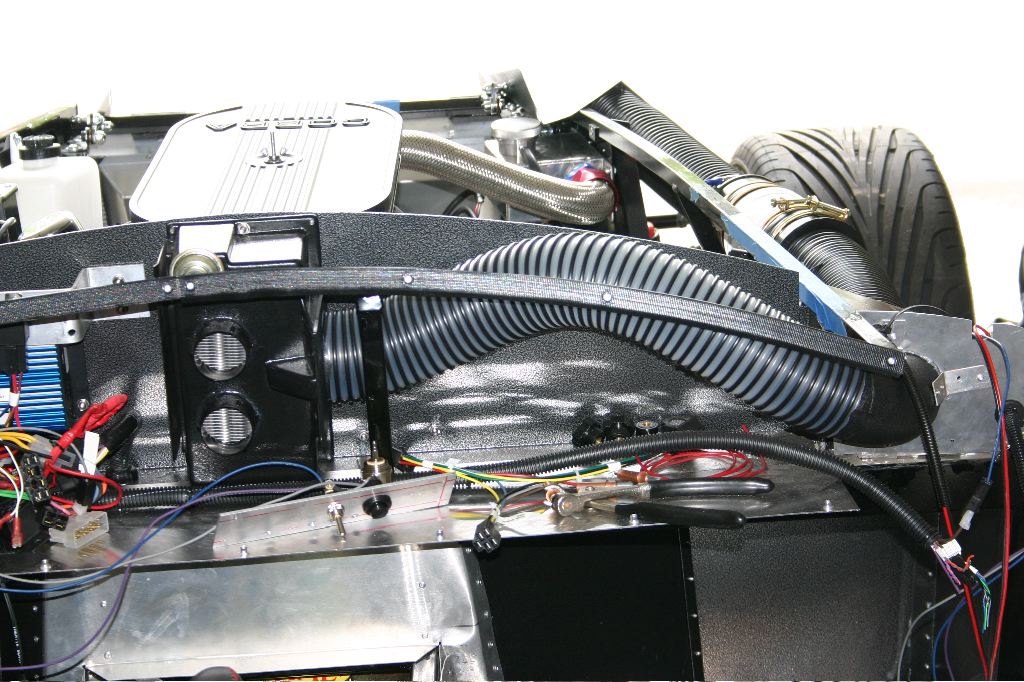
Using the blower hose to hold it in place, I used some automotive grade Goop glue to permanently attach the panel to the opening in the heater core.
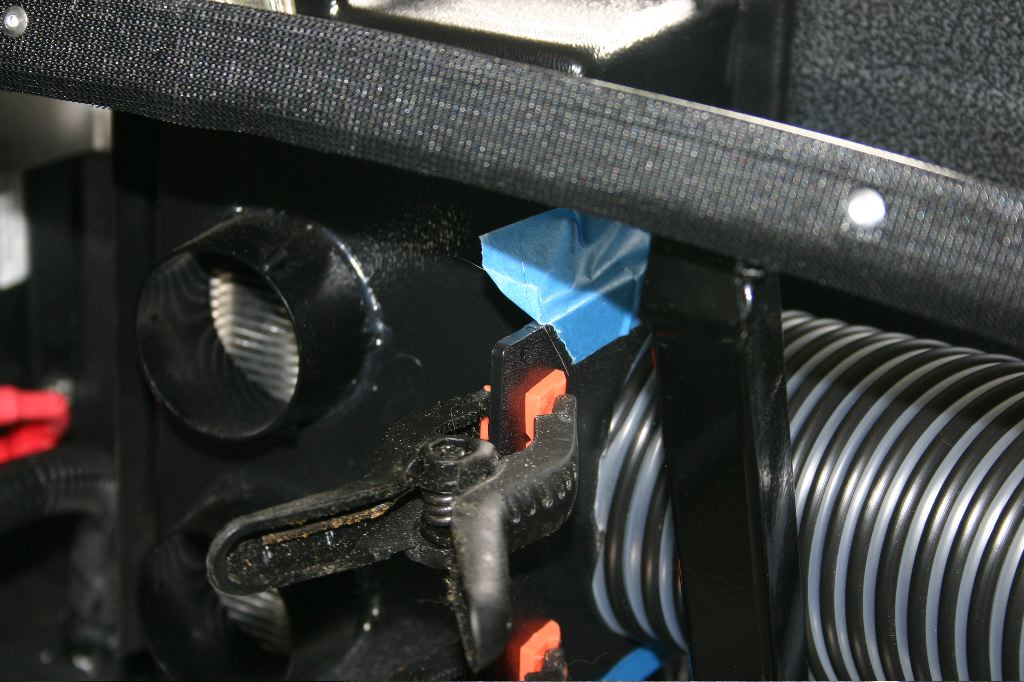
Some tape and clamps were used along with the pressure from the hose to hold it in place. In testing yesterday, the whole system end-to-end works beautifully. I still have to wire up the controls but that can wait.
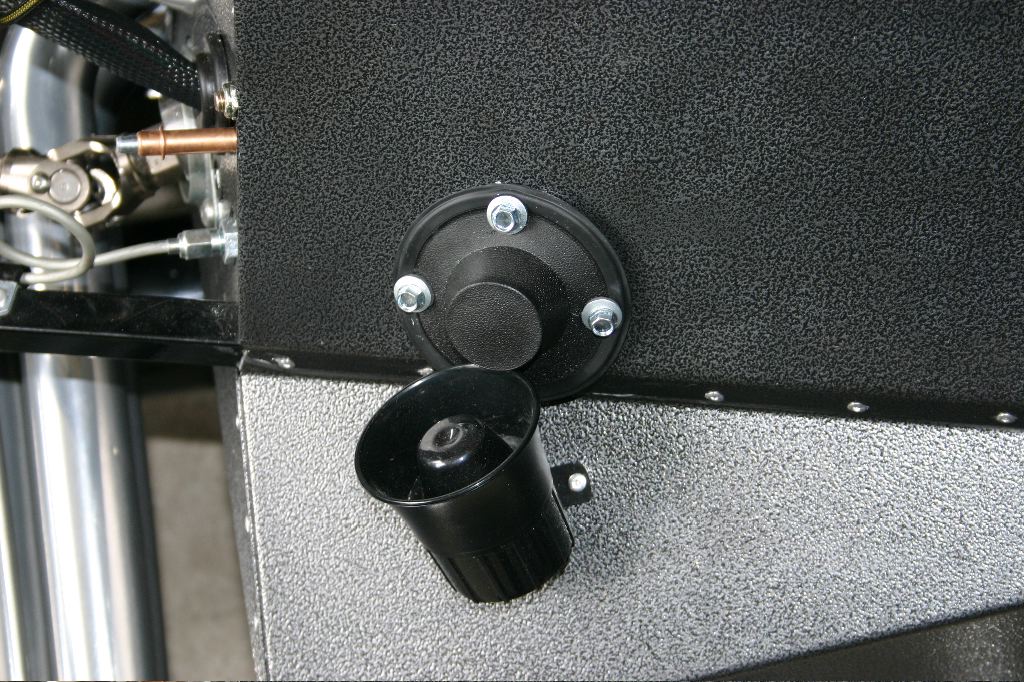
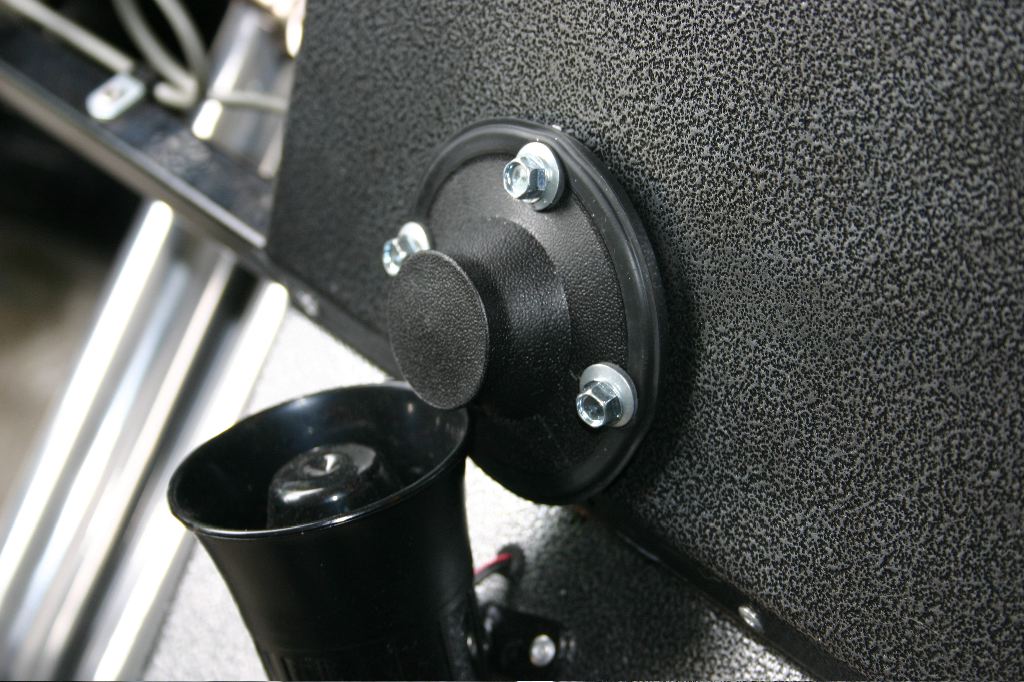
Another lingering problem I had was how to close off the opening in the driver’s footbox I had to cut because of the bolts holding the Wilwood pedal frame in place. While browsing at Home Depot I realized that a garbage disposal plug was the perfect size and shape. A couple screws and it was in place. It’ll never be seen once the body is on, but it still looks pretty good anyway.
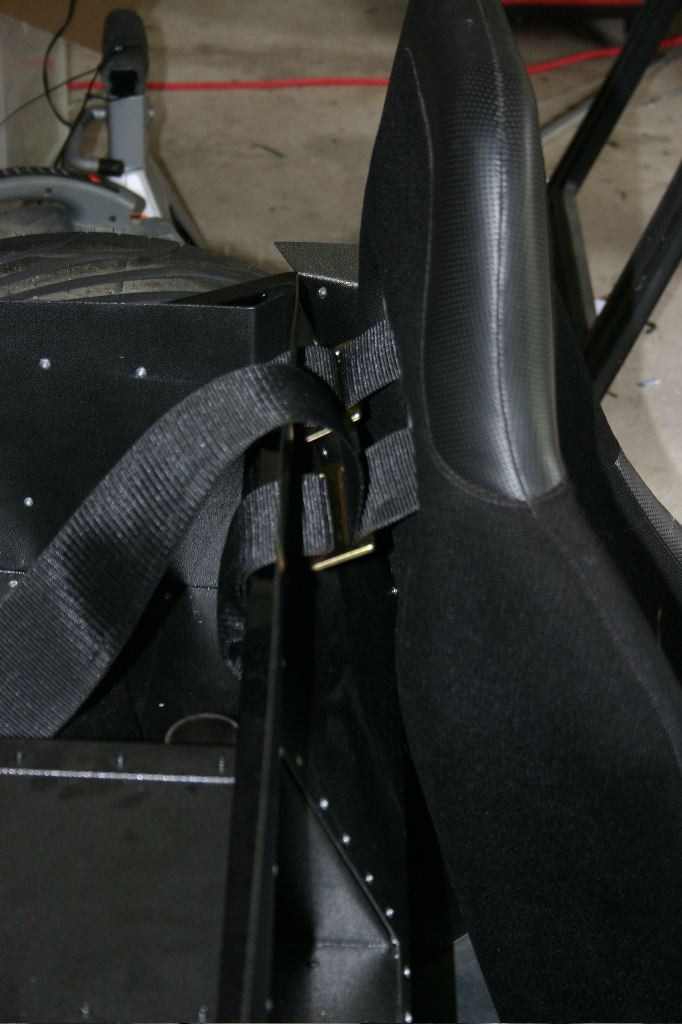
The next task was to install the seats temporarily and get the shoulder harnesses adjusted for length and bolted in. While it may be possible to remove them with the body on, the bolts are at the very far back of the trunk space and it wouldn’t be easy.
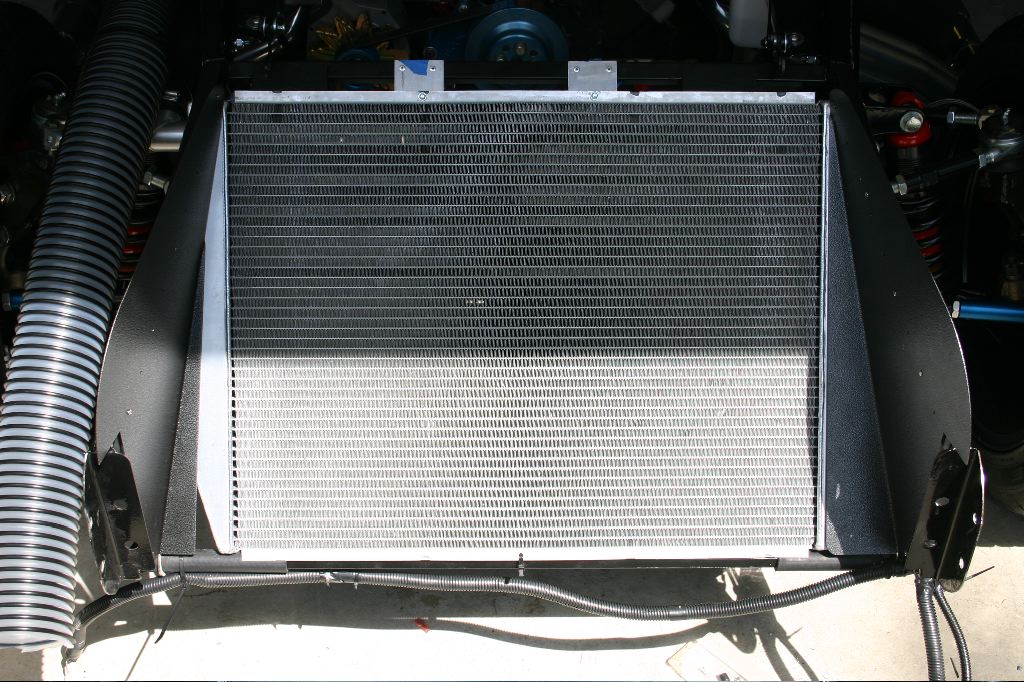
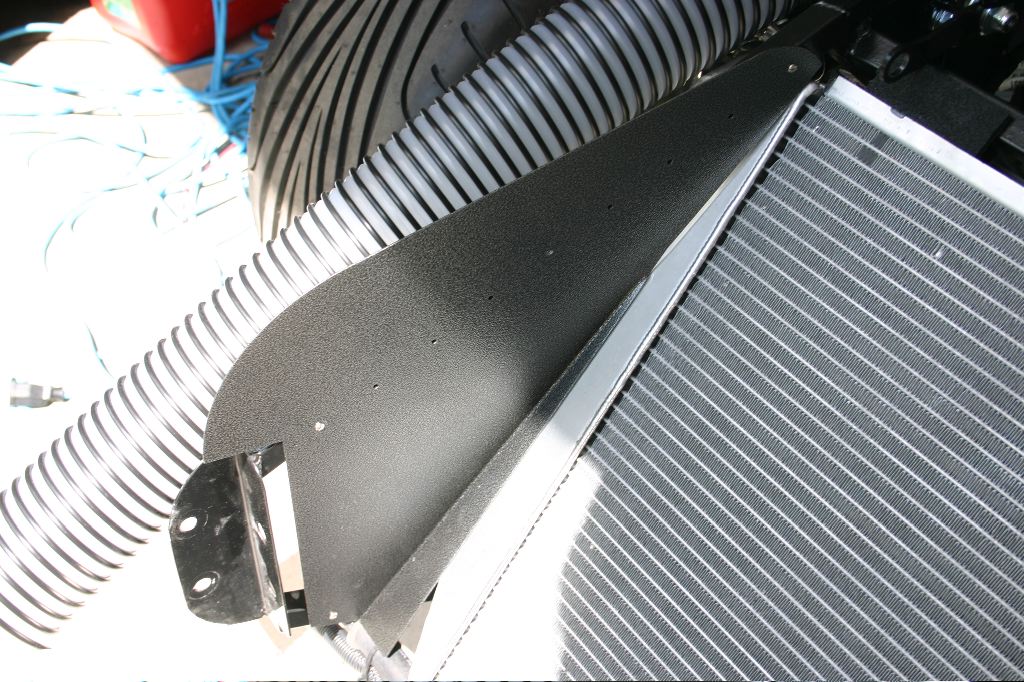
The last bit of work I got done this weekend was to fully drill the mounts for the two side panels around the radiator. Each uses four rivnuts and bolts to attach them to the car. The bottom panel I’m waiting on because I can’t even figure out how it fits without the body on the car.
There’s still a lot of items on the pre-body list. I may get enough done to do the body this weekend, but I’m starting to think because of the time I lost this weekend due to the computer crash, that I won’t be done by the Open House. I’m trying, but its not feeling very likely at the moment.