It was really a spectacular weekend, in the weather department, so finding some time to work on the car wasn’t all that easy, but I did manage to spend a few more hours working on the center console. Both yesterday and today I also debated moving the car back to the “active” side of the garage so I could take it for a drive, but its still really early in March and I know I’d just be jinxing myself if I moved the car and could no longer park the Miata in the garage. We’d probably get three feet of snow.
The first thing I did yesterday was drill the vent holes in the side of the console. I didn’t get any photos of that, but there wasn’t much to see other than a big drill bit and a bunch of smoking MDF.
Once the holes were drilled, I wanted to get the side panels and the face panel covered in vinyl. I had bought vinyl a few weeks ago for that purpose, so I had to dig it out, and start figuring out a pattern to use for it.
I also had to dig out the sewing machine, which was easier said than done, as I couldn’t find the power cord and pedal for it. Eventually I did find it.
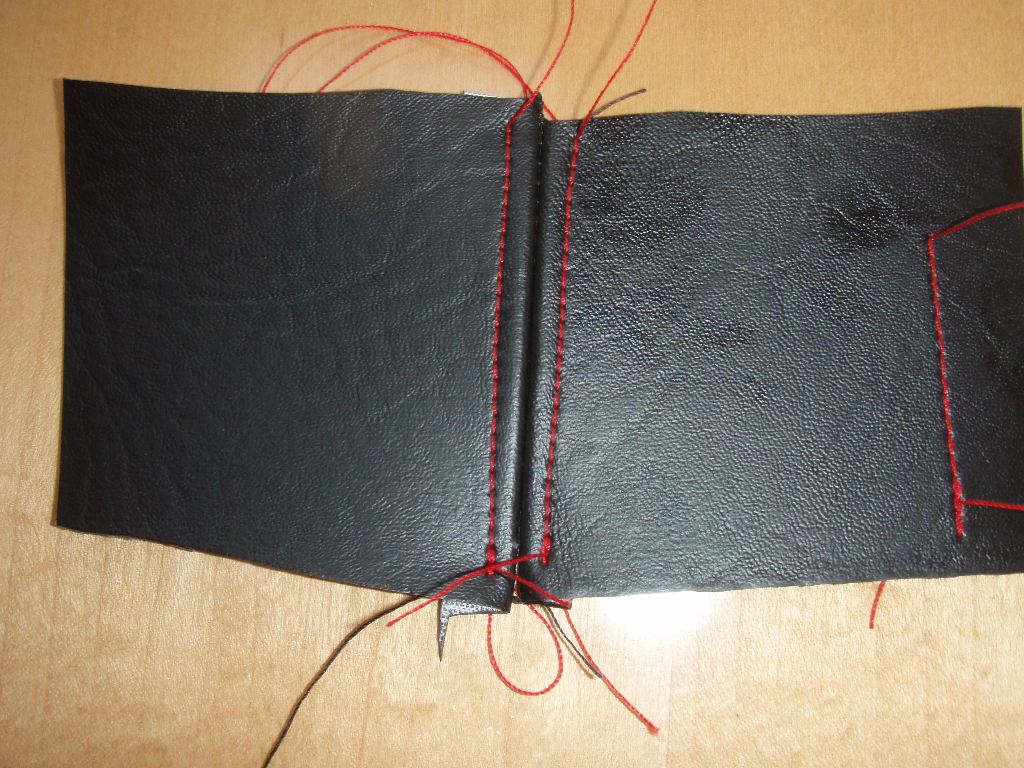
Using some scraps of vinyl, I did a bunch of test stitches to figure out the look I wanted. The basic idea was to have a seam running along the top edge of the panels. I wanted to have twin red detail stitching, to go with the red lights on the dash and the presumable red stripe on the car. Unfortunately as I continued to do more sewing on the vinyl, I discovered my machine just wasn’t up to the task of doing that sort of stitching on anything but fairly small samples. I’m hot happy about it, but I’m going to have to make do with a simple black stitch.
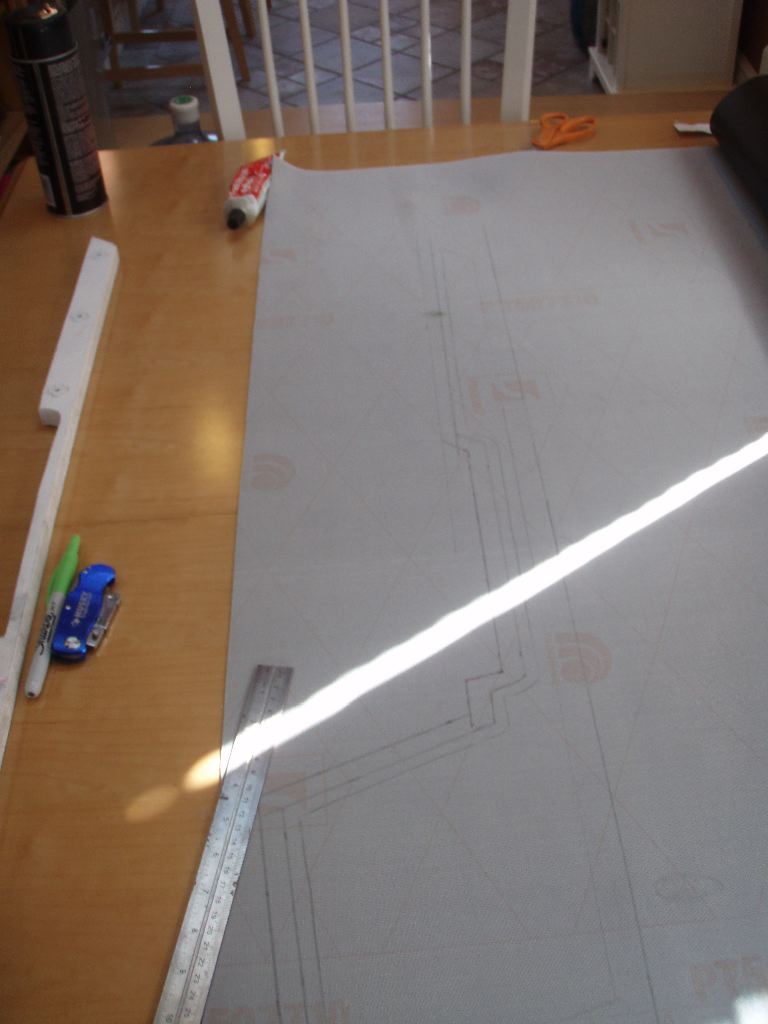
Laying out the pattern was just a matter of laying each side panel down on the vinyl and tracing it. Along the top edge, a line was traced 1cm above the edge of the panel — this was the stitching line, since the panel is slightly less than 2cm wide. An additional 1.5cm edge was left beyond that, to leave room to fold under and stitch with the red thread.
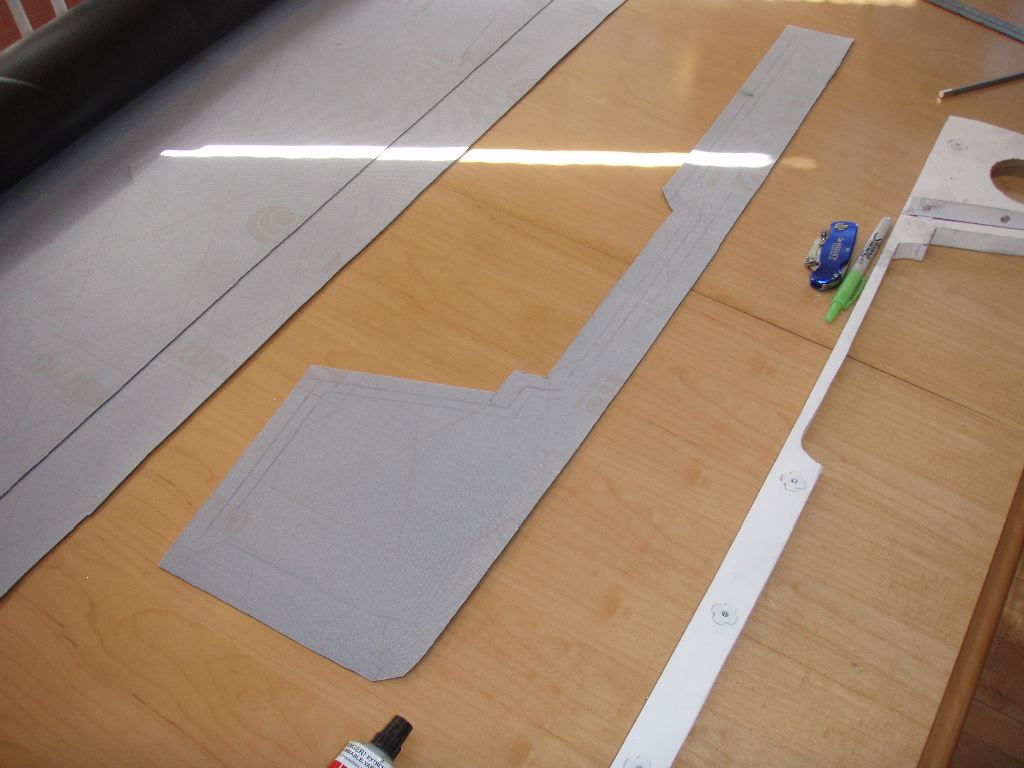
This is one of the passenger side pieces cut out. Measuring twice and cutting once, I mistakenly cut an identical one, which was wrong as I needed a mirrored one for the second piece. Measuring a third time and cutting a second time, I had the two pieces I needed.
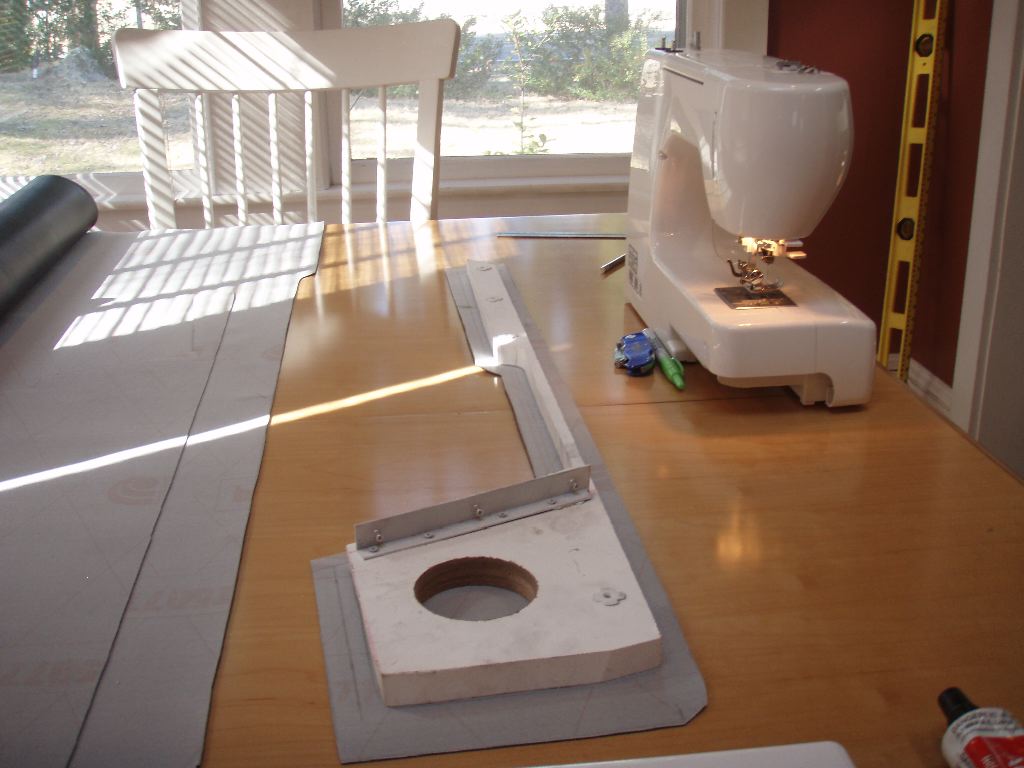
The side panel laid on it shows the relative sizes of the vinyl versus the panel.
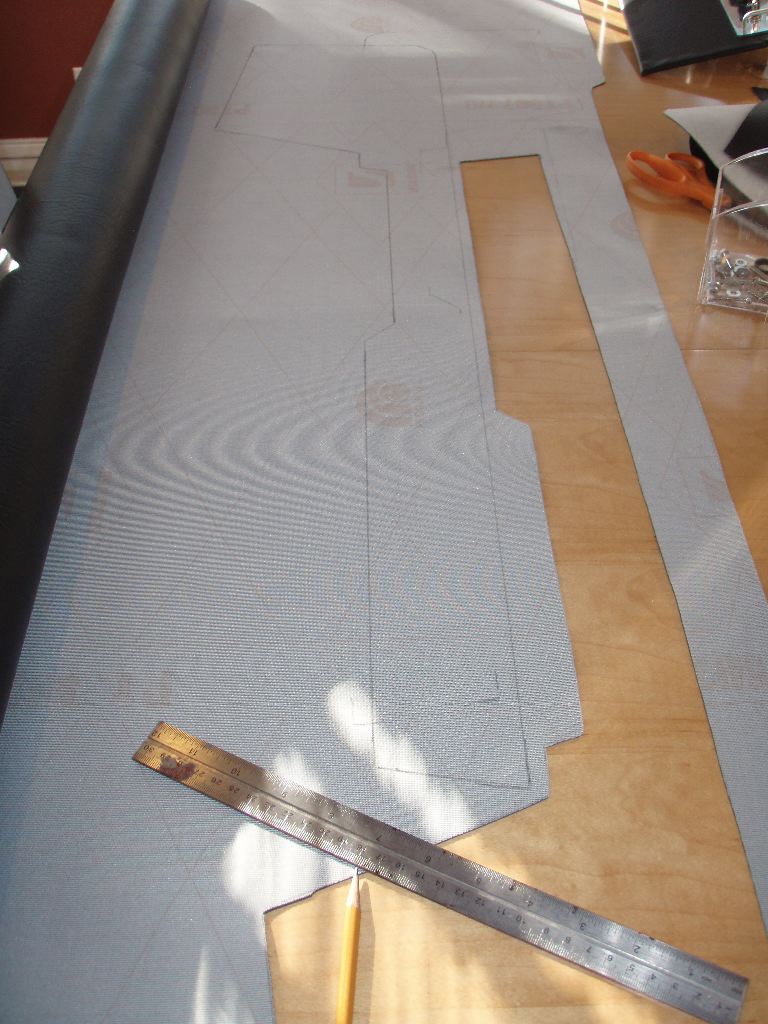
Using the first piece as a pattern, I layed out the second one and cut it out as well.
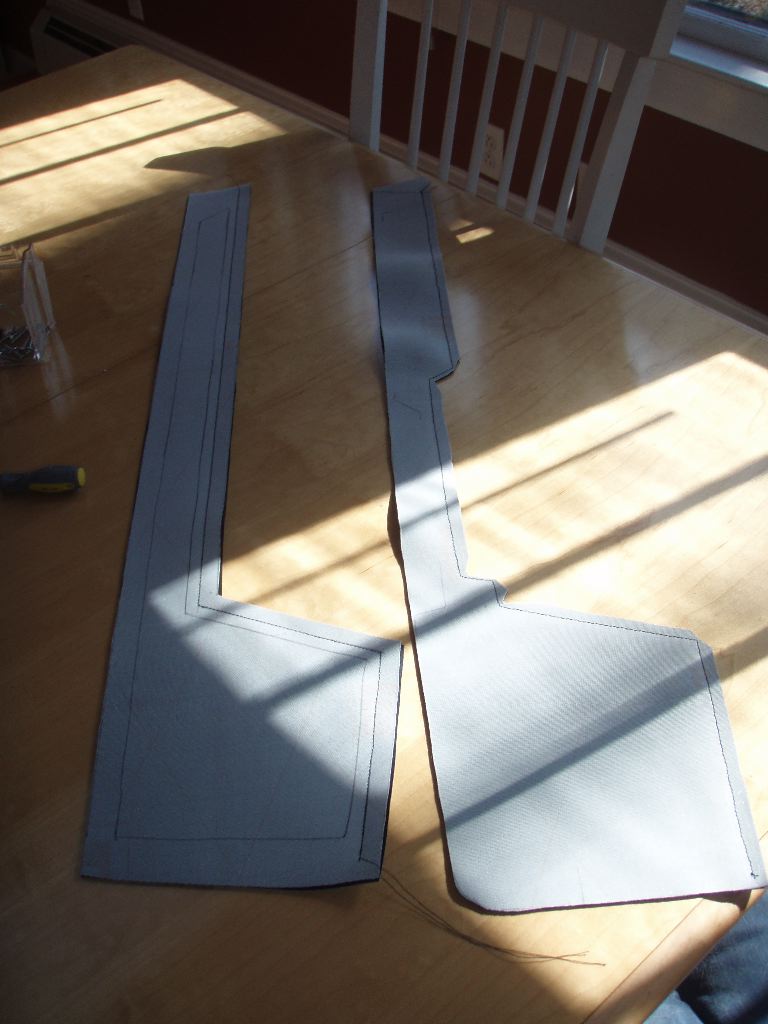
Using a heavy-weight black thread, I stitched the top edges of all the pieces. I did some testing doing the red stitching on the passenger side panel, but discovered that something about the tension of trying to stitch the vinyl when I couldn’t lay it flat tweaked a tolerance in the sewing machine enough to bind up the bobbin mechanism.
After struggling with it for a while, I decided to just give up on the red stitching and stick to straight black. I trimmed more of the edge out on the inside, and I think I’ll end up gluing the flaps down so I can fit it along the MDF.
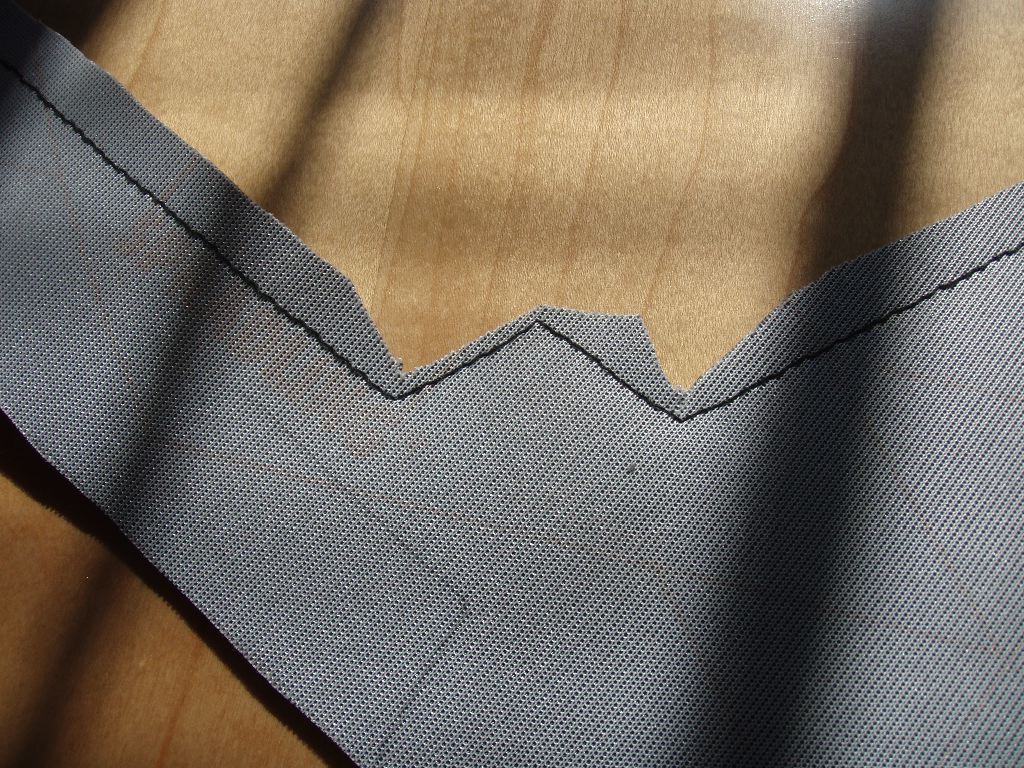
I cut notches in all the corners, which allows me to turn the pieces inside out prior to gluing them to the MDF. I was going to do that today, but I’m traveling this week and need to deal with getting ready for that trip.
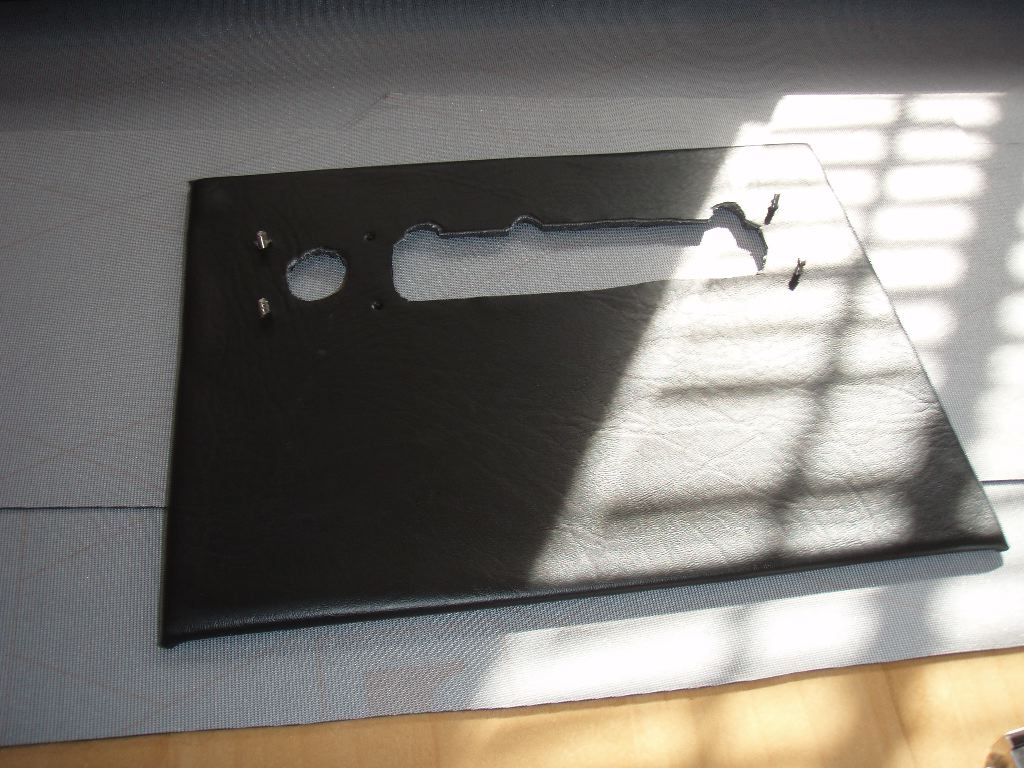
I also glued the vinyl onto the ABS panel. This was more of a pain than it should’ve been, as it wasn’t clear what the best adhesive to use was. It was really important that the edges around the cut-outs stayed glued.
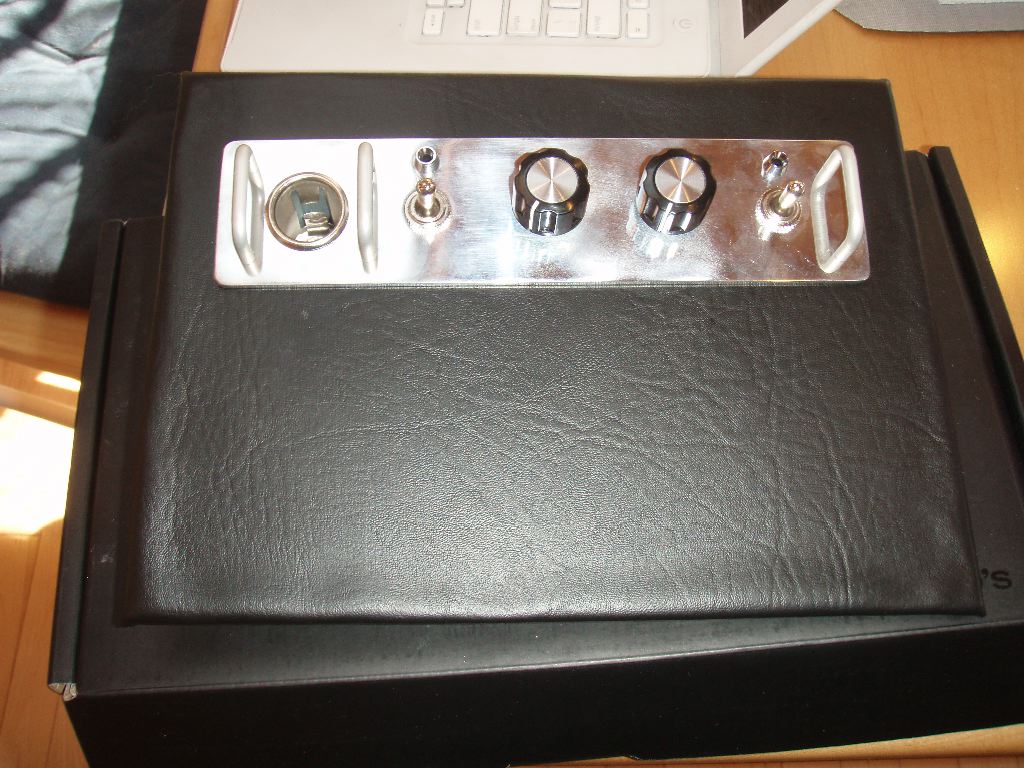
The switch panel looks pretty good. I’m not 100% happy with it, but its good enough for now.
To finish the console now, I just need to get the vinyl onto the side panels, vinyl the transmission tunnel top and install the cup holders, attach the heater hoses to the vents and install it all. Before installing it, though, I need to take the dash off and do some work on the heater ducting, some wiring and the steering column.
I still haven’t found a body shop, but I’m working on it. I am rapidly reaching a point where I may decide to wait until the fall to paint it, and just drive it as-is all summer.