It was an unusually gorgeous day in New England today. While a beautiful sunny spring day can’t be beat, today was really more of a summer day. 80 degrees, bright sun. It was a great day to open the garage up and work on the car. (And, in case anyone thinks I missed out on getting outside today, I also had a big basket of fried seafood for lunch, out in the sun on a picnic table!)
I continued doing more of the interior work, now that the parts I ordered last weekend from McMaster showed up.
One of the first things I wanted to do today was get the dash re-installed. I’d mostly been waiting for the Belleville disc springs to show up so I could re-install the steering wheel. I did a bit of electrical sleuthing to figure out how many amps I needed in the center console, and determine if I actually had enough run already for the seat heaters and the heater controls (including the blower). I had run a 20 amp and a 15 amp circuit, which was sufficient.
I also wanted to polish the trim under the dash before installing it. Because I needed to also polish the panels I was going to fabricate for the heater vents, I decided I really needed to fabricate them first. I had bought two 12″x12″x1/8″ aluminum panels from McMaster, so one of them was used to make the panels.
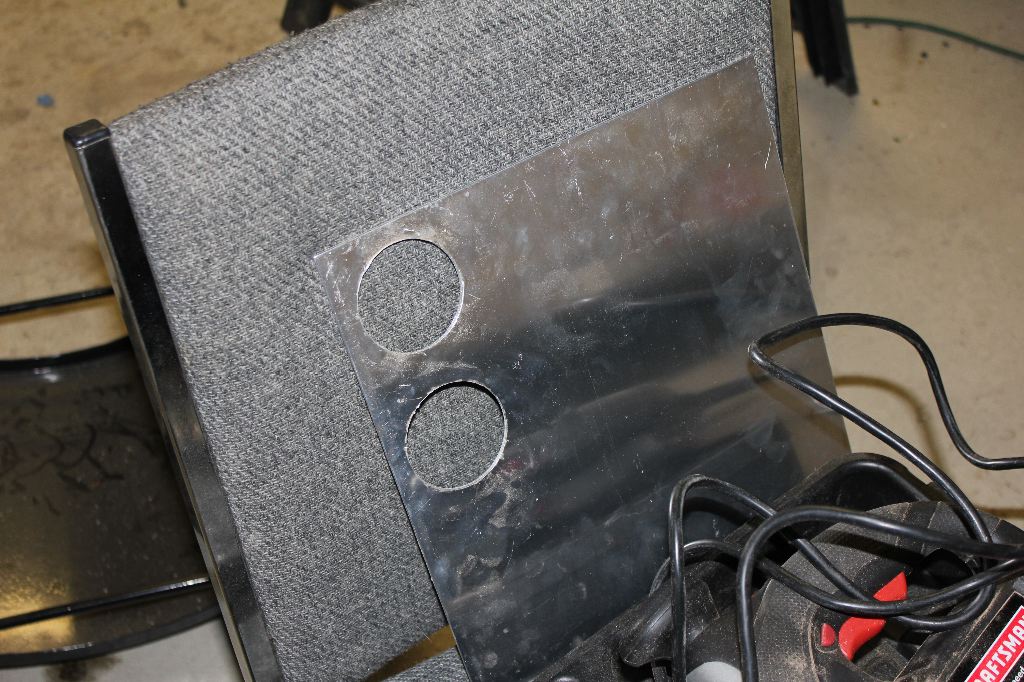
I started drilling two 2 1/2 inch holes in the panel, centered on two 3.5″ squares marked on the panel.
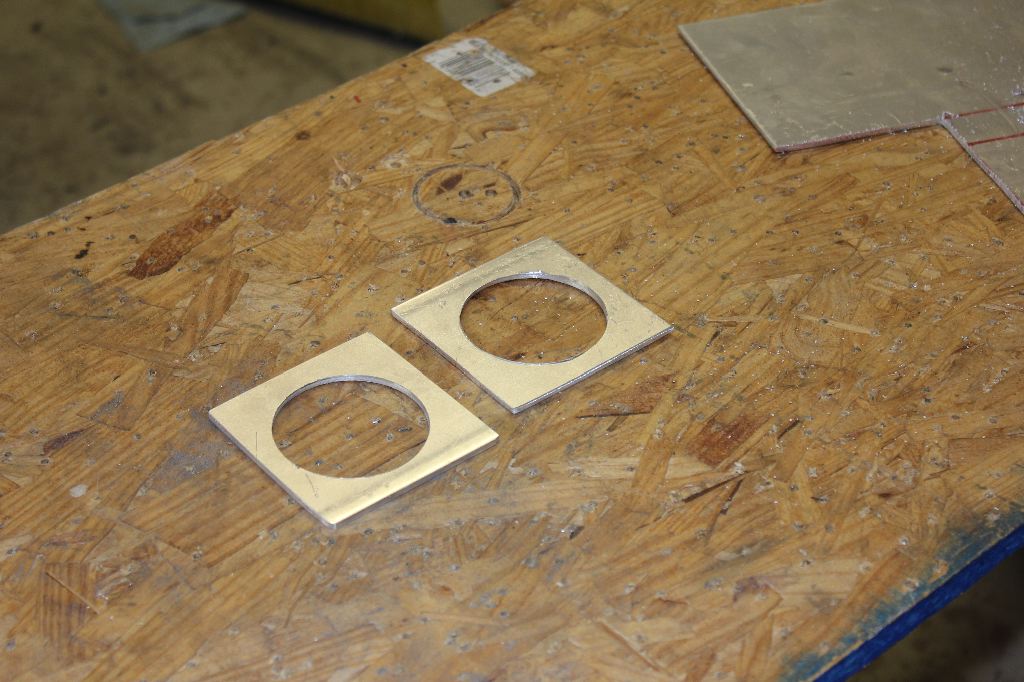
After drilling them out, I used my jigsaw and cut the two plates.
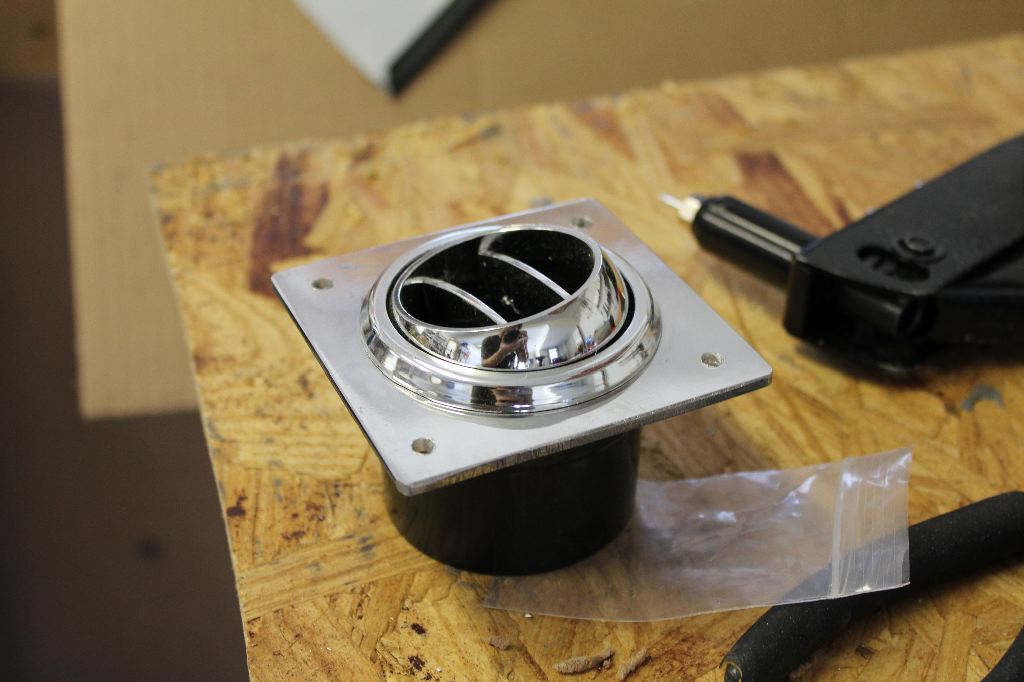
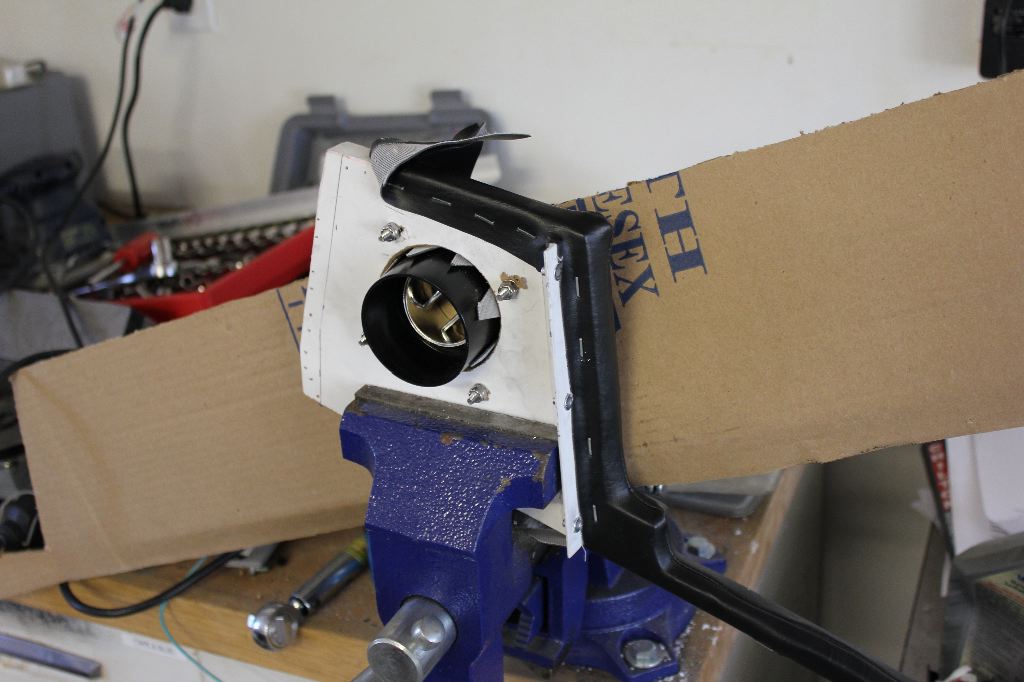
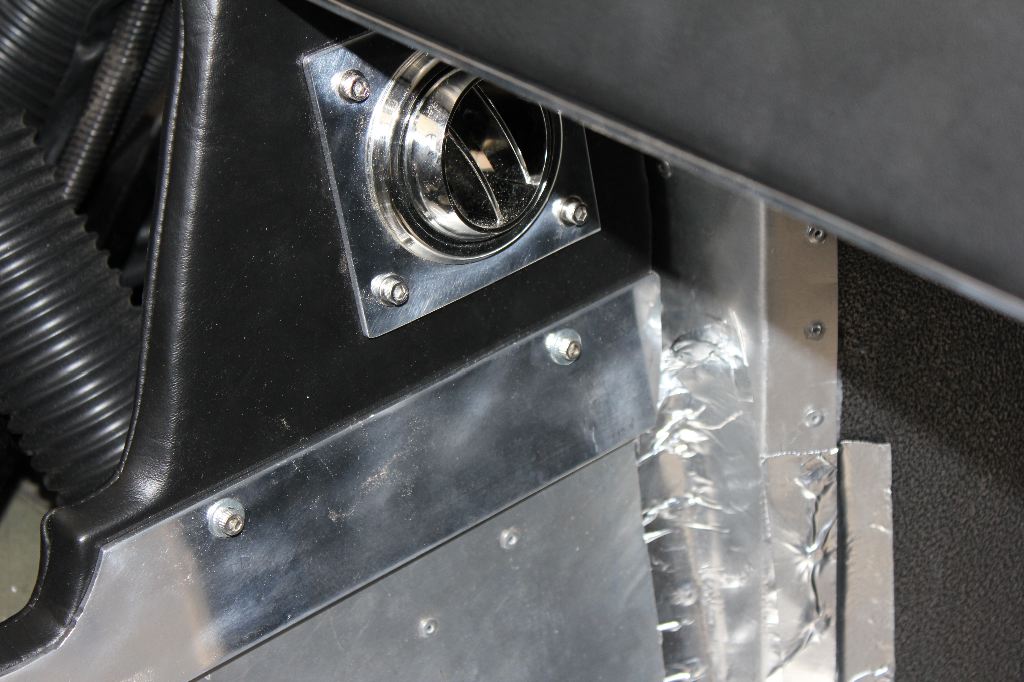
The plates are used to mount the vent balls. These then bolt to the sides of the center console. The heater hoses will be attached to these inside the console.
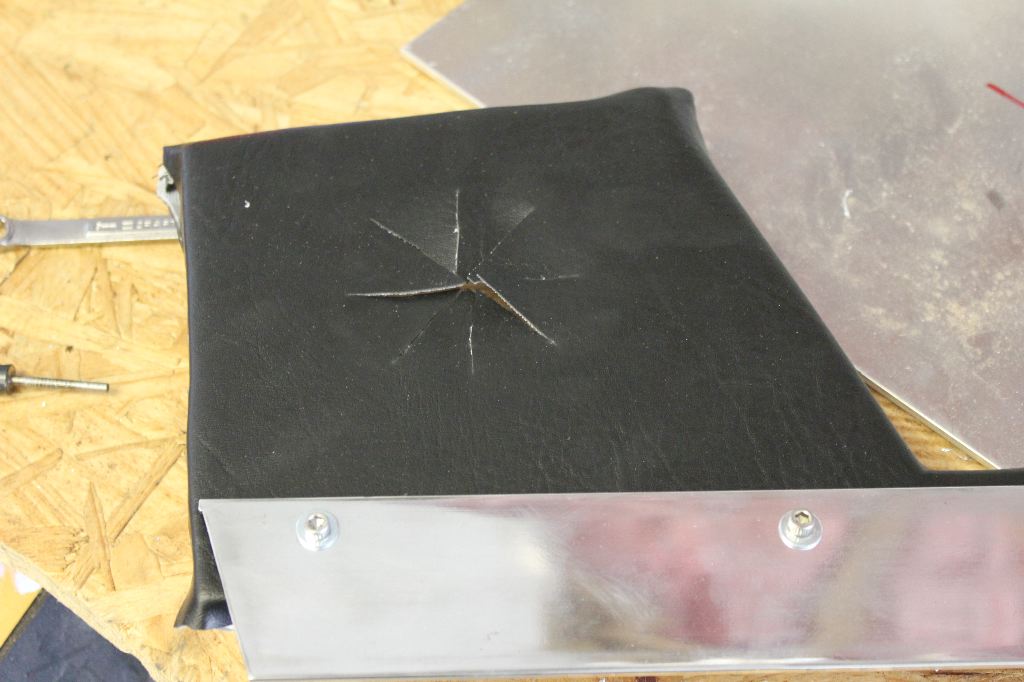
Cutting eight slices out of the vinyl made room to insert the heater ball assemblies.
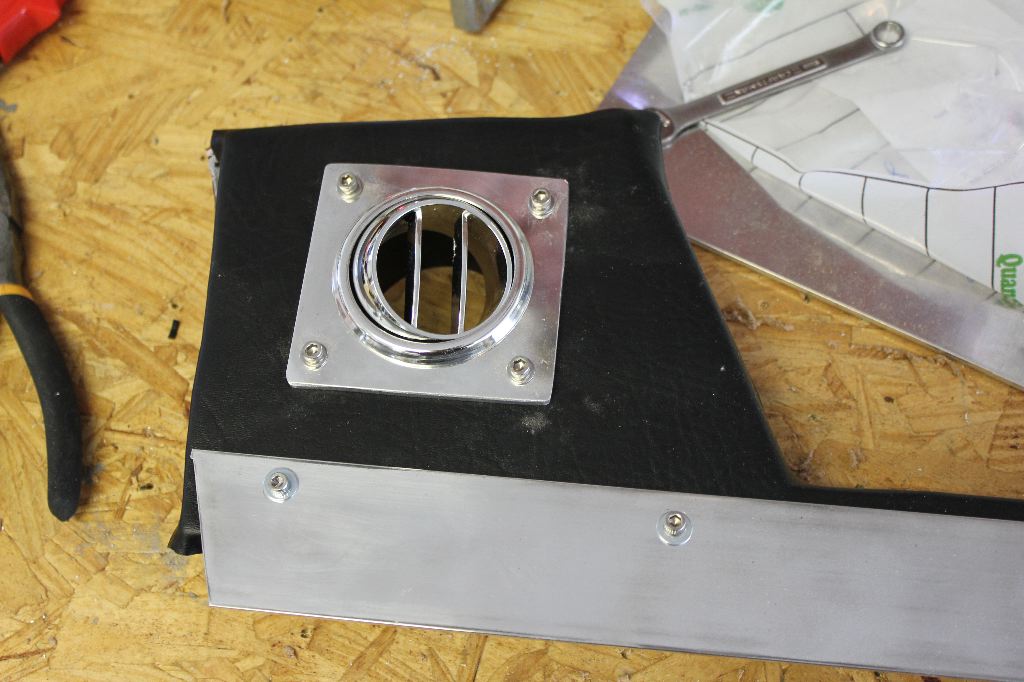
The assemblies then fit into the opening, and are attached using four stainless cap head bolts.
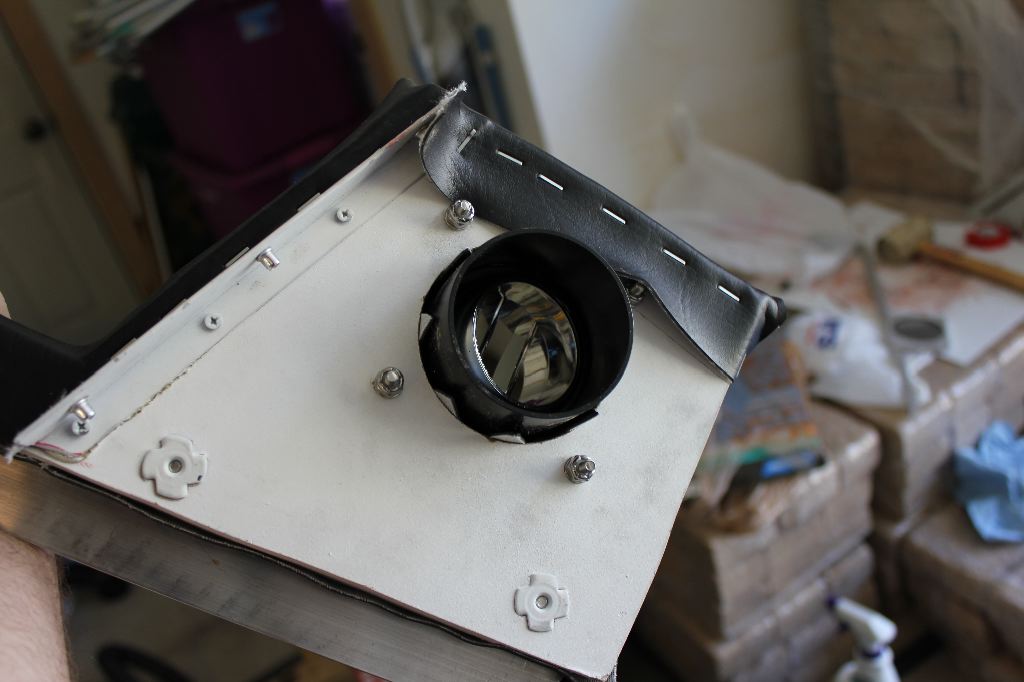
The back of the bolts are secured with washers and locknuts, not invisible T nuts like the side strips of aluminum use.
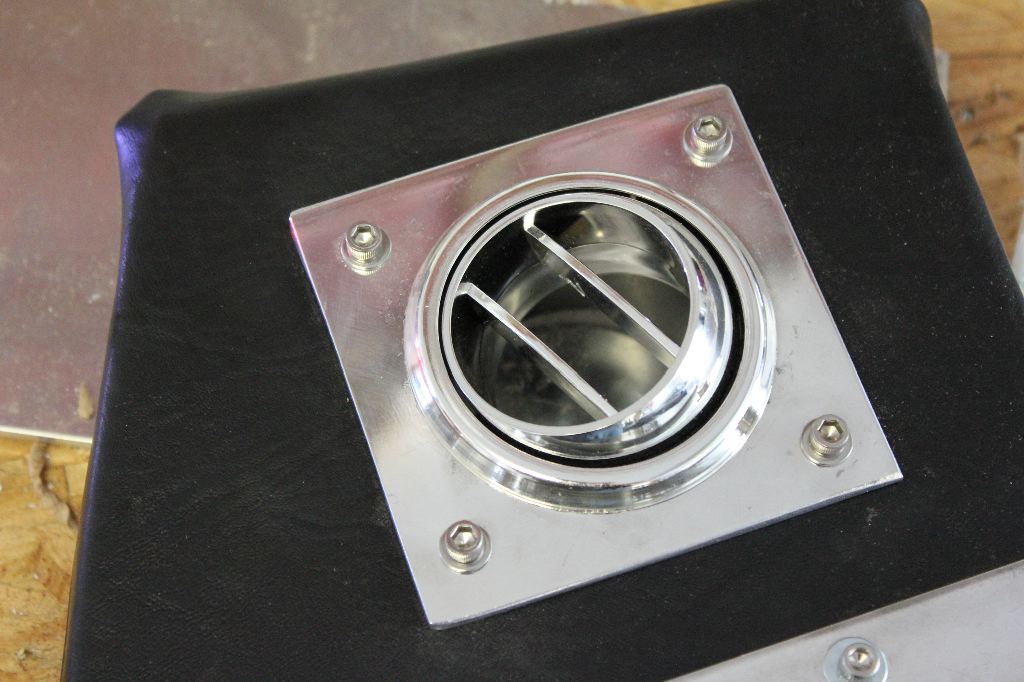
The “chrome” plastic of the ball and the polished aluminum match pretty well, and look good on the panel. I had originally planned that the ball itself would be mounted to the vinyl, but there was just no good way to mount them without a plate of some kind.
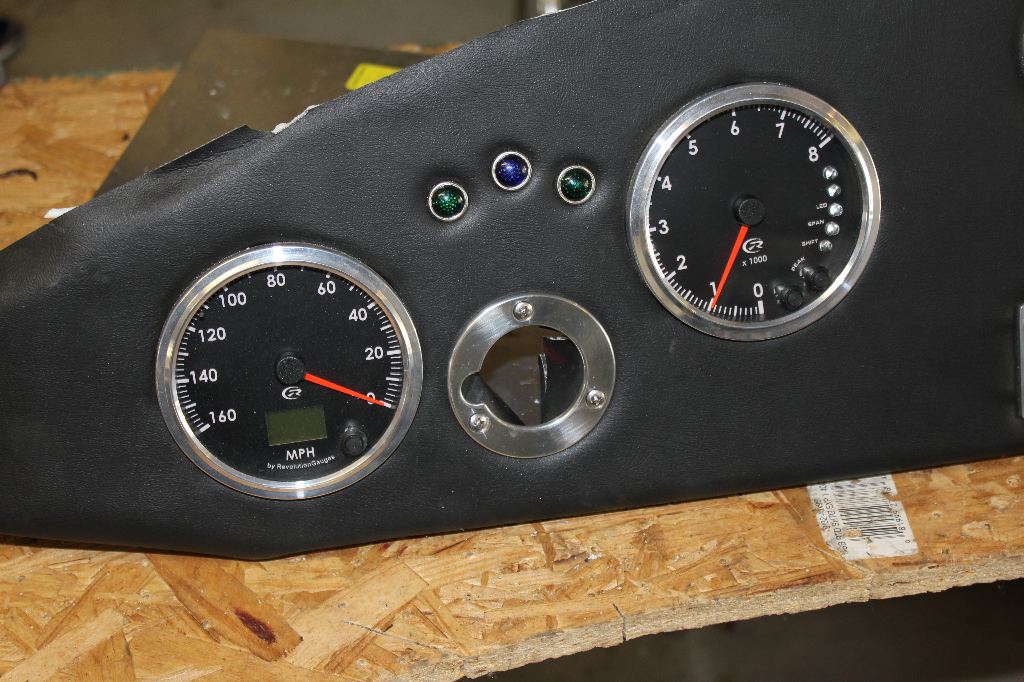
Another thing I had skipped when I first assembled the dash was mounting the trim ring around the steering column. I drilled out the rivets from the turn signal assembly and disassembled it, so I could remove from the dash. I then drilled and screwed the trim ring in, and re-inserted the assembly and riveted it back together from behind the dash.
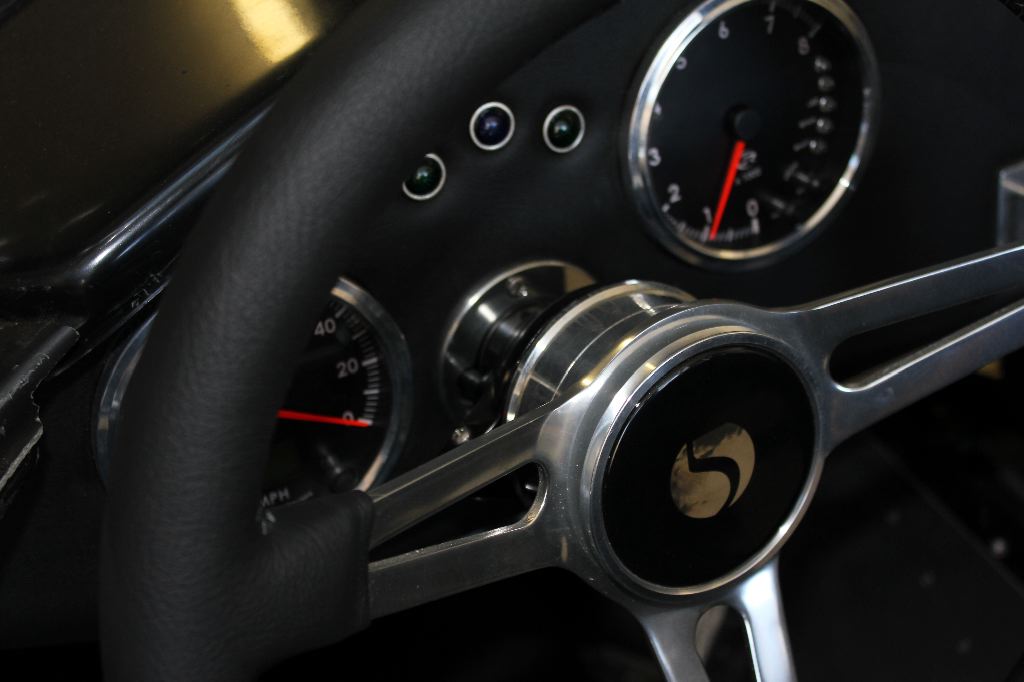
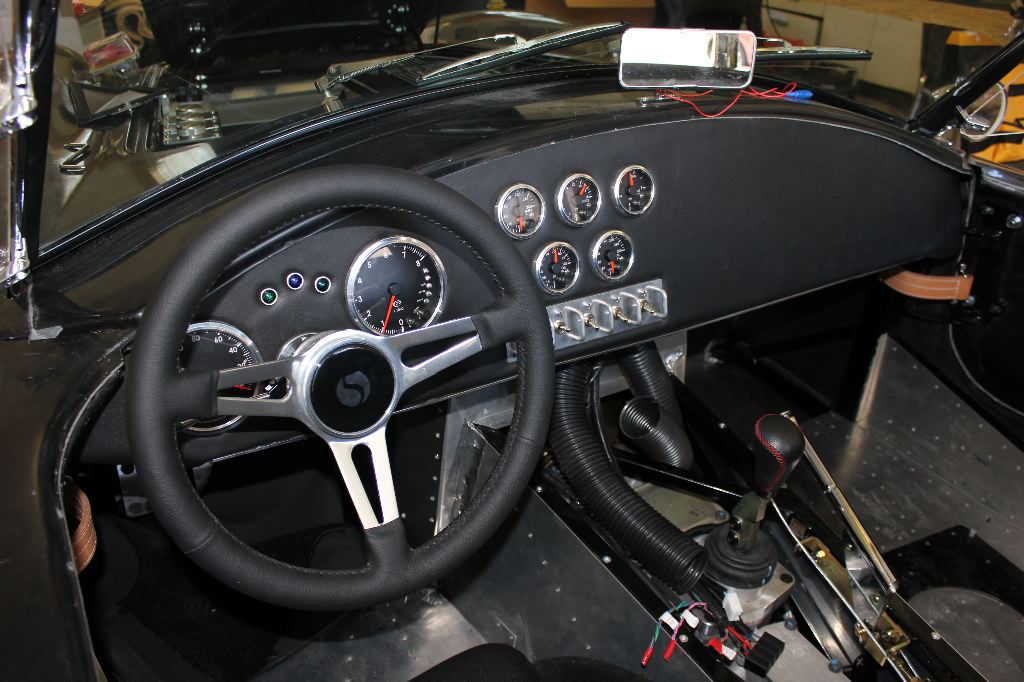
With that done, I reinstalled the dashboard. The trim ring being properly mounted really adds to the “finish” of the dash. The belleville springs also fixed the movement in the steering wheel.
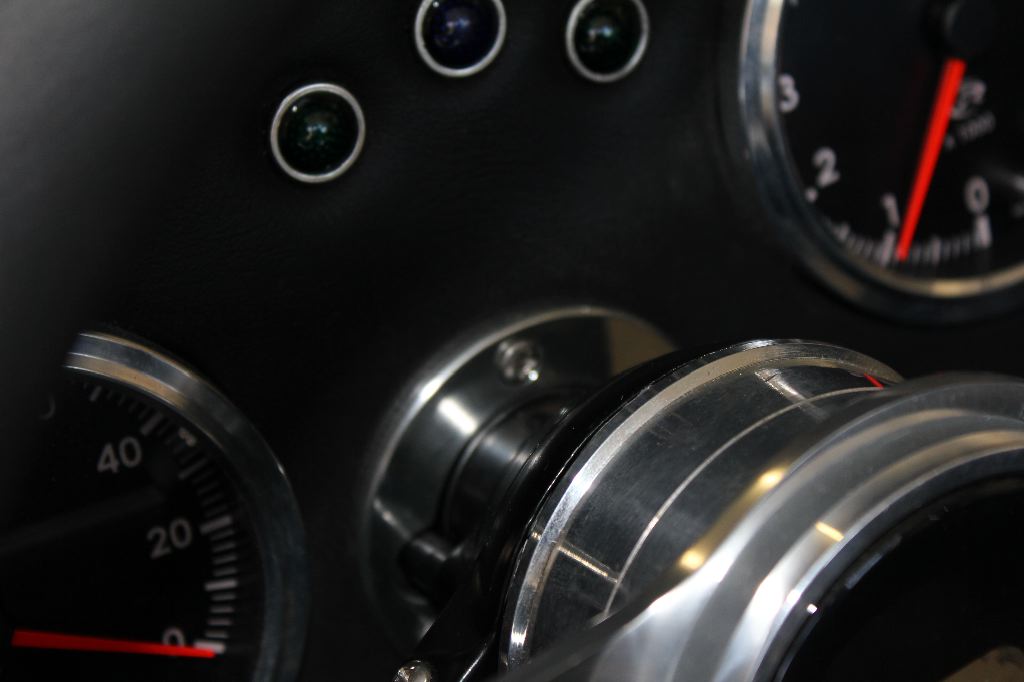
A close up shot of the trim ring.
I also had realized last weekend that the two center console panels were too long with all the vinyl attached, and with the carpet panel installed on the firewall. I decided to shorten them by a half inch each, by removing the material from the console side of the panels. This was intended to pull them slightly farther back into the space under the dash. To trim them, I pulled the staples from the vinyl and peeled them back. I used a Dremel and a cutting bit to trim the wood out. Once that was done on both sides, I re-stretched the vinyl and secured it.
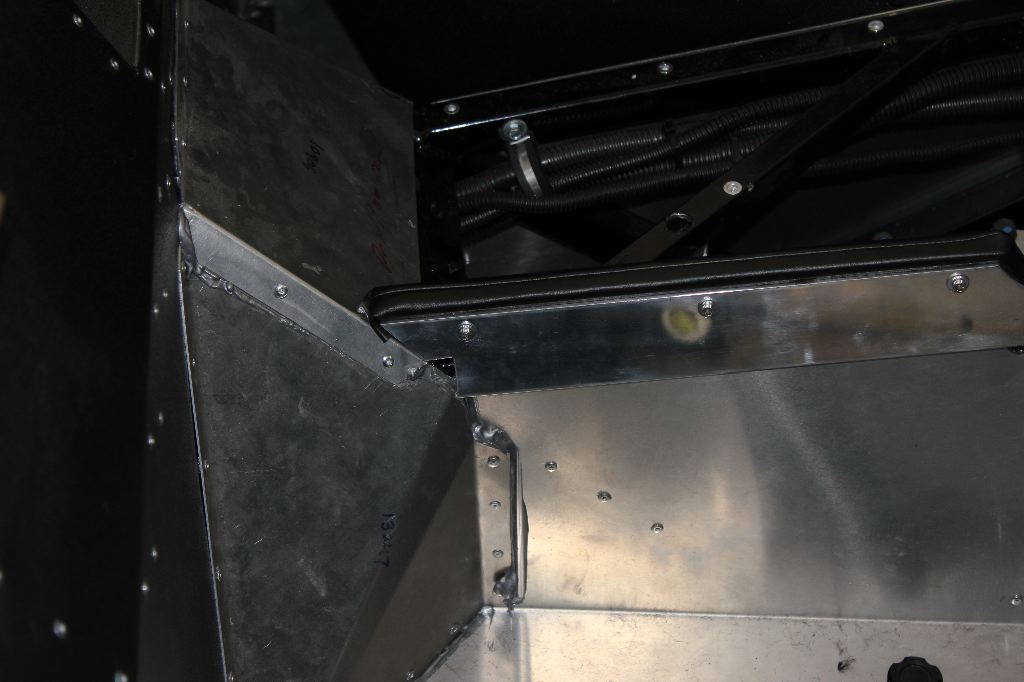
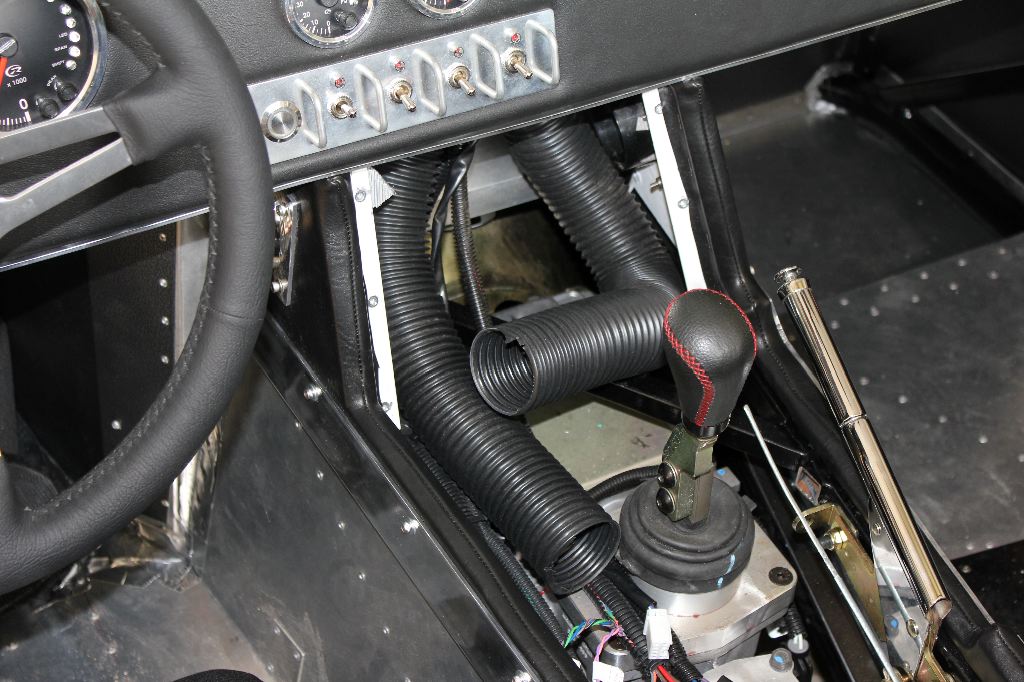
With the panels shortened, they fit properly in the dash now.
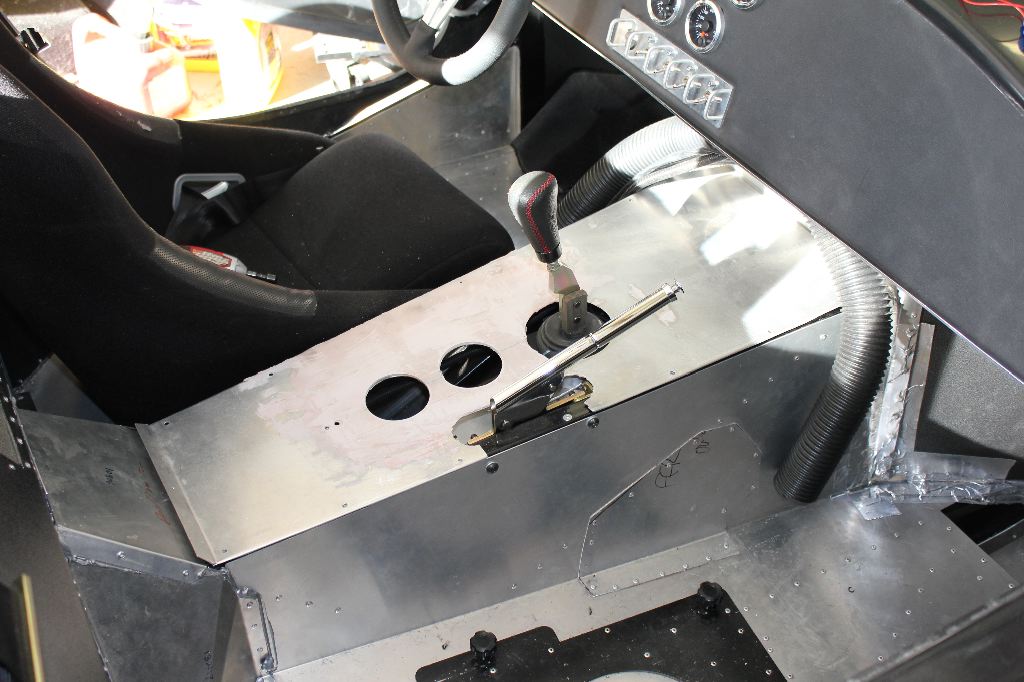
As I was working on the console already, I decided to figure out where the cup holders would be mounted and get the holes cut for them as well. The framework of steel in the transmission tunnel really limits them to a straight line behind the shifter, or across the console just ahead of it. The face panel of the center console would’ve been very close to them in front of the shifter, so I positioned them behind the shifter.
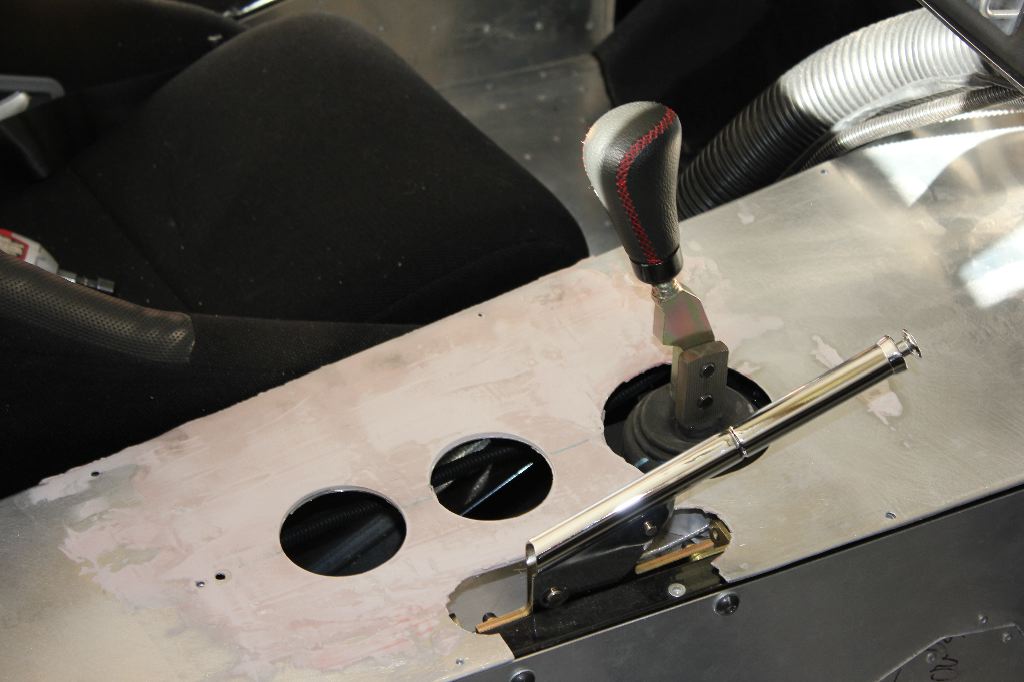
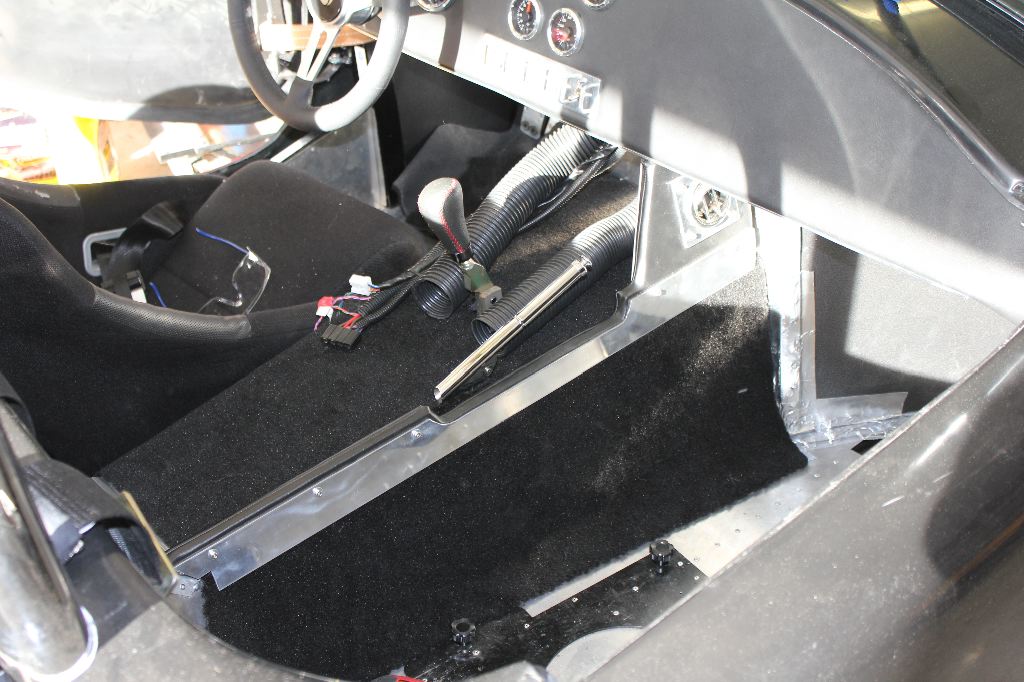
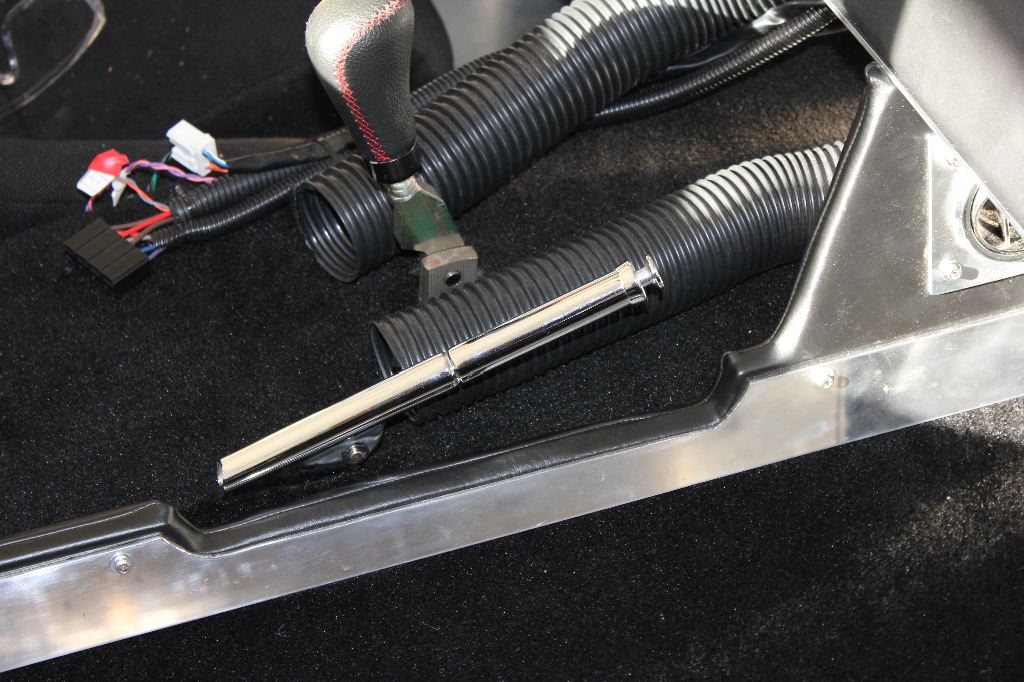
With the panel holes finished, I wanted to actually get the panel covered, so I pulled out the transmission tunnel carpet to cut into three pieces. Normally the cover can’t be removed, so the single piece wraps over the entire tunnel. By cutting it in three pieces, I can remove the top. It also gave me a chance to get one of the console panels installed so I could get a sense of what it would look like all together.
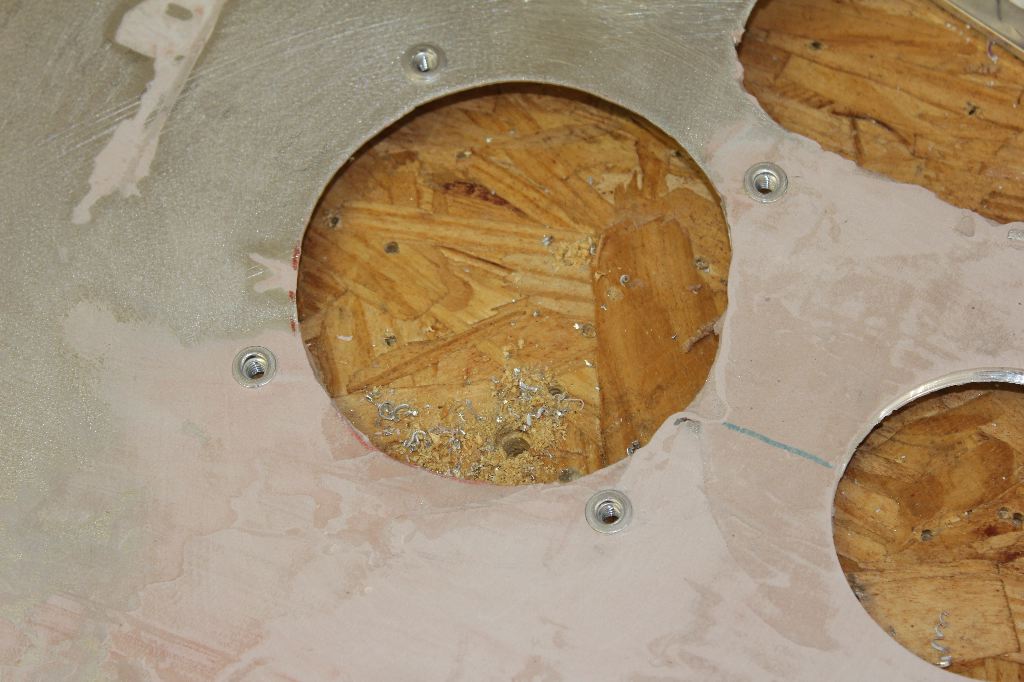
Once the carpet was cut, I also wanted to deal with the shifter and e-brake trim ring. This was a detail I had been avoiding dealing with for the last year or two, as I wasn’t sure how I was going to make it all work. I positioned the trim ring for the shifter and drilled four pilot holes. I decided to use stainless button-head bolts to mount it, and to make it more easily removable, I used four large #8-24 rivnuts.
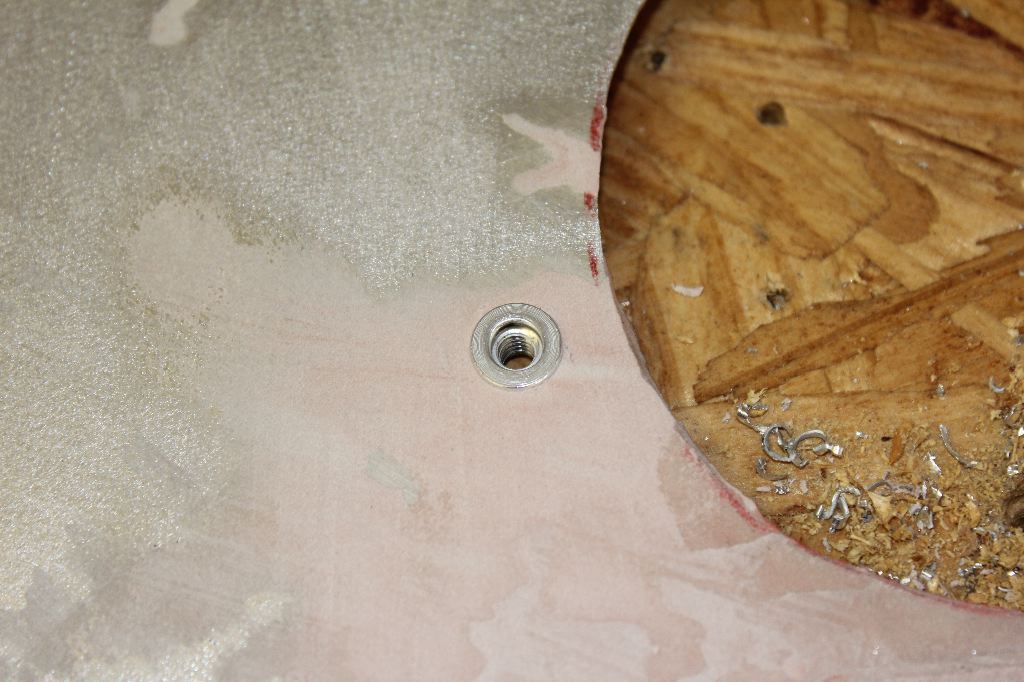
Unfortunately I didn’t actually have any #8-24 bolts, but I got the rivnuts installed at least.
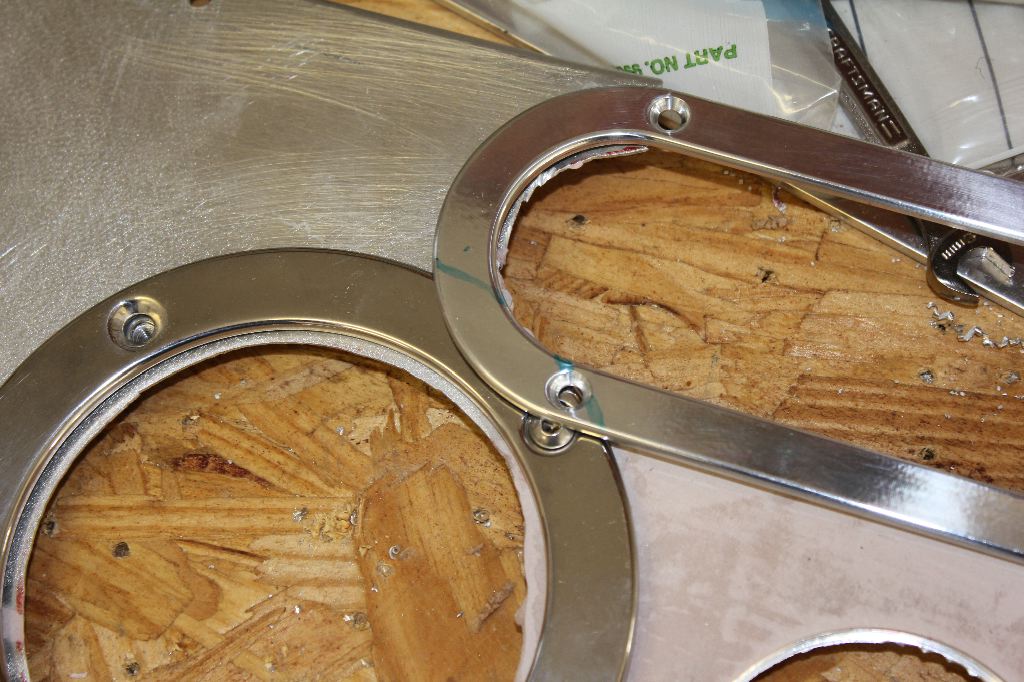
The next problem I had was interference between the e-brake boot trim ring and the shifter trim ring and the passenger side console panel. I marked the trim ring with a sharpie.
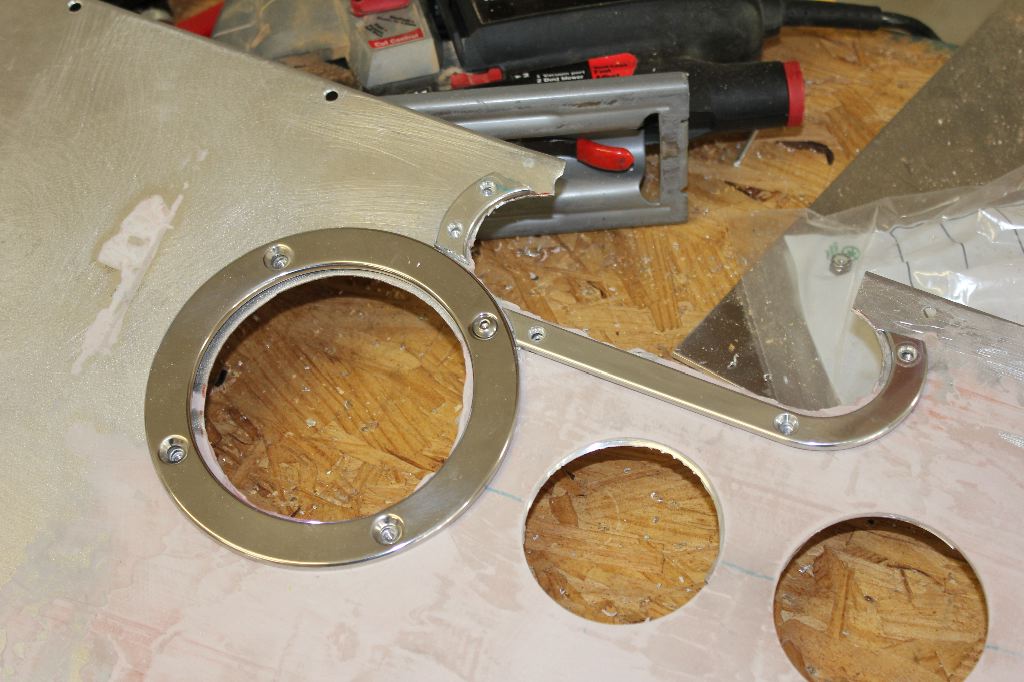
Once marking it, I used the cutting wheel on the Dremel to trim the metal from the parts of the ring that were going to interfere.
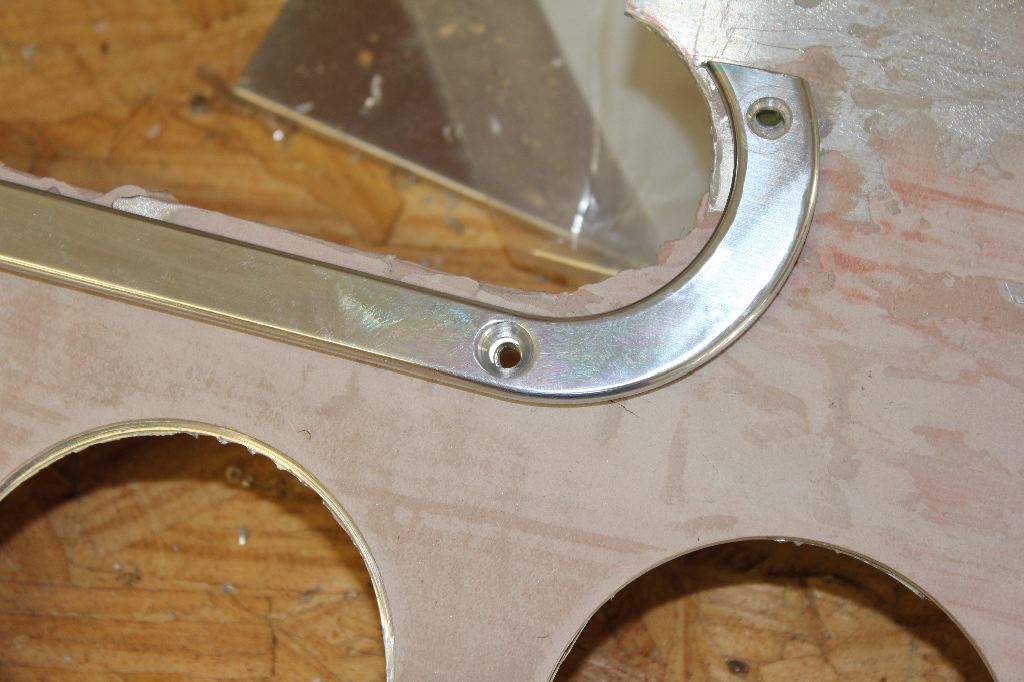
I also drilled new bolt holes to use to mount the trim ring, as the existing holes weren’t in good positions to support it once I had cut it into pieces. I put five smaller rivnuts in to hold the mounting bolts for the e-brake trim ring.
I may do some more work on the car tomorrow — I want to get the carpet glued to the transmission top panel, as well as the side panels, and get enough of the console wired up to get the blower controls working. The seat heaters aren’t in the seats anyway, so I can wait on that wiring until I get the seats recovered. (I’ll run the wiring to the back of the cockpit, but I won’t wire anything up yet.)
I’ll continue installing the cockpit carpet, which will leave the car in a good spot for driving this summer. I also have an e-mail in to Mike Forte to get a time to get the engine back down to his shop to deal with the oil leak. I don’t want to do a ton of driving without it fixed, since it really makes a giant mess of the car.