A few weeks ago I mentioned how I needed to get the body taken back off the car to get some of the next steps taken care of. A big part of this was to be able to get the front wiring harness out of the car, so I could finish taking it apart and adapting it to the wiring I needed in the front of the car. Today I started working on the rewiring of the front chassis harness to support the HID headlights.
I made some good progress, although I am guessing I still have several weeks of wiring work to go, given how little the Ron Francis harness really applies to my car.
Unfortunately I didn’t think to grab the camera during the early part of my work today. I started off by getting the front harness disconnected and out of the car. I wasn’t planning on cutting or changing any wiring in it — I just needed to get some additional wiring bundled into it. This is a change from my original plan, which was to adjust the headlight wiring to work with the HIDs. I decided to be a bit more conservative with it and leave the halogen headlight wiring in place in case I have any issues with the state. The headlights are DOT legal, but what is legal and what the state chooses to harass people about aren’t always the same thing. Leaving the headlight wiring intact gives me the option of putting in the halogen lights if need be.
The HID wiring is fairly complicated and it took some work to figure out how to best adapt it to a “from scratch” install. The directions are long gone and the wiring was clearly designed to work by tapping into existing wiring. After tracing wires and relay connections it turned out to really be very simple: high beams work as normal, low beams are just a fused 12V switched circuit to the ballasts. Nothing to it. There are two relays involved, and the wiring has to be set up such that the high beams being enabled does not shut off the low beams. That is more complicated on an existing car, but should be fairly easy to do with some adjustments to the Ron Francis wiring harness.
The new wire bundle for the front of the car, then, just needs three wires for the headlights: Left hot, right hot and a ground. Because of the initial draw as the ballasts are first starting up, the two power feeds for them are wired through separately fused circuits (unlike normal headlights). I also added two additional wires to the bundle. One will be used via a dash switch to trigger the fan relay for the radiator fan even if the thermostat hasn’t turned the fan on, and the other will tap into the output side of that relay to illuminate the LED above the fan switch when the fan is running.
The five wires were bundled together and connected to a 6-pin Molex connector. The entire bundle was then taped along with the existing bundle of wires on the front harness. Because the split loom wouldn’t fit over the four new wires, I used braided wire loom (which matches the harness for the Powerjection system, anyway) to rebundle the wires.
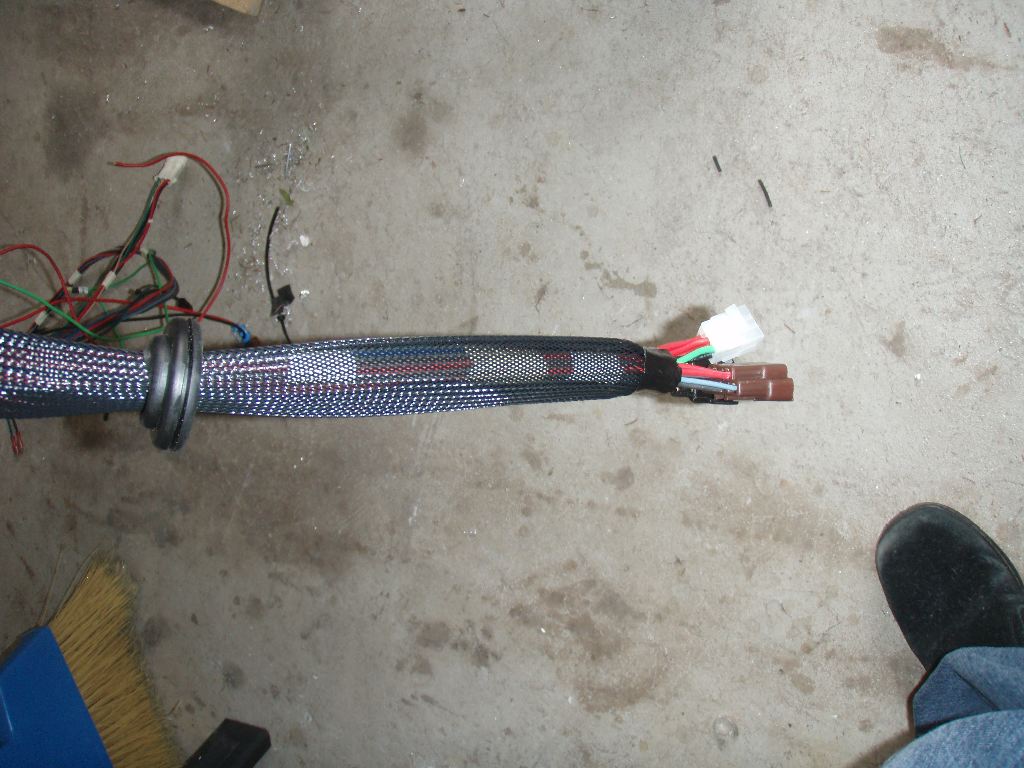
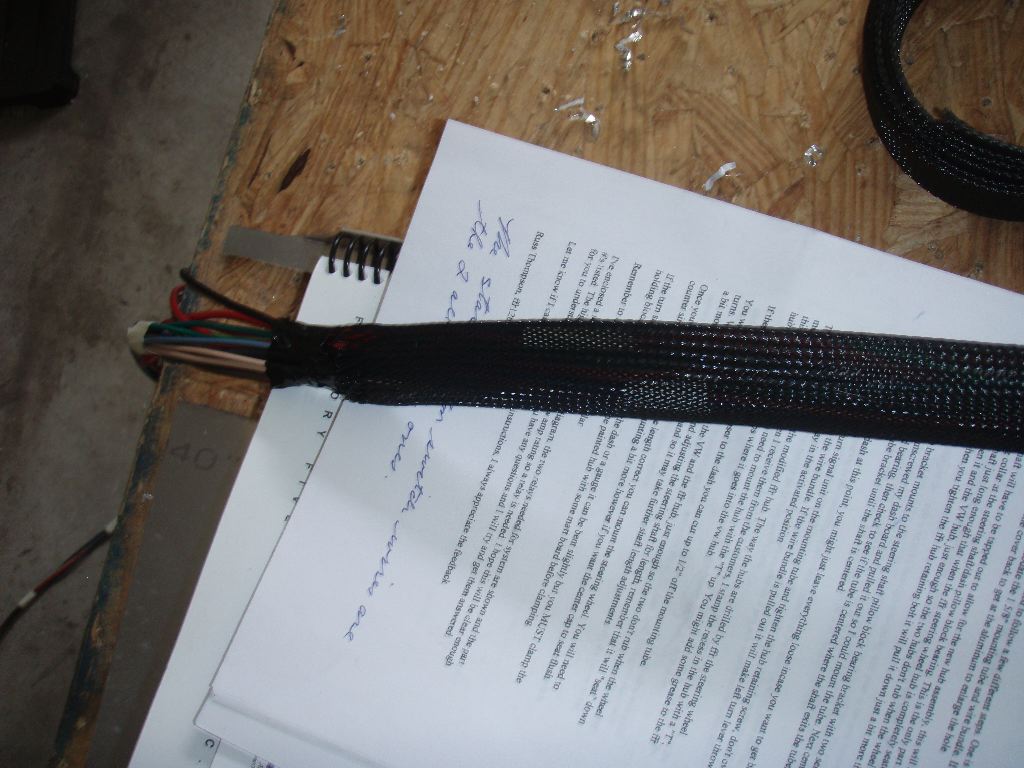
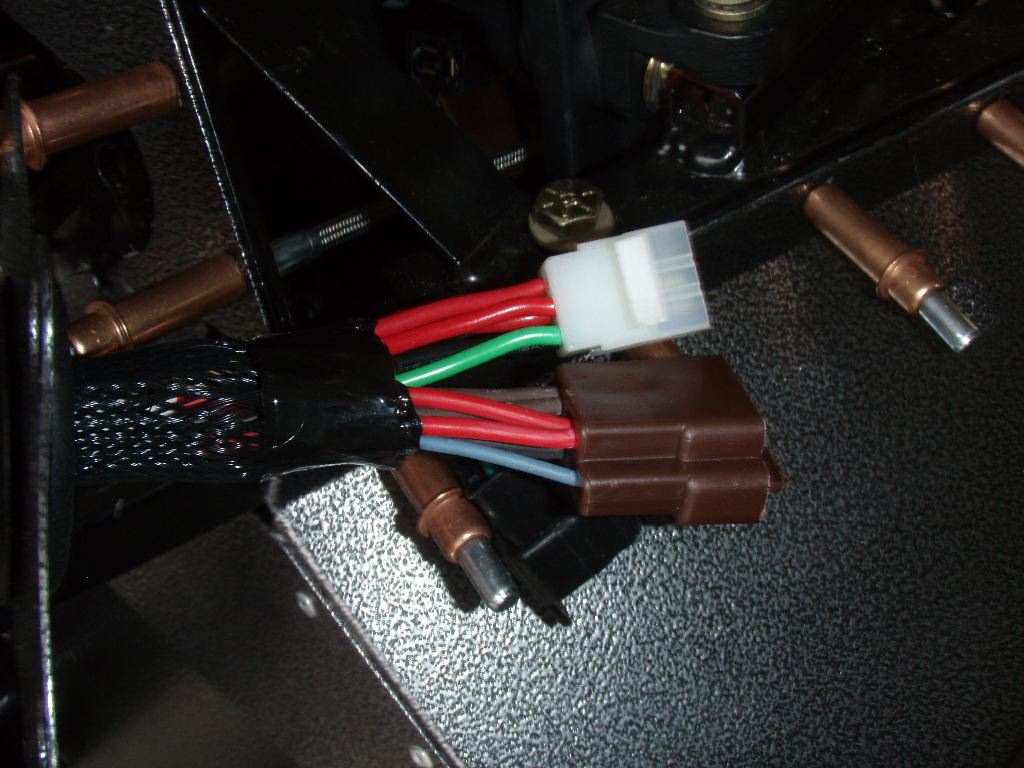
The above photos show the large bundled end of the harness. In the third, the new connector can be seen (there are now three connectors for the front harness).
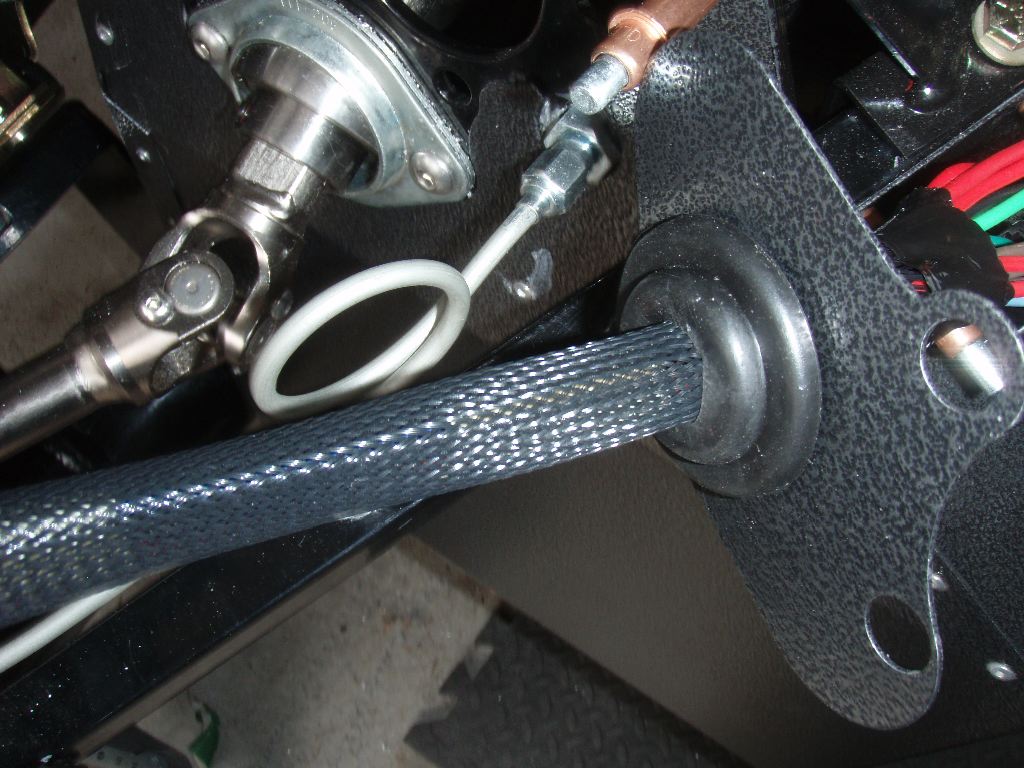
It took some work to squeeze the larger bundle through the footbox grommet, but I got that back in place as well.
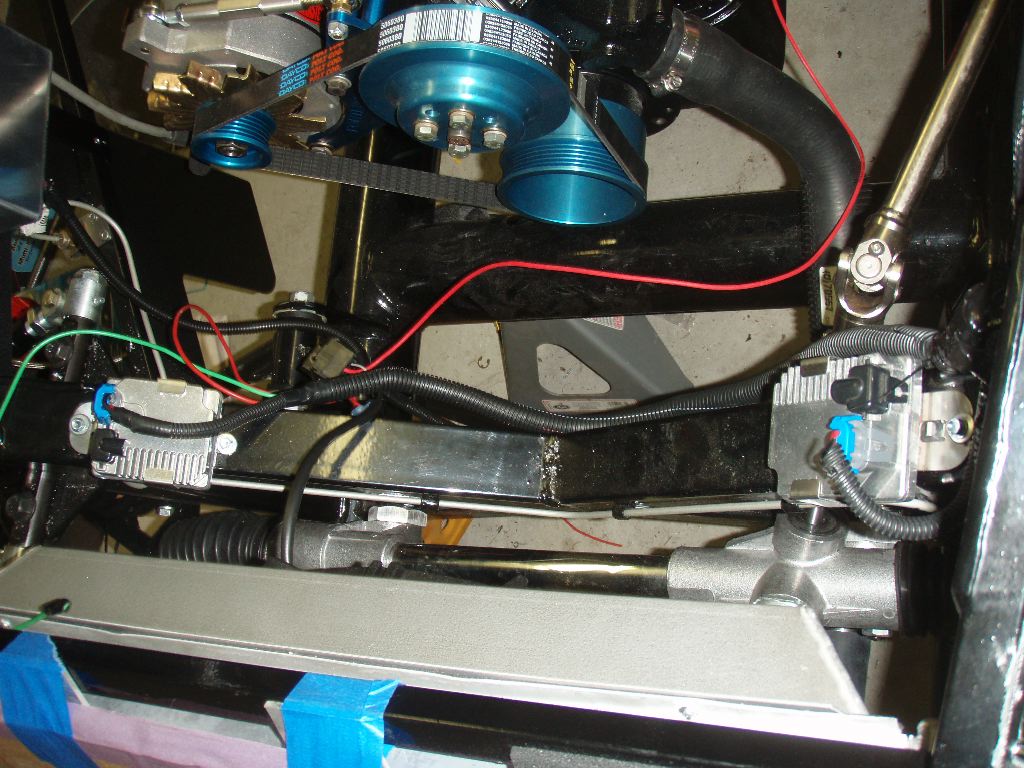
At the other end of the harness are the two ballasts. I mounted these as well.
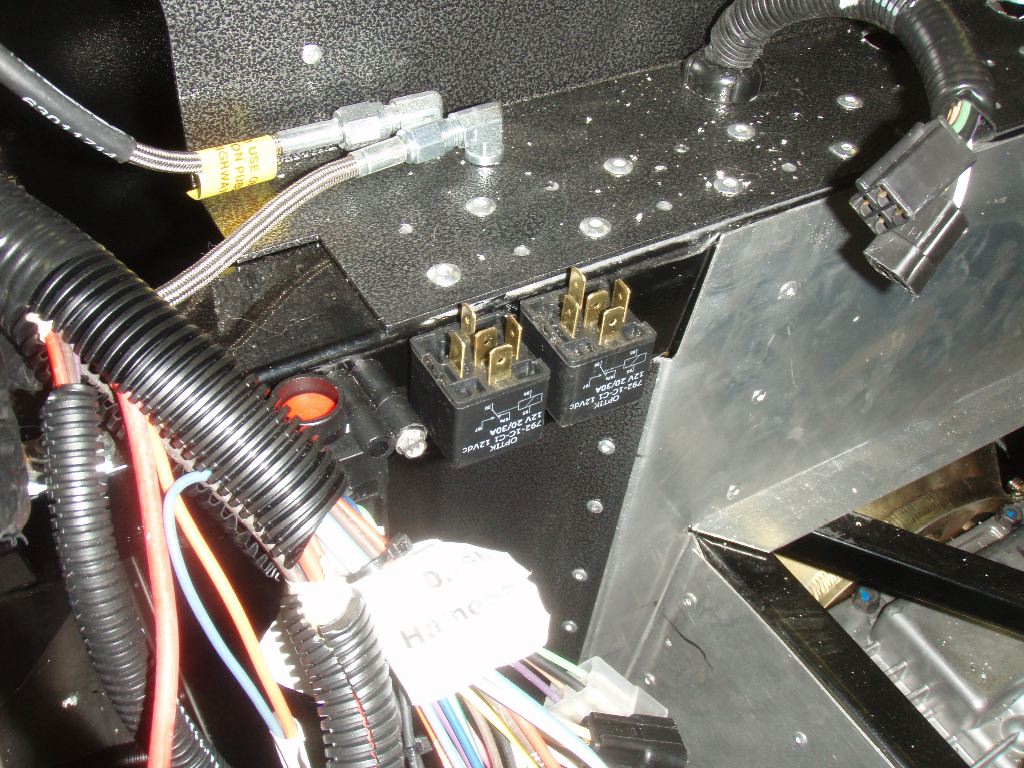
Inside the car, I mounted the two relays next to the interia switch. These are above the driver’s knees, but tucked up inside the dash. Strangely these mount via the relay, not the relay socket.
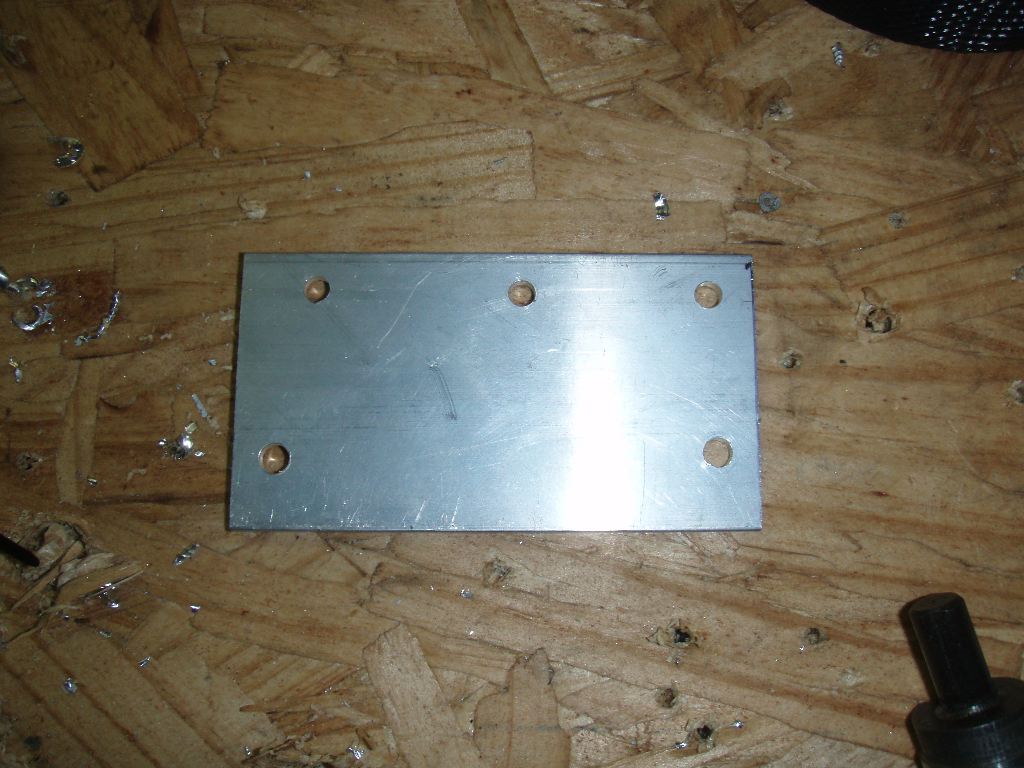
I decided to remove the inline fuses in the original HID kit’s wiring. Inline fuses are okay with add-on wiring, but don’t seem “finished” on a new car. I wanted, instead, to add another small fuse block and route the power through it instead. After positioning it in a number of places around the dash, I decided to tuck it up in the drivers footbox like the other fuse block. To do so, I made a small bracket out of a short piece of the 2″x1/8″ aluminum stock (the same that I used for the switch panel).
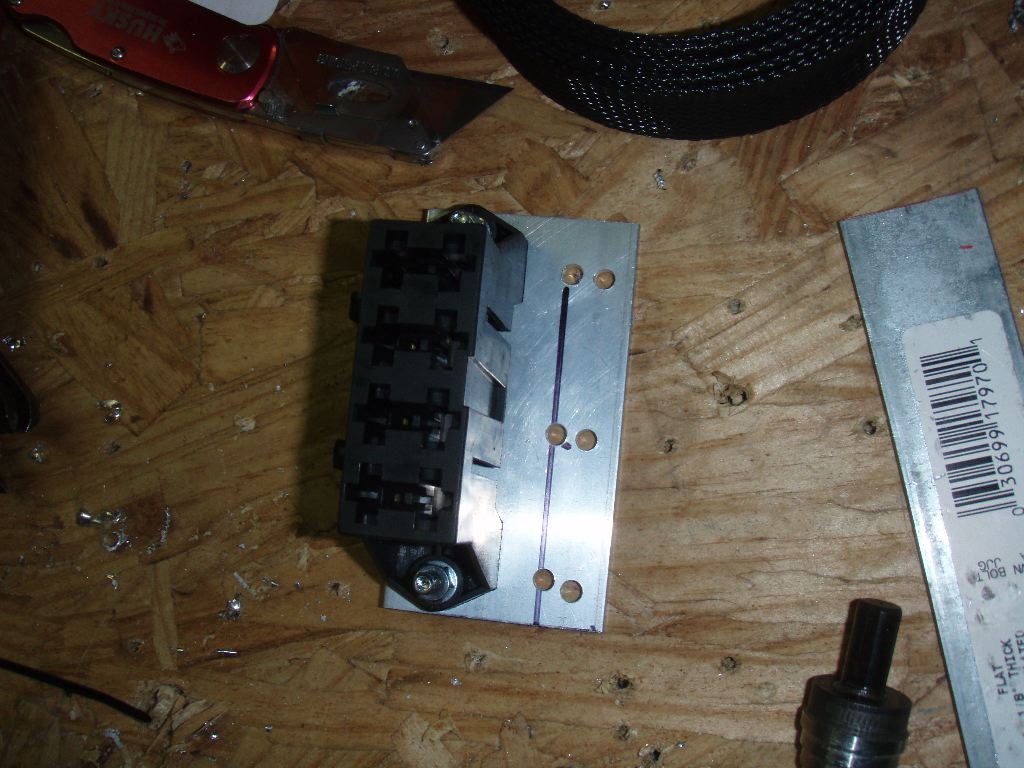
The four-position fuse block bolts to it. This will be riveted to one of the 3/4″ steel tubes in the footbox once the wiring is in it.
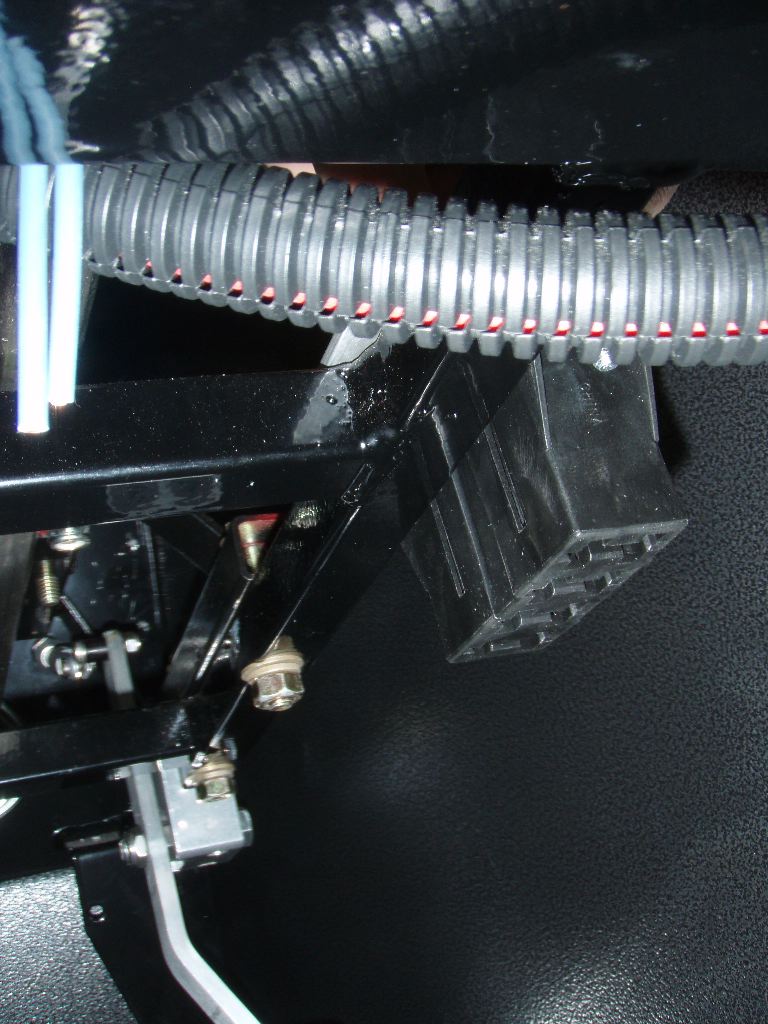
This shot shows where it’ll be positioned. This is even with the fuse block but on the right side of the footbox instead of the left.
Tomorrow I’ll work on getting power to the fuse block, and from the block to the relays and back to the front lighting. I’m also planning on getting the dash switches wired up.