Fresh off getting the engine started… sort of… its back to the work week and back to finding things I can do in a couple hours in the evening. I e-mailed back and forth with Retrotek today about the tuning, but the weather is lousy for the next couple of days, so I can’t really take another stab at the engine until perhaps Thursday.
I decided today to do some cleaning up of the wiring behind the dash. Now that I know the engine works, the wiring behind the dash is basically done and I can get it cleaned up and get the sheet metal installed, as well as get the dash mounted and the associated bits wrapped up.
So, the e-mail conversation with Retrotek was enlightening. They don’t have a better program for my engine, but explained to me the steps I need to do to get the ECU to learn the engine properly. Part of that is being able to drive the car, so I’m limited in my ability to do that until its registered, but part of it was disabling the timing control on the ECU. That’s one variable too many for the ECU to be controlling and being able to get a tune easily.
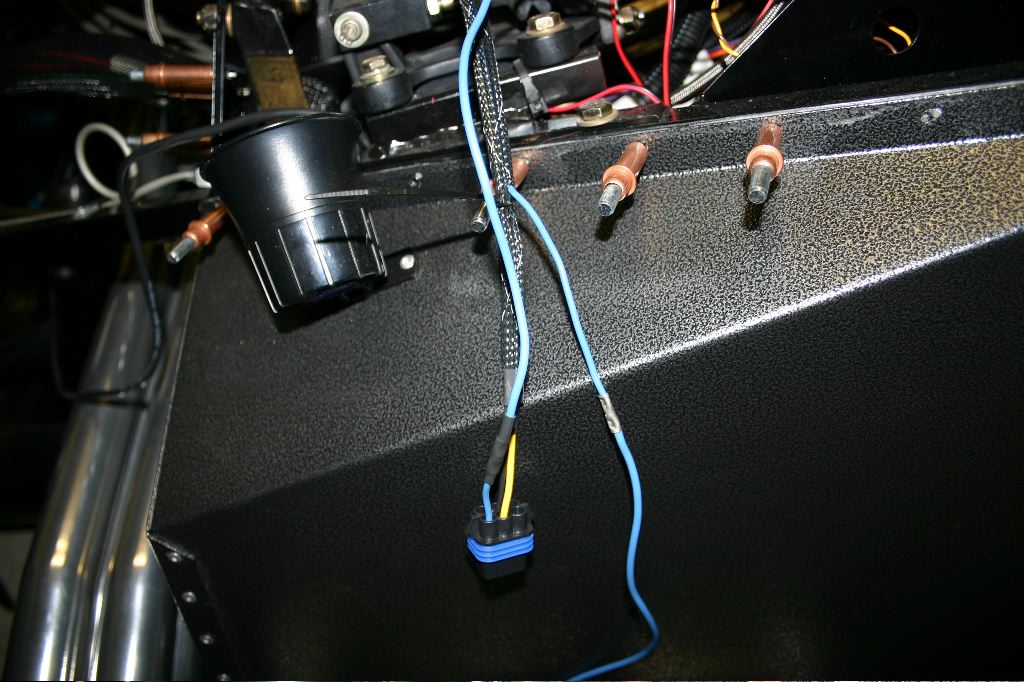
To disable the timing control, I had to cut a wire in the TFI harness. As part of that, I needed to extend the wires so I could splice them back together again. I crimped on some splices and used heat shrink to insulate them.
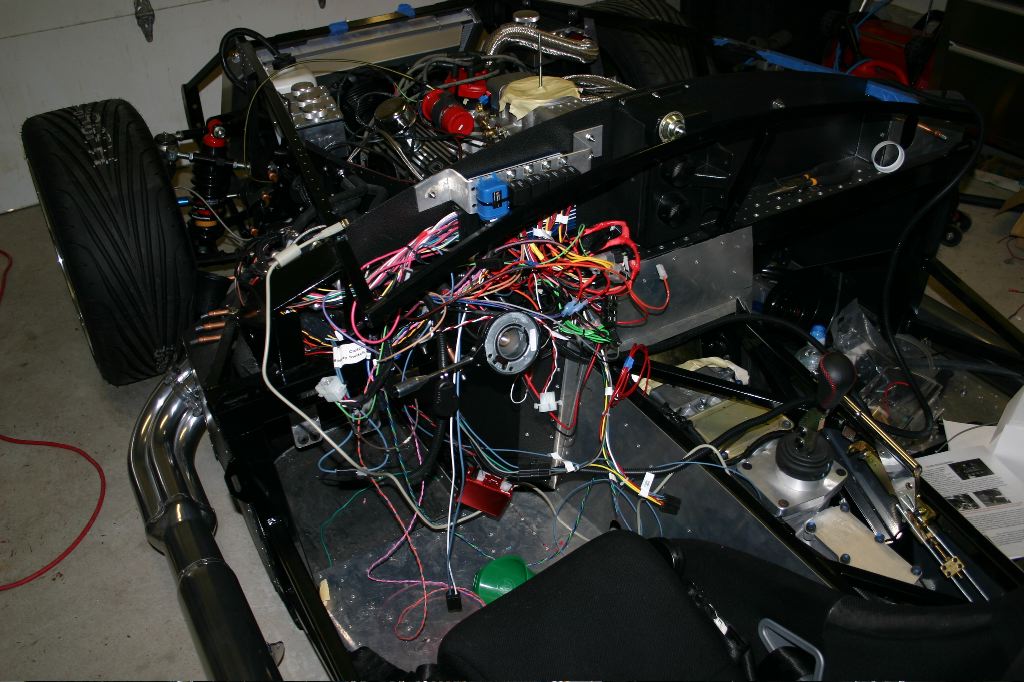
The wiring behind the dash was a giant mess — teasing out all the bits of the Ron Francis harness, and then integrating it, the Retrotek Powerjection harness, my HID headlights, the Digital Guard Dawg and my custom dash wiring just created a rats nest of wires.
In an ideal world, I’d pull all the wiring out of the car, and rebundle all of it, but its just not practical at this point.
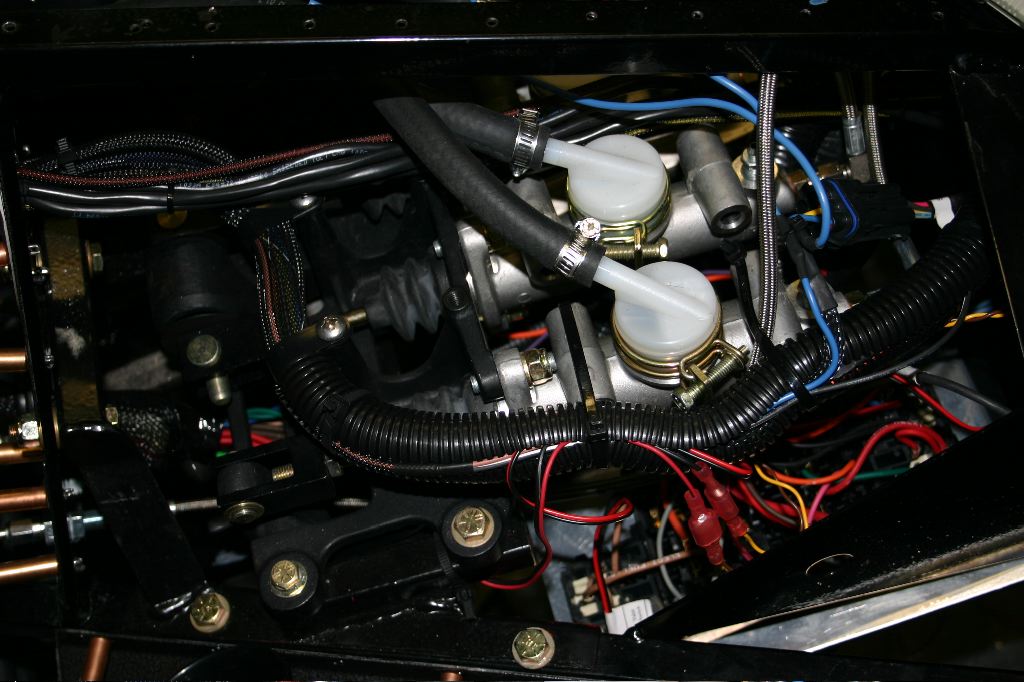
The first thing I did was use some large split loom to bundle the Retrotek harness. I had this run previously around the brake pedal frame, but it wasn’t well protected. I bundled up all the wires I had run along there, plus a few others that had been kicking around in the footbox, and ziptied it all up to secure it.
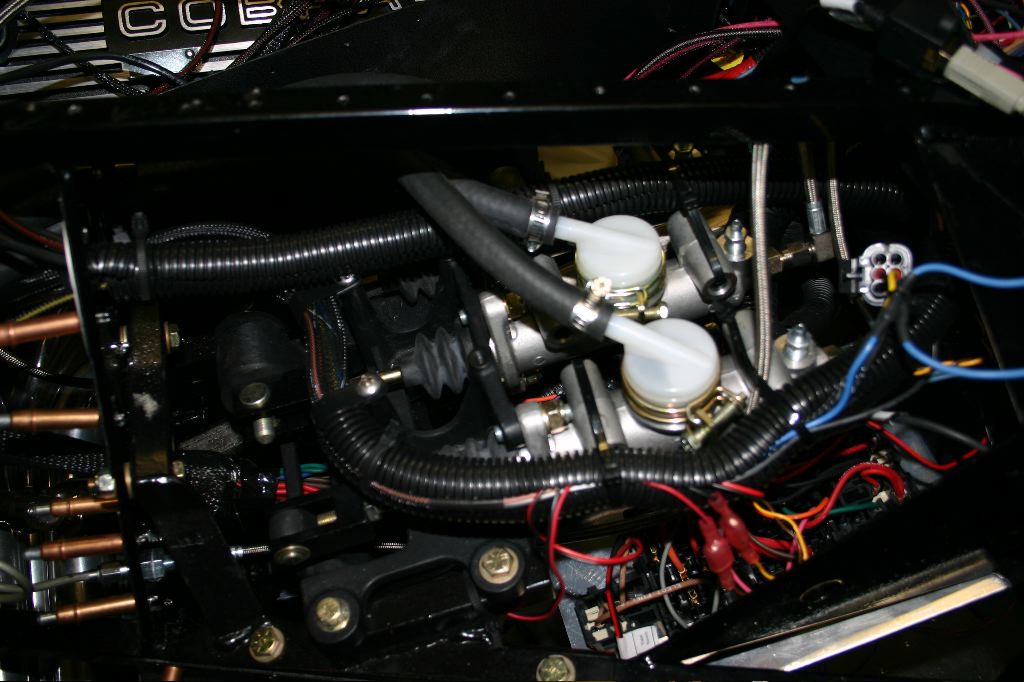
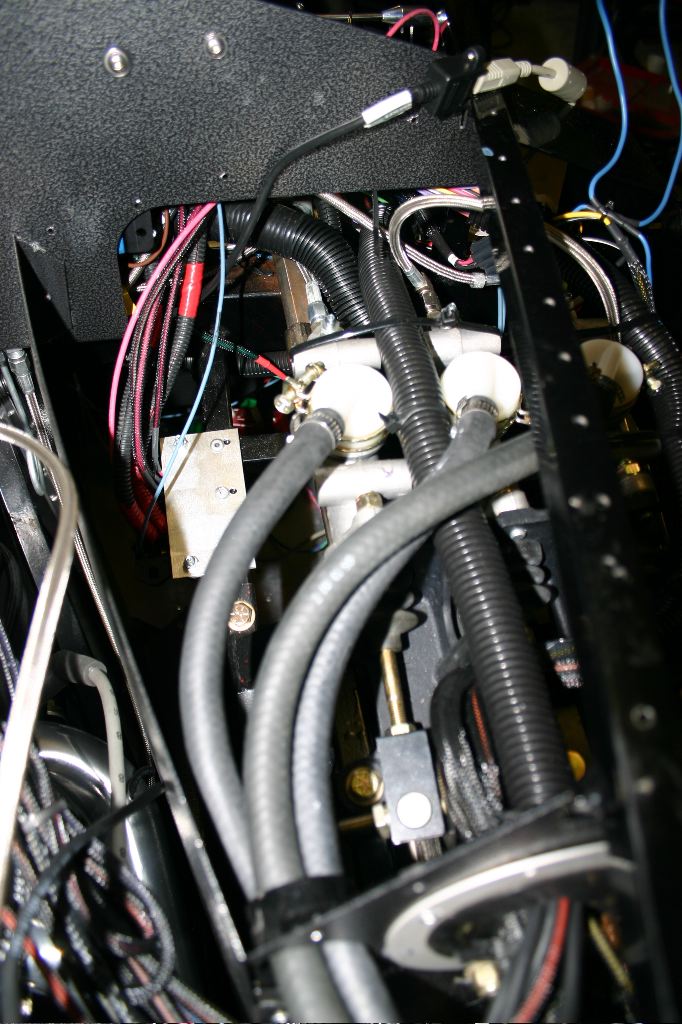
The wires for the dash gauges had been run through the footbox as well. These run between the master cylinders for the front and rear brakes. I also bundled these into some loom and secured it with zipties.
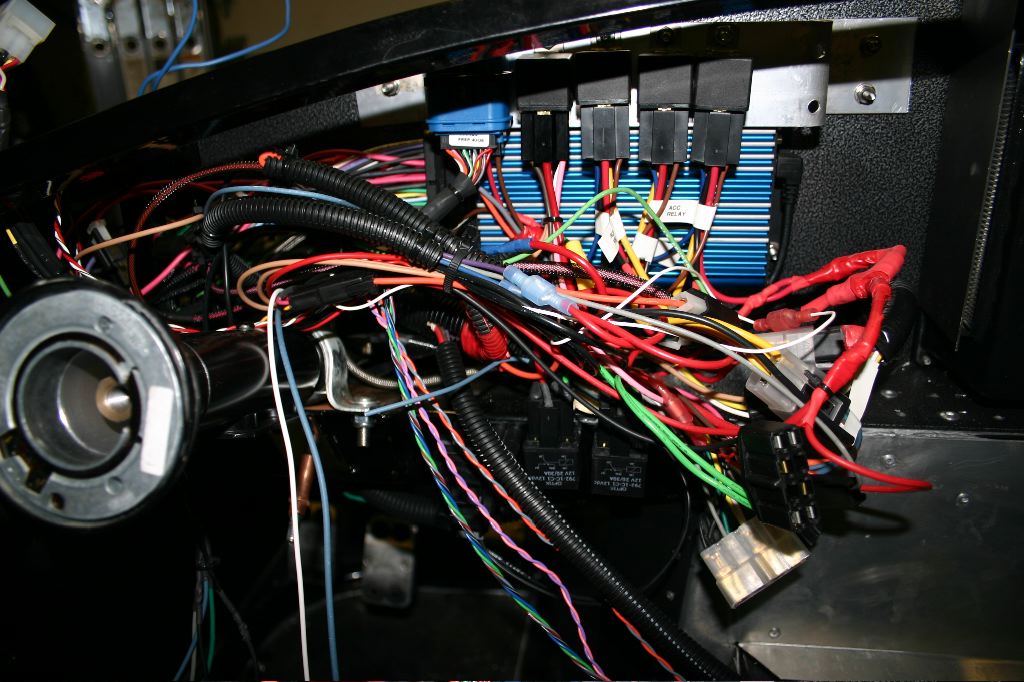
The dash wiring was a bigger issue. There was a lot of unused wires, and a lot of extra wires creating the giant mess of wiring. Where possible, I stripped out wiring from the harness that I wasn’t using, although in most of the cases I just had to cut the longer ends off the wires and insulate the cut ends because I couldn’t take the entire harness out to remove circuits.
I also trimmed a bunch of longer wires and crimped/soldered on new connectors to keep the wiring up closer. Once that was done I bundled as much as I could and just ziptied it. Its not ideal, but it keeps it contained.
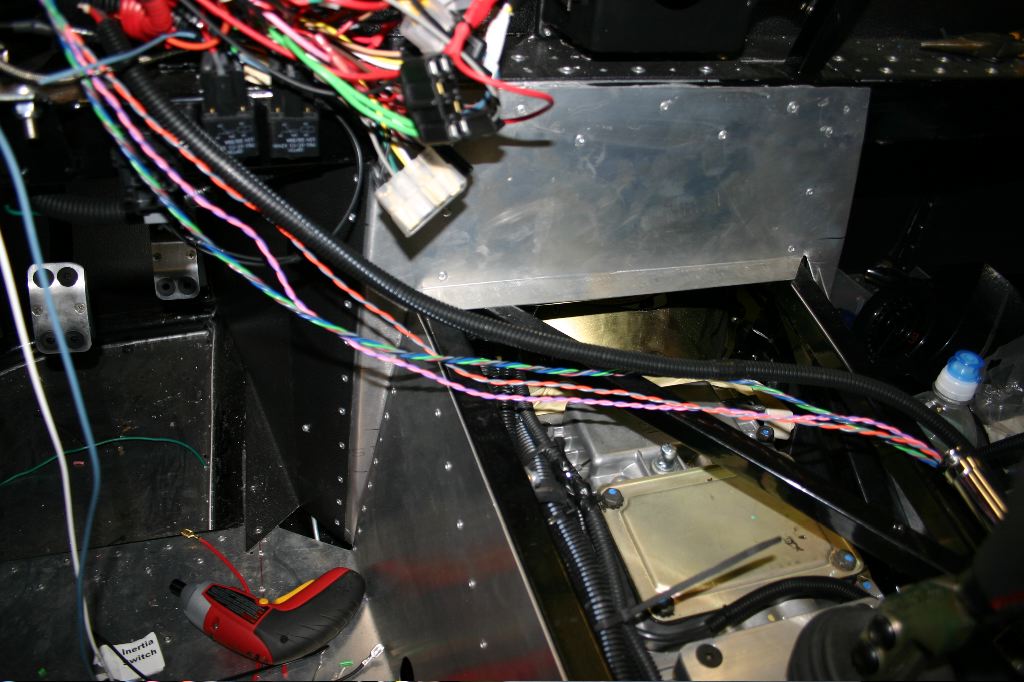
Some of the other wiring I wans’t using yet was some of the inputs to the remote system as well as the radio, heater and wiper harness.
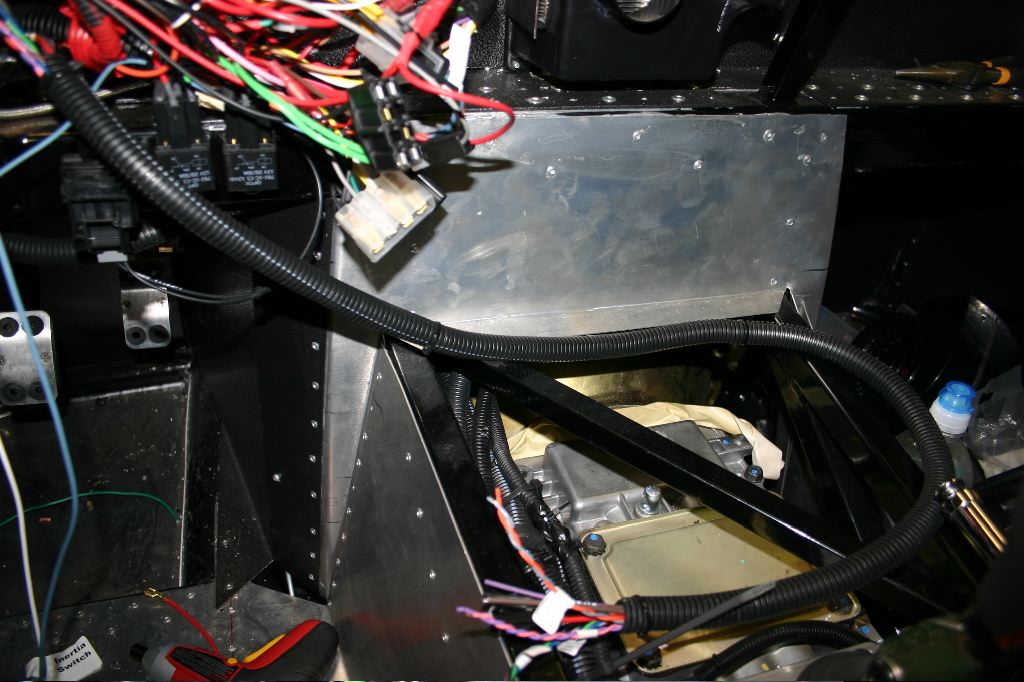
To better protect those wires, I removed the loom from the Ron Francis harness for the radio, heater and wiper circuits and bundled the Digital Guard Dawg wiring into it as well. I’m not sure where these will be run yet — it depends what I do for a center console.
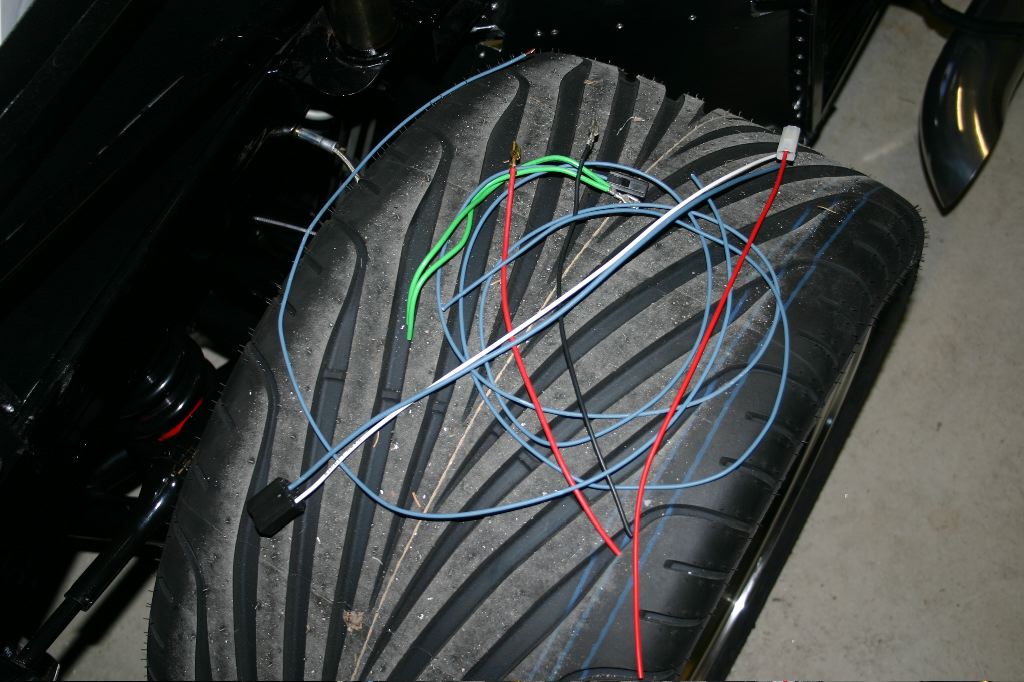
This is some of the wires I removed from the dash. It doesn’t look like much, but even a few inches off a harness that is too long really tightens things up.
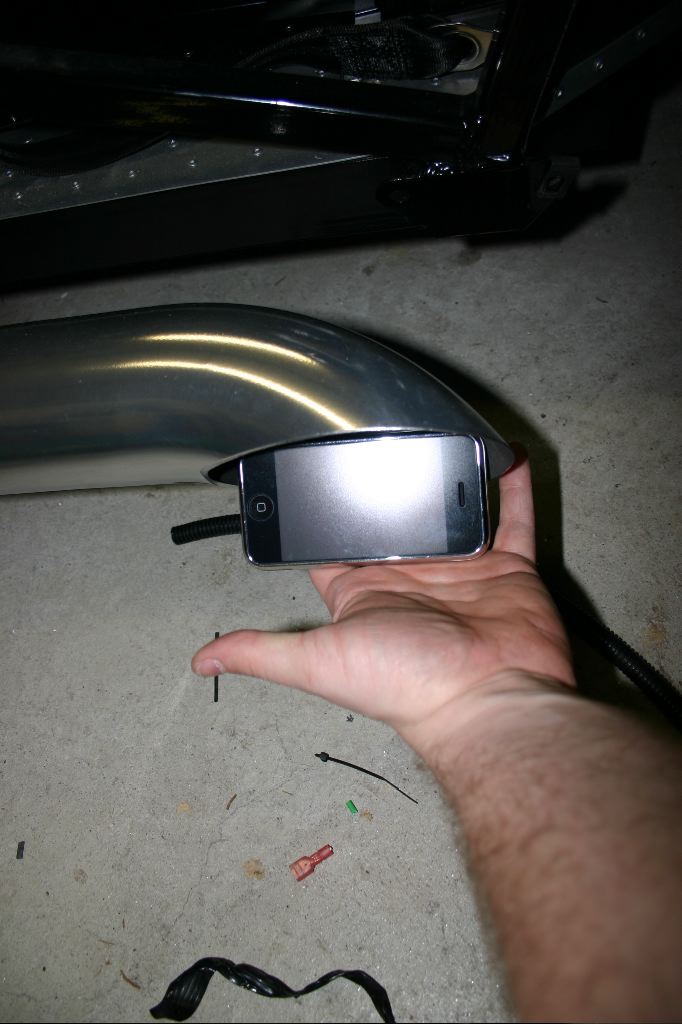
I had a couple people (who haven’t seen a FFR car in person) ask me for an idea how big the opening on the side pipes are. iPhone for scale…
Tomorrow I hope to wrap up a bit more dash wiring, get the velcro onto the dash hoop and dash, and start arranging the underdash panel I bought from Mike Everson.
I also need to get the side pipe mounts installed, which hopefully will be on Wednesday.
Thursday is supposed to be nice again, so I should be able to take a stab at tuning the motor again.