I found some more time today to work on the car, although being Valentines day, I had to balance car work and sleeping on the couch tonight. I spent a good three hours in the garage, though, and did manage to get some more work done on the center console.
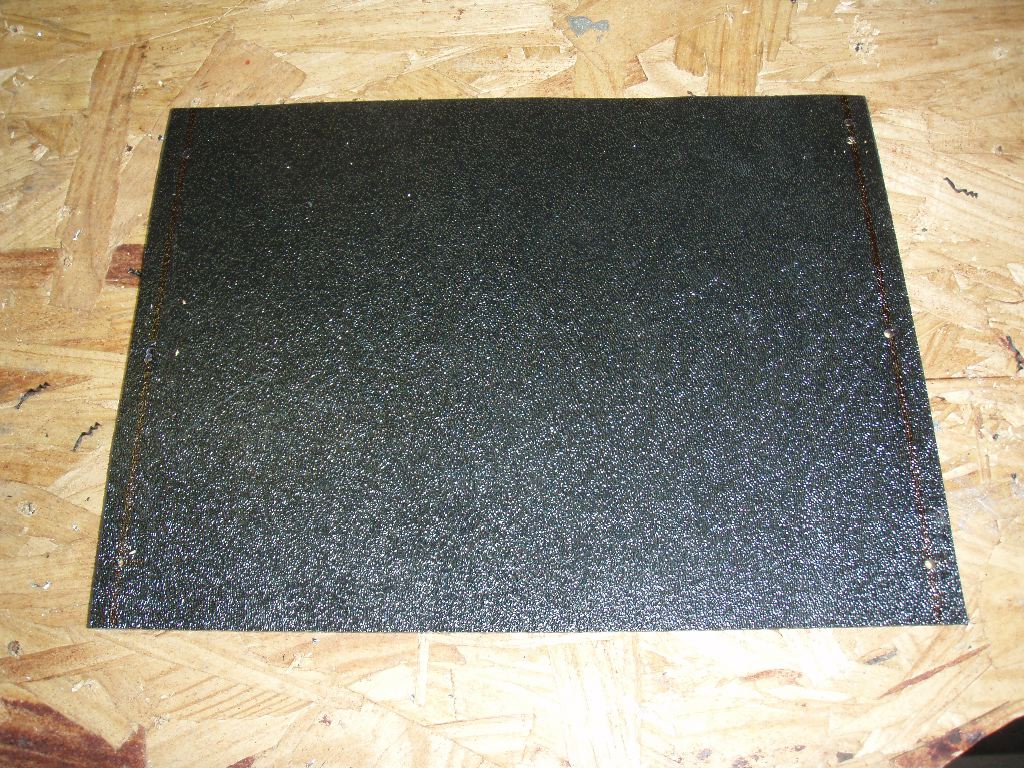
I started off working on the ABS panel that I was going to use as the face of the center console. I used the cardboard sheet I had worked out yesterday as a template and marked it with a red sharpie. Using the bandsaw (which desperately needs a new blade), I cut it down to size. I then measured six holes, evenly spaced on each side. These holes will be used to bolt the face to the console. Going with the exposed cap-head bolt design theme in the interior, it’ll use stainless washers and a small cap head bolt to hold the panel on. I wouldn’t front bolt it if there was any security concern with that, but there is nothing but heater wiring behind it, so its not a security risk.
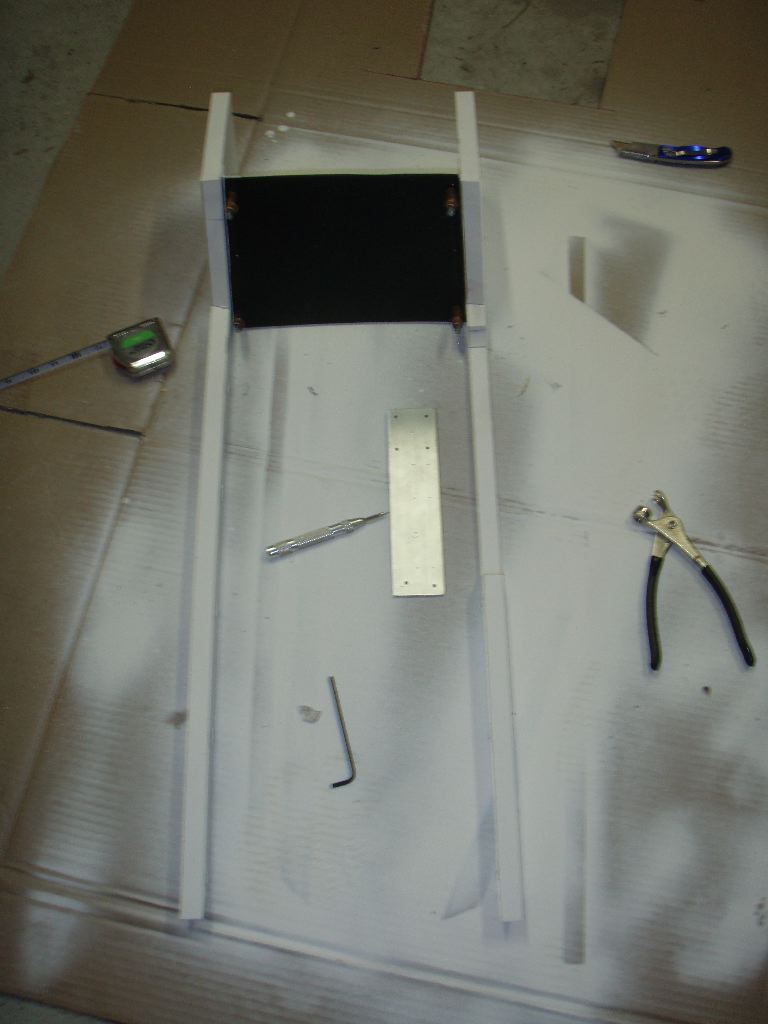
Using a center punch and drill, I positioned the face panel onto the side panels, and drilled holes in the aluminum angle bracket that is screwed and glued to them.
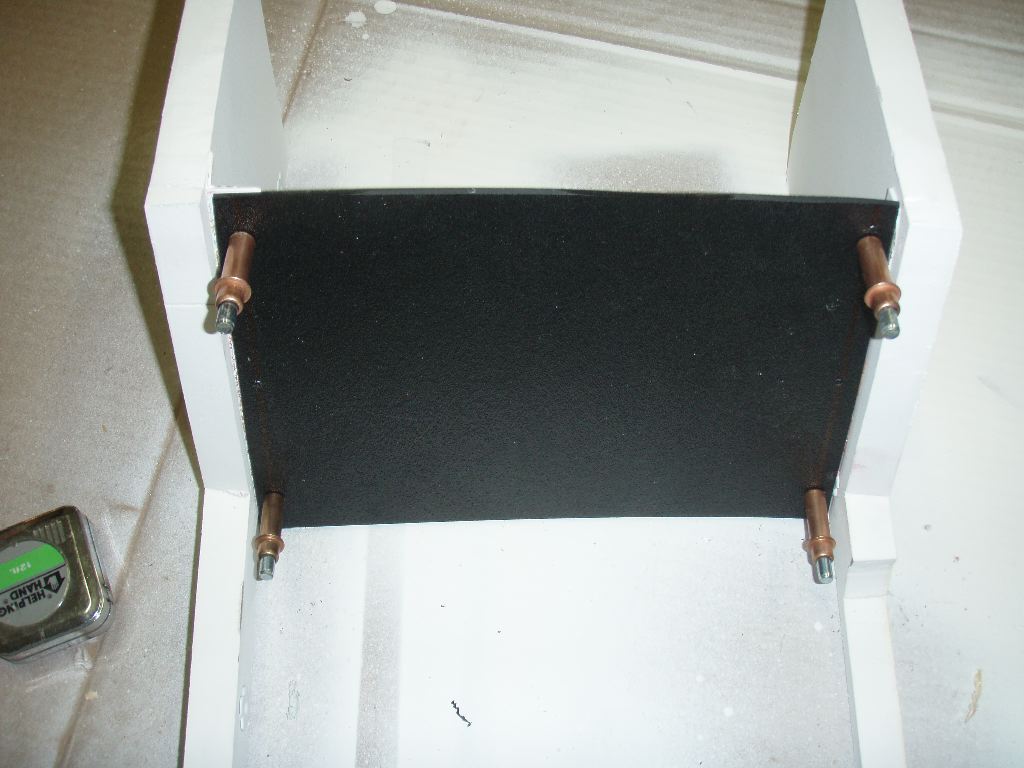
The panel seems to warp a bit because the aluminum isn’t quite at the right angle. I expect in the car it’ll be less noticeable. The cleckos tend to really hold it tight. I’ll keep the bolts a little more loose to keep from flexing the panel.
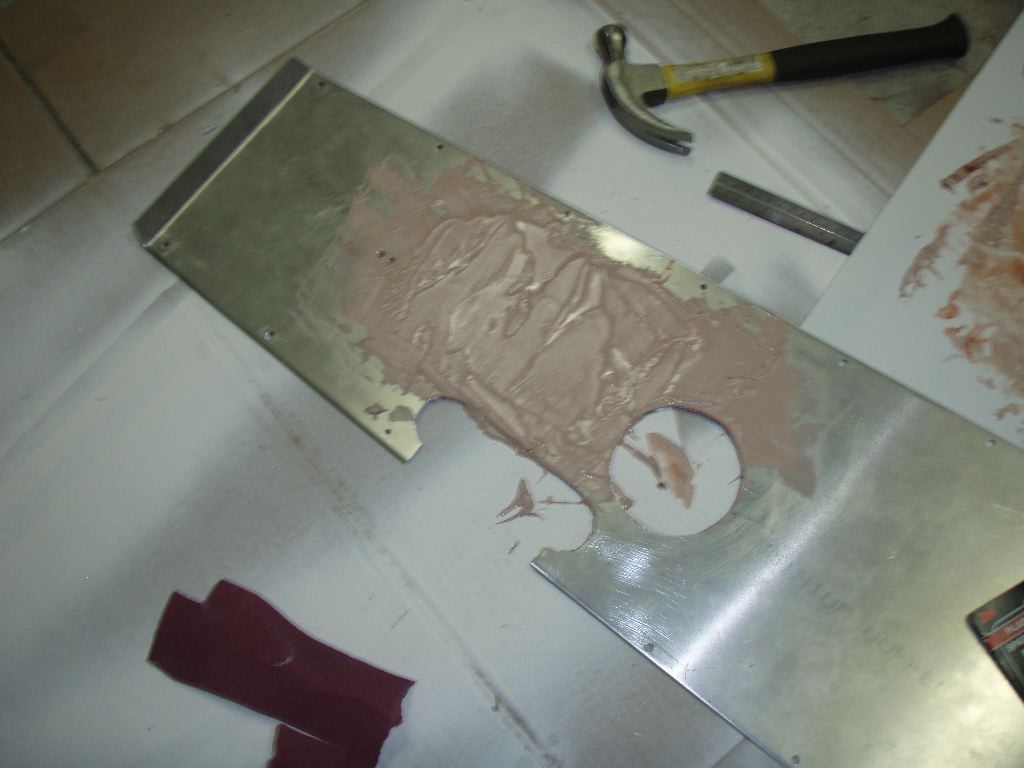
Before going on, I decided to mix up some Bondo and apply a liberal coating over the patch on the transmission tunnel cover. Yes, its messy. Yes, I’m going to be hating life when I need to sand that down, but its the first body filler work I’d done in twenty years, and I didn’t have the right tools to do it cleanly. I think it’ll be fine once its set up and sanded.
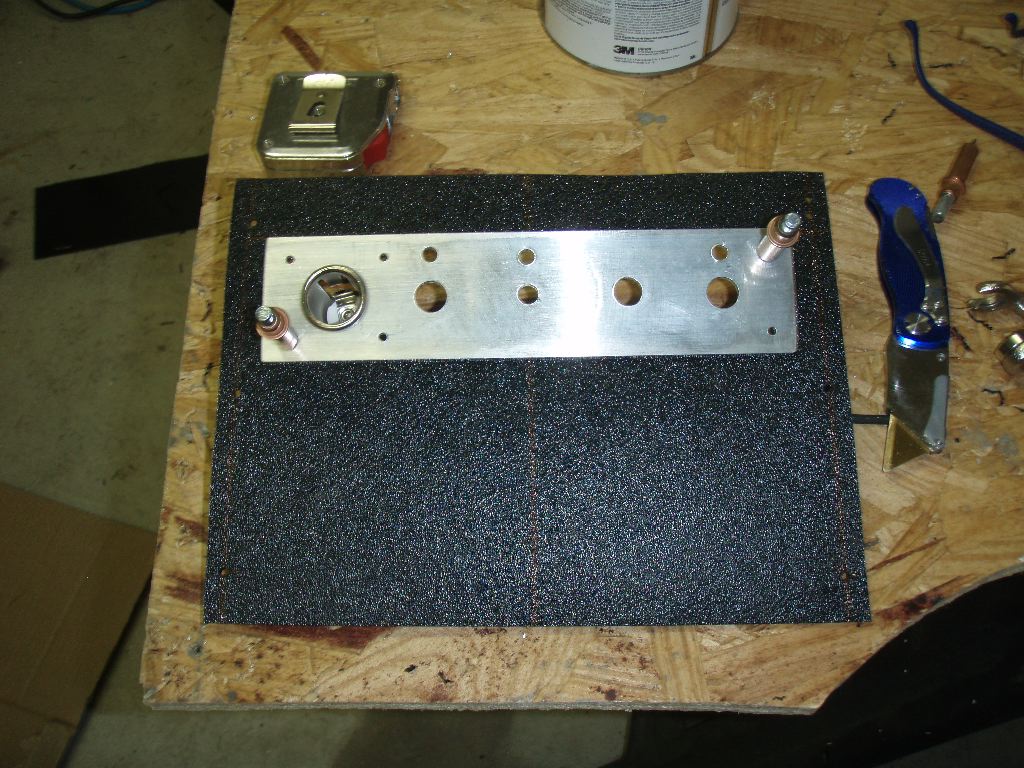
Once the Bondo was setting up, I went back to the dash panel. I needed to position the “oops” aluminum panel I screwed up on yesterday at the point on the panel where I wanted the final panel to be. Once I had located the right spit, I drilled the six bolt holes as a point of reference. Using the drill and my Dremel with a cutting wheel, I then trimmed out the spaces where the switches would be.
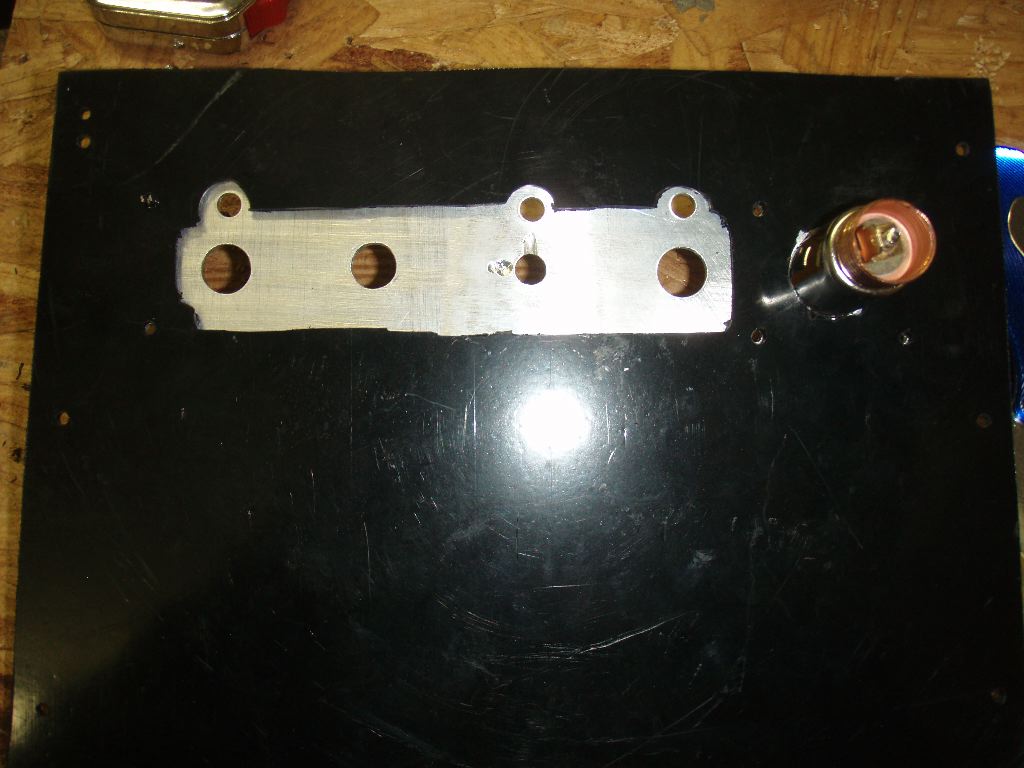
From behind, the (sloppy) opening I cut is visible. The panel will be held by six bolts into the aluminum switch guards, just like the dash. I trimmed enough plastic to it the 12v socket, the switches, LEDs and control knobs.

With that done, I needed to address the mounting of the panel to the center console itself. Using the previously drilled holes as a guide, I drilled wider holes and set small rivnuts into them. This will allow me to bolt the panel on from the front, and will make it easy for me to entirely disassemble both the console panel and the entire unit in the future.
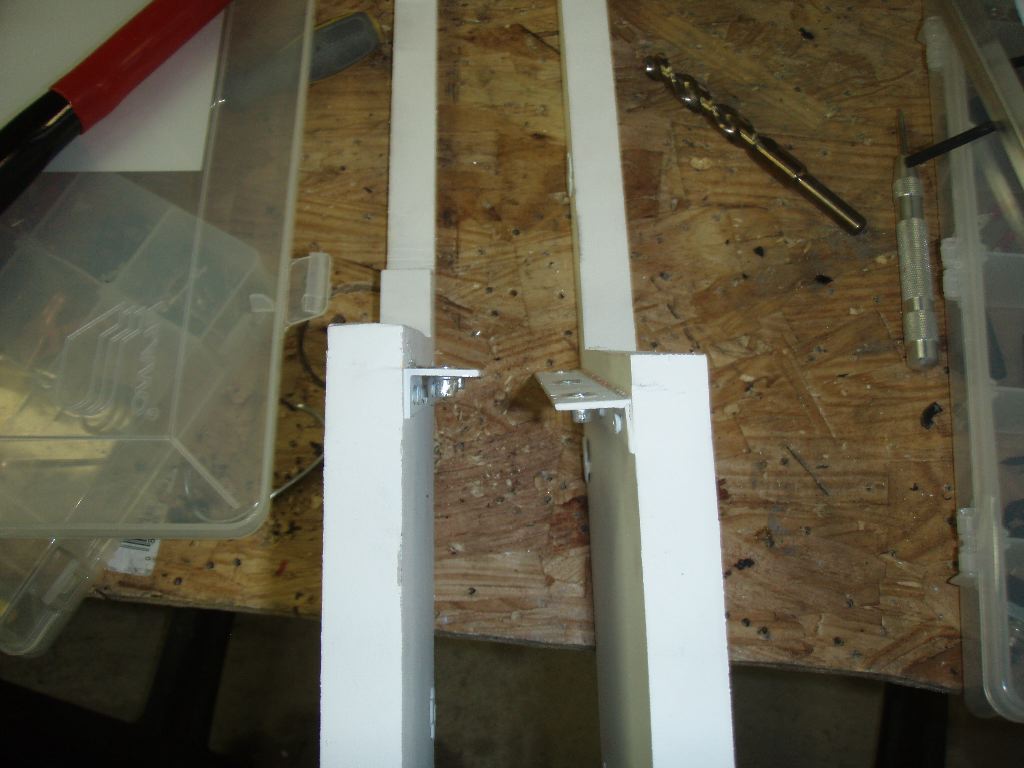
After installing the rivnuts, I noticed I screwed up the angle on the two brackets. I’m not sure how that happened — the two sides should be mirror images of each other, and the bracket was carefully positioned identically. I either screwed up one of the panels or the positioning of the bracket. In either case, I don’t think it’ll be noticeable in the car.
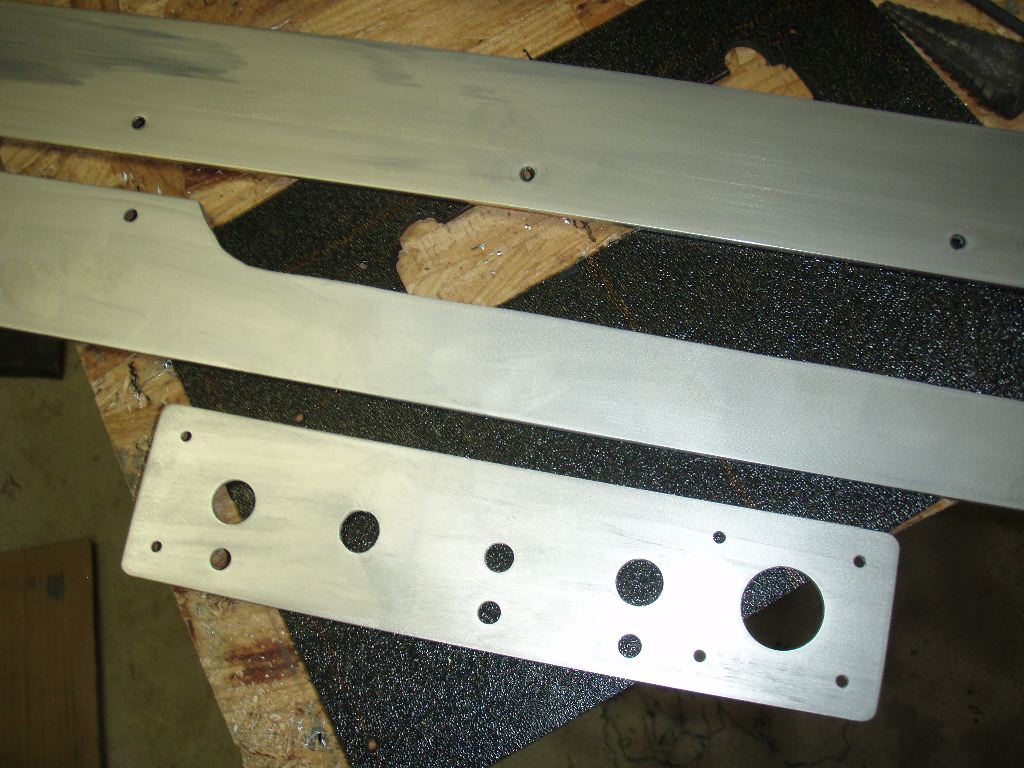
I thought about starting the vinyl work at that point, but decided to just bite the bullet and deal with polishing the three aluminum parts on the center console. I started of using my random orbital sander to dry sand with 240 grit, then wet sand with 400 grit.
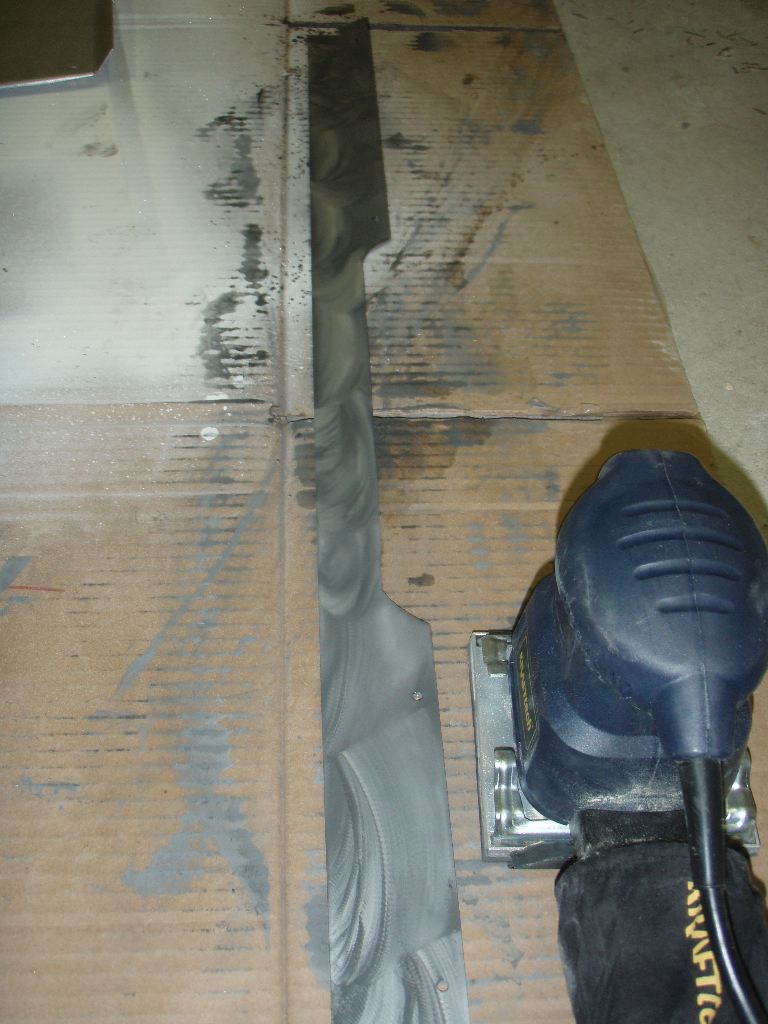
After the 400 grit sanding, I continued to wet sand with 600 grit paper.
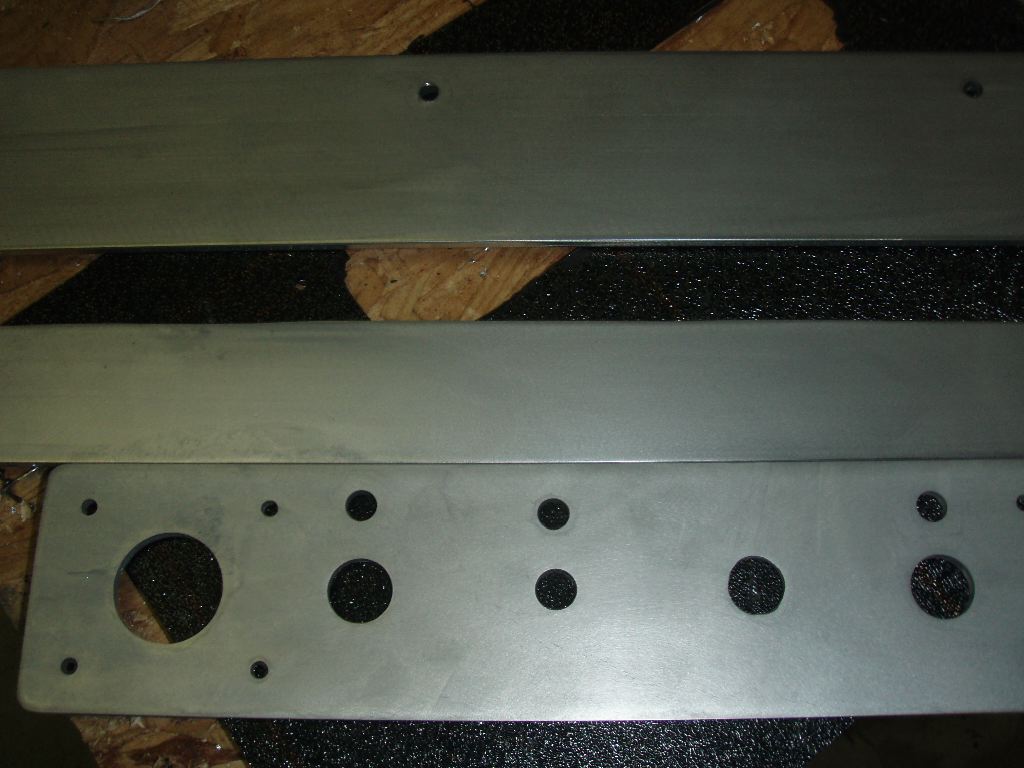
With the 600 grit sanding done, the three parts had a uniform matte smooth finish.
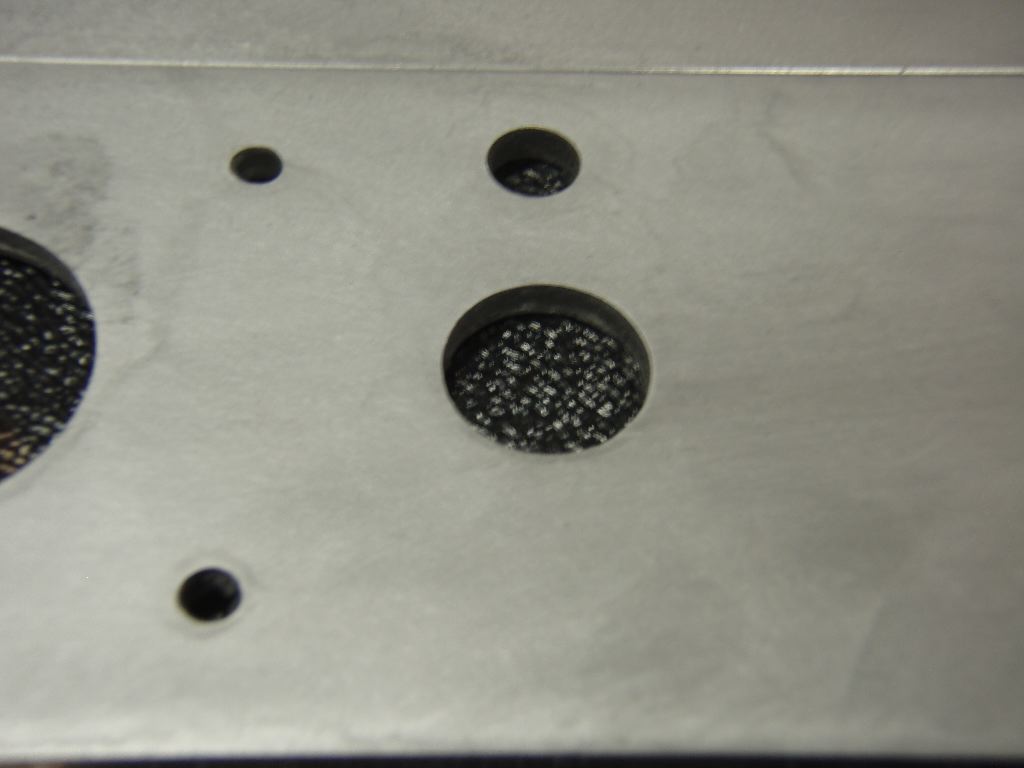
A close-up shows the smooth, but very flat finish.
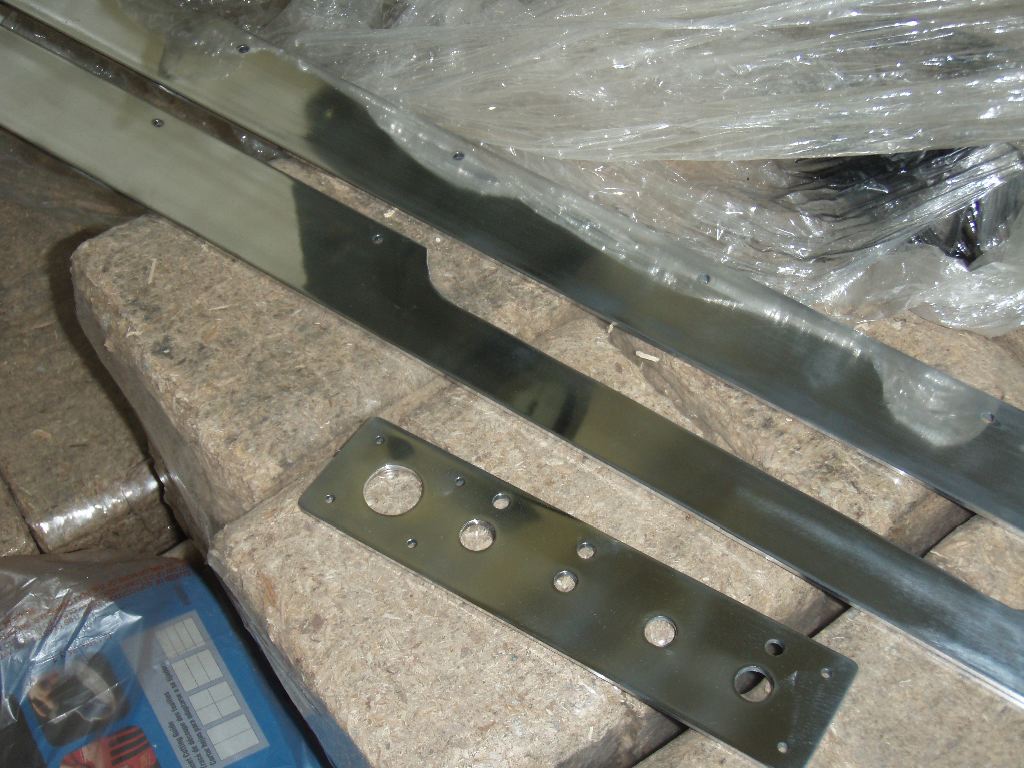
Using a buffing wheel on my drill press, I used a coarse polish and then a finer polish, leaving a nicer shiny finish on the three pieces.
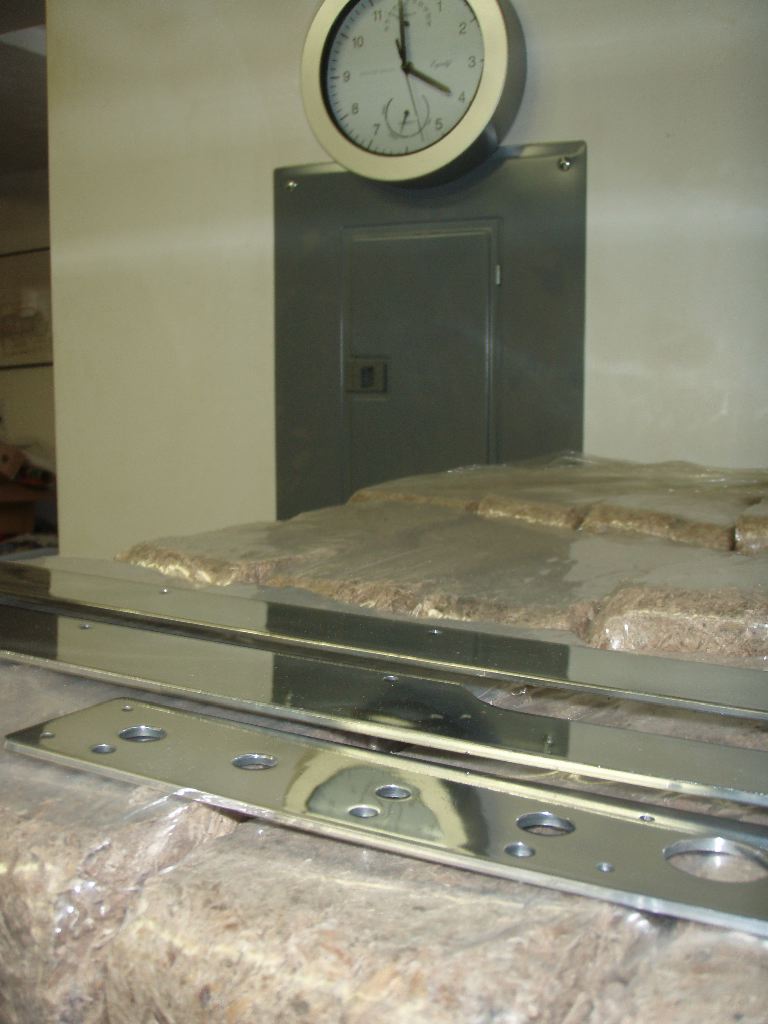
With the finishing of the polishing using another buffing wheel and a bright metal polish, the three pieces definitely had a nice sheen to them.
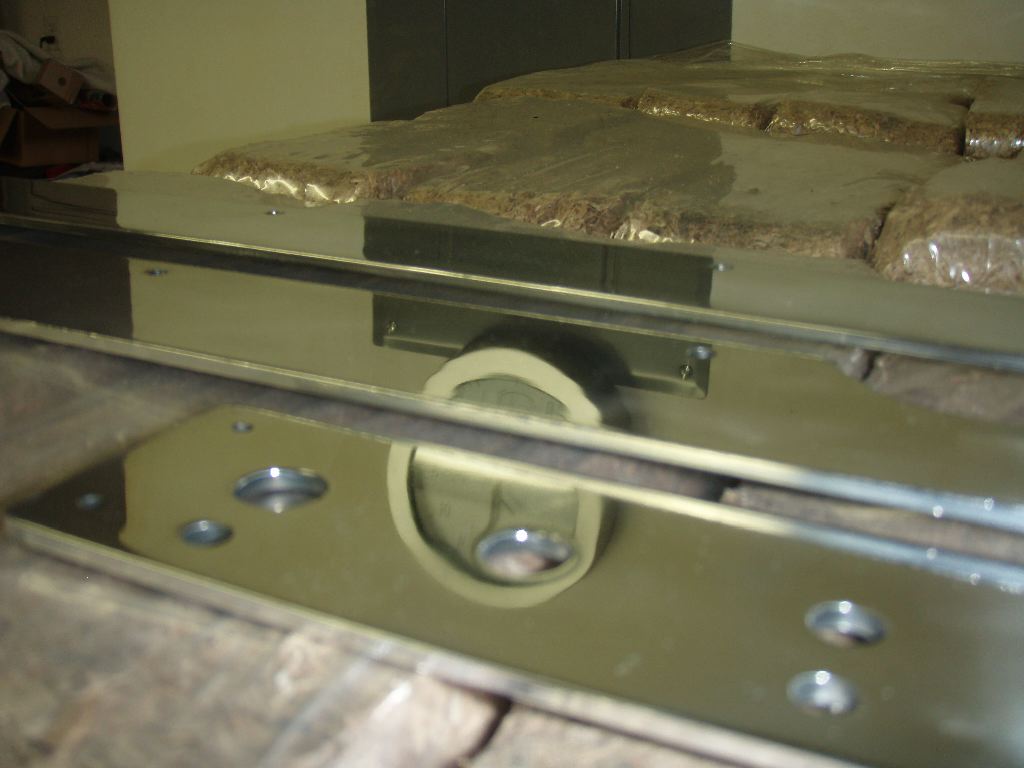
Two of them ended up with near mirror finishes. One of the side panels seems to have had more texture to it when it was made, and the sanding work I’d done had not smoothed it out completely. I’ll see how it looks in the car, and if its noticeably different, I’ll have to pull and repolish that one.
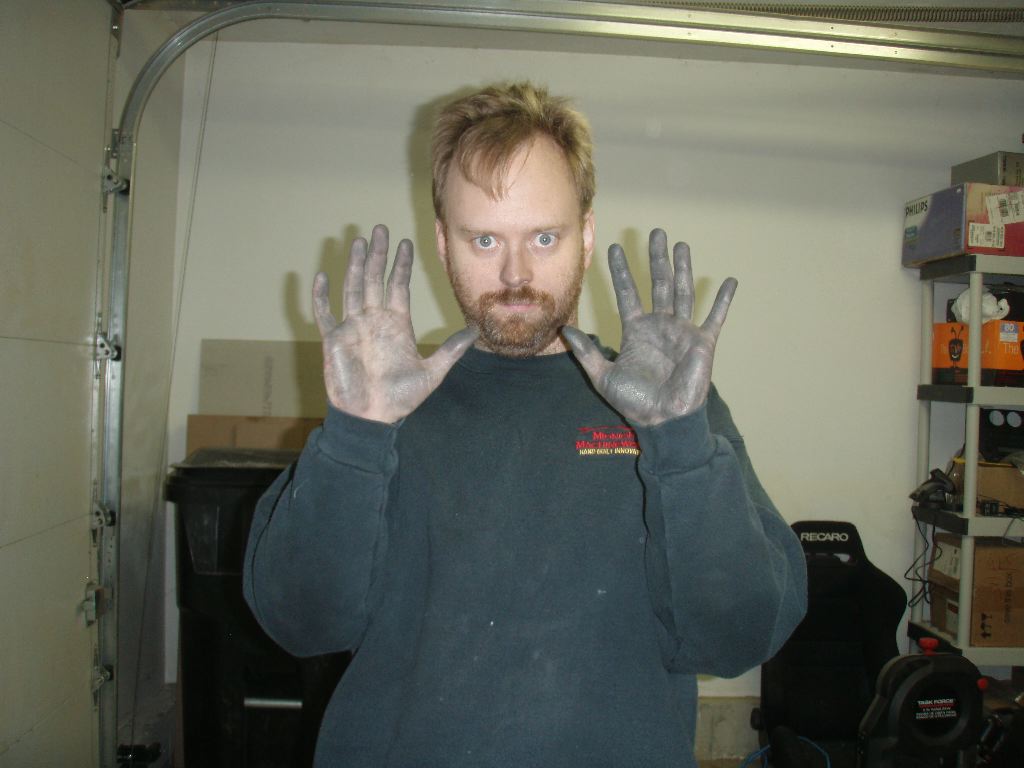
I. Hate. Polishing. It leaves muscles sore, and my face and hands caked with polishing compound and aluminum.
I hope to get to the vinyl work during the week this week. Once I have that done, and get the transmission tunnel cover taken care of, I can assemble the console switch panel and start dealing with the wiring. It should be fairly easy, since the only thing special with the wiring other than hooking up the switches is the diodes and LEDs needed to indicate the blower is on as well as the seat heaters.
I really hope to call a few more places this week about paint, as well.