Installing the body a week and a half ago opened up a bunch of other things I could focus on. A lot of these have been good both from the standpoint of being something new to think about as well as being things that needed to be done, at least in some form, before I can start the engine or think about “go-karting”. The fall is starting pretty quickly here — odds are I’ll get the engine started before winter at this point, but actually driving the car? Unlikely.
One of the things I took advantage of having the body on to start is the construction of the dashboard. There’s a lot to this, particularly in figuring out how to fabricate some of the things I want to do with it, figuring out wiring and finding parts for it.
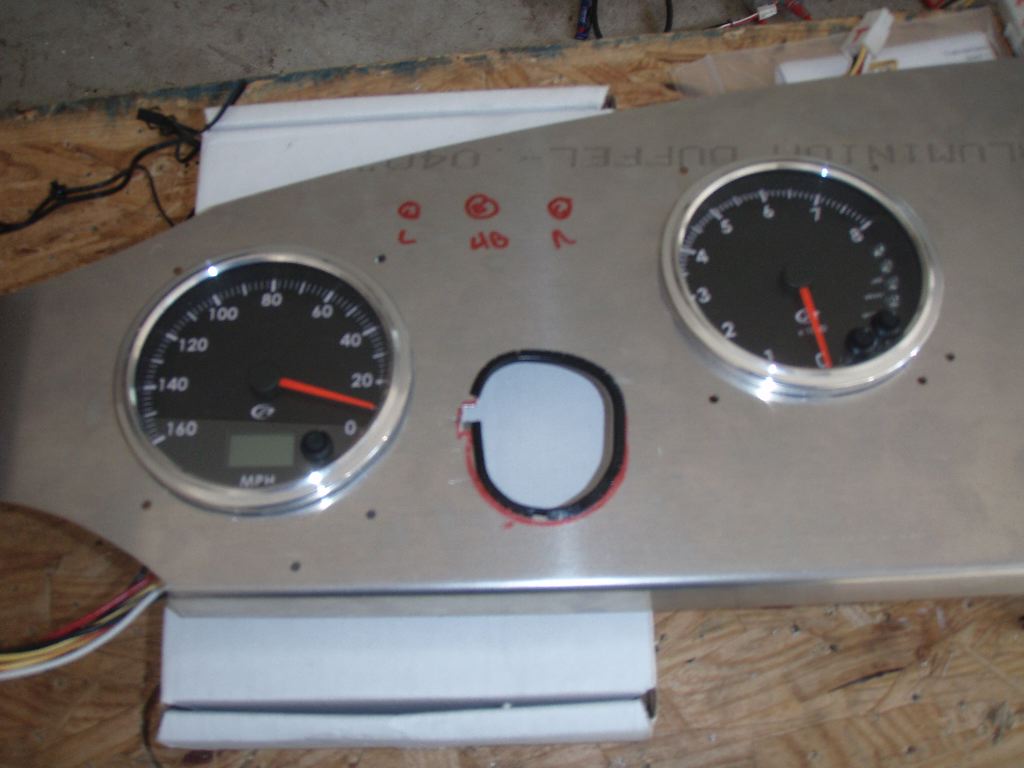
The first step in getting the dash started, at least in terms of physically assembling it, was trimming out the holes for the speedometer and tachometer.
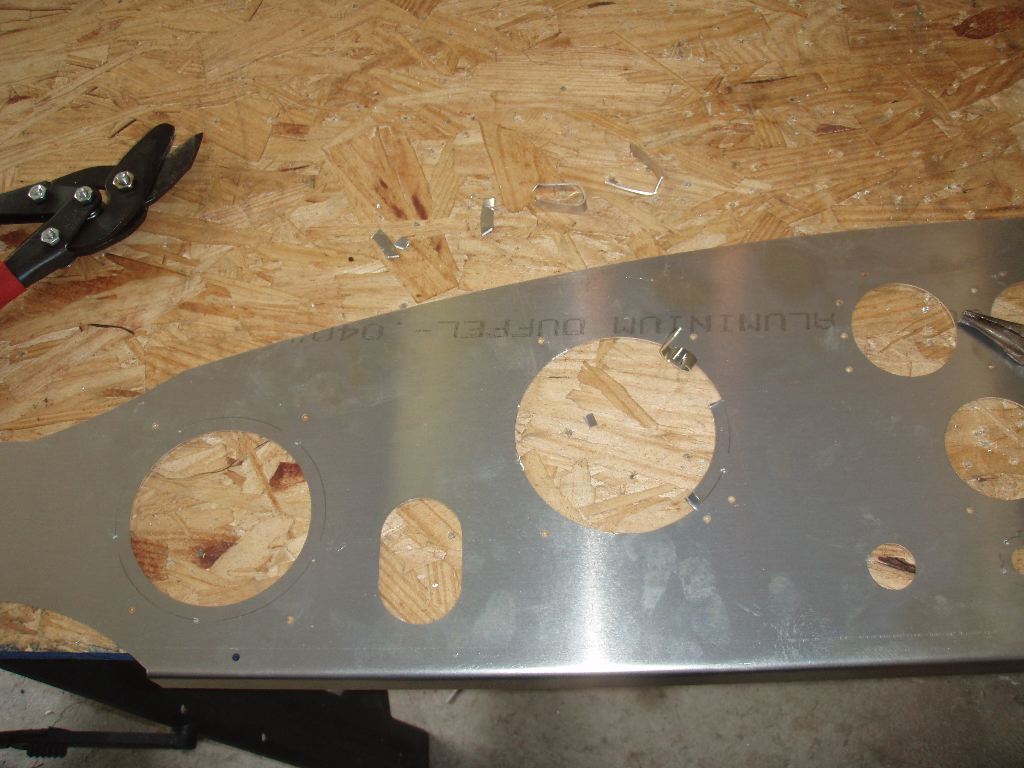
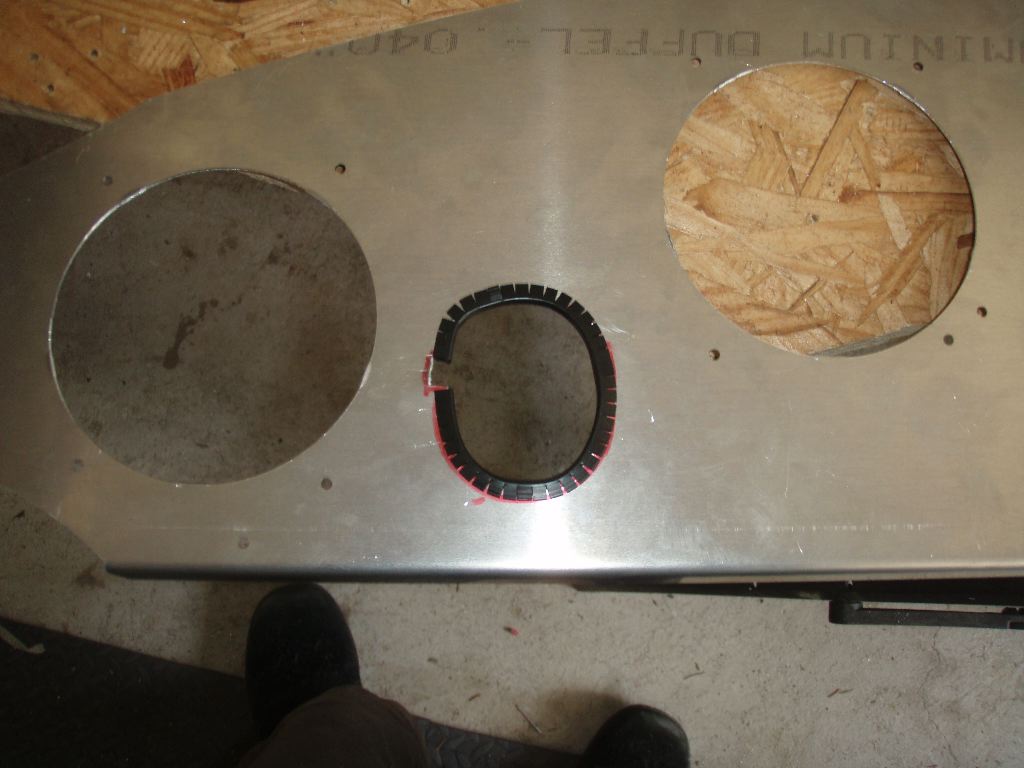
The opening for the steering shaft had to be opened up, as well. The steering wheel hub and turn signal unit I bought needs to be able to be inserted through the opening. I made a bit of a mess of it, but the dash vinyl will hide it.
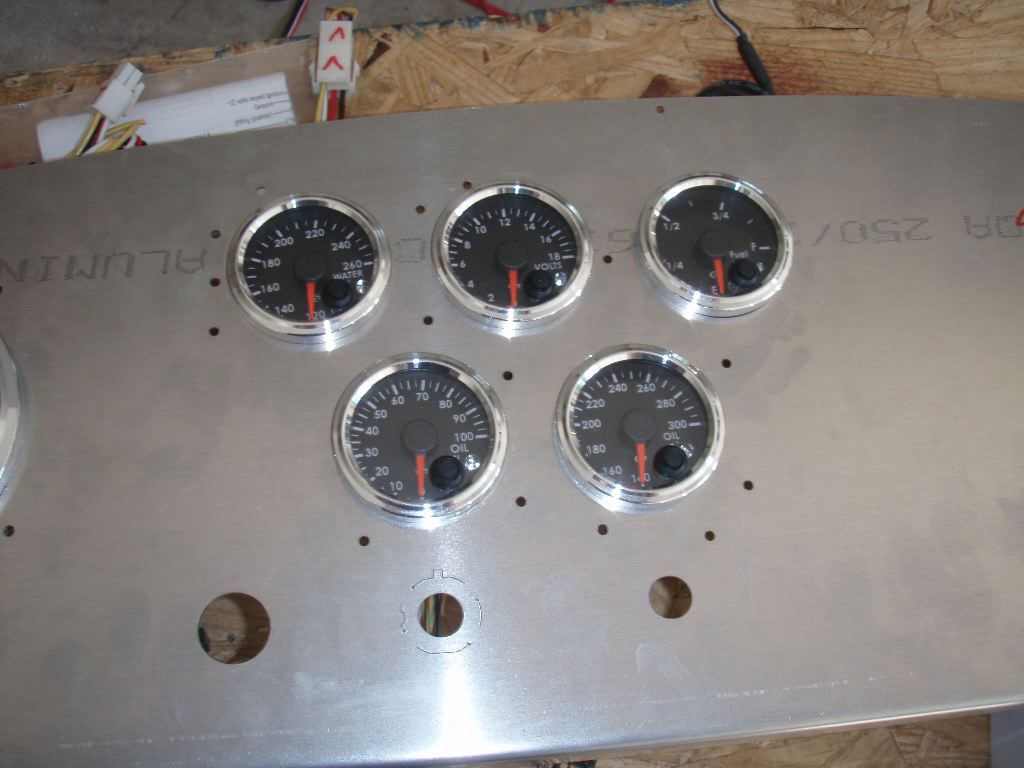
Once the holes were opened up, I could fit the seven gauges into the dash. I’m not entirely sure I’ll leave them in this particular arrangement, but its good for now. The wiring is fairly generic for them, so I can pretty easily move them in the future.
Wiring the dash is going to be fairly complicated. I spent a bunch of extra money (unfortunately) buying a Ron Francis wiring harness specific for the Factory Five car. It turns out this was a mistake because I’m finding I need to disassemble and replace or remove a lot of the wiring in it. The combination of running HIDs in the front meaning I needed to change the front harness, needing a ground line to the fuel pump in the rear because of the Boss-EFI (from the ECU, rather than the fusebox) meaning I need to rewire the rear harness, the insufficient (and frankly dangerous) alternator wiring and an entirely different set of requirements for the dash meaning the primary harness and dash harness are wrong means essentially the RF harness was a total waste. Its taking me more time, not less to wire the car.
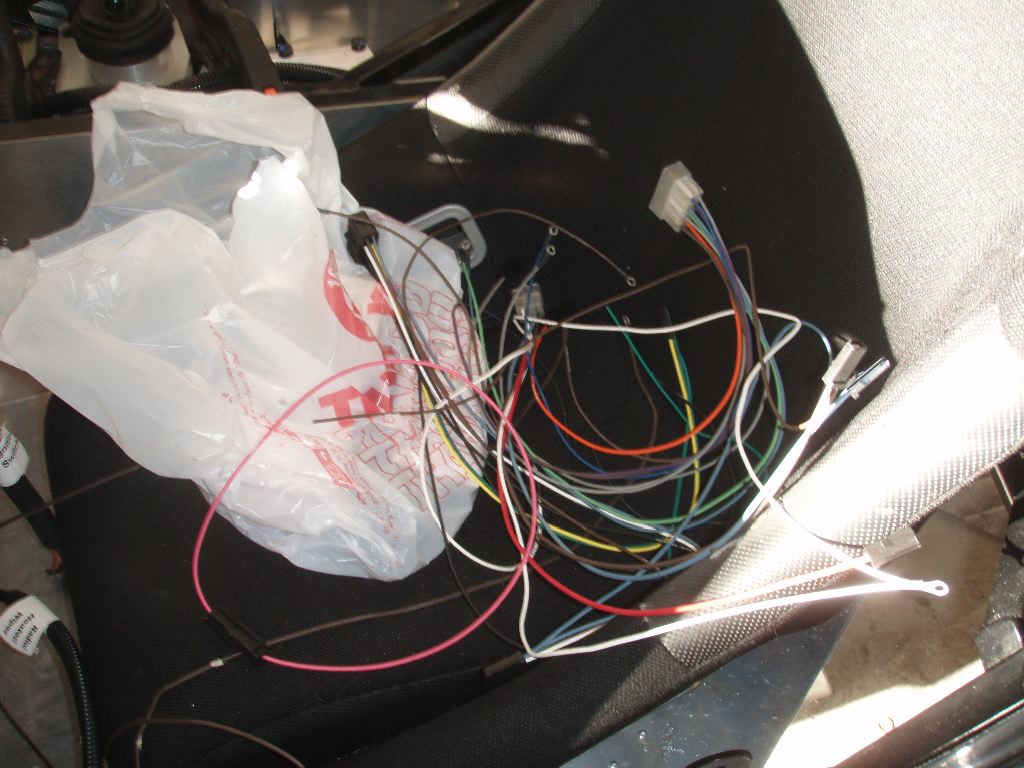
I ripped apart the dash harness and will hopefully be able to reuse at least part of it — the more I can reuse, the less I need to rewire in the primary harness which is already installed in the car. I’m not sure why the harness is so “wrong” given that Factory Five’s electronic gauges are wired identically to these, but both the lighting, power and sensor wiring is all different.
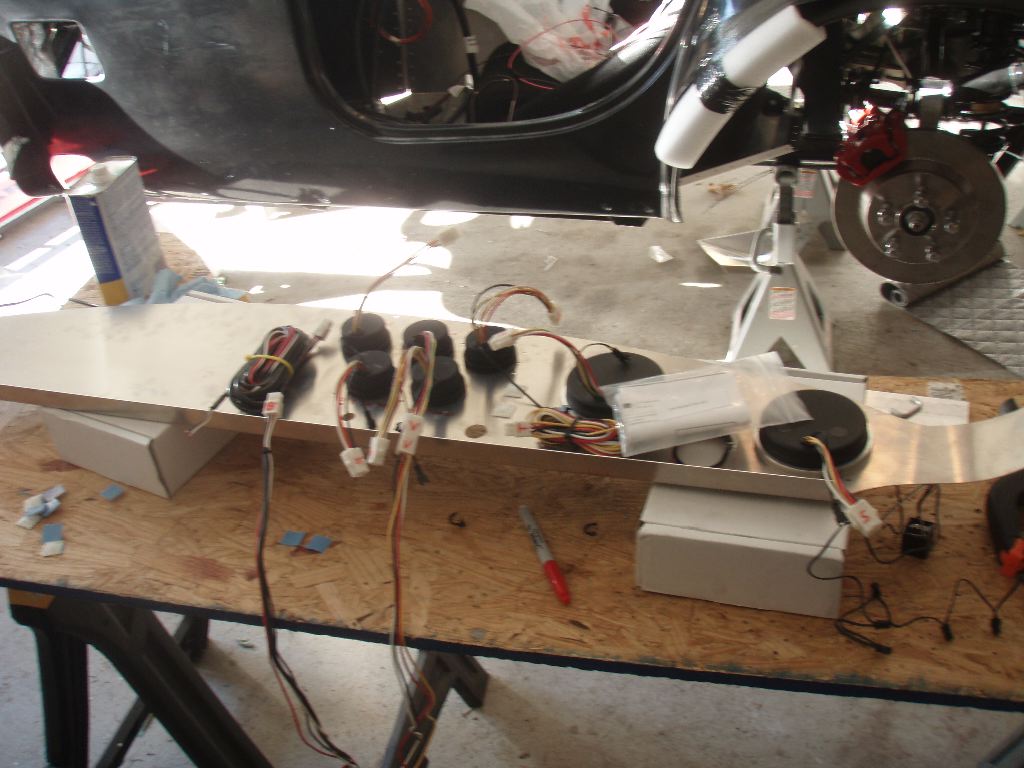
Looking at the rear of the dash, the wiring on the gauges is visible. The wiring is fairly simple — each gauge has a ground feed, each gauge has a 12V power feed, each has a 12V feed for the gauge lights and a smaller feed for the lighting for the gauge’s needle. I’m not sure why those are different, but that should be handy when I want to adjust the dash lighting levels. Each gauge then also has either one or two sender wires. The Ron Francis harness has only a single wire for each of the senders, and the gauges instructions hint that the ground line is important (a common ground is not sufficient apparently…)
To keep the wiring tidy, I’ll be putting three wiring busses on the rear of the dash with the two power feeds and the ground. The needle wiring is entirely independent. I went to Electronic Surplus in Manchester over the weekend and was going to buy a bunch of them and decided not to. Whoops.
The sensor wires, rather than using the Ron Francis connections, I’ll run through a 14-pin (or larger) connector so I can disconnect the dash, and the rest I’ll bundle together with braided loom to match the rest of the engine bay wiring. With the ECU wiring running out the front of the footbox, the senser wiring will probably be run out the bottom of the firewall.
I’ve been shopping around for switches for the dashboard. I don’t believe I want to use a standard pull-style headlight switch and various different toggle switches as is typically used. For aesthetic reasons I believe I’m going to fabricate an aluminum switch panel using nicer metal toggle switches with panel handles between them, in a very 60’s style.
I’ll be using my old Alps MD-5000 printer to print transfer decals for the icons/glyphs on the panel. Below is a photo of the switch panel on the new Mini Cooper — thats a similar style, but I’m shooting for a flat, more retro-industrial look to the panel.

There will be one panel immediately below the 2 1/4″ gauges with seven switches: Engine Start (momentary switch) , Headlights (off/parking/on), Hazard Lights, Fan Override (turns the fan on even if the thermostat has it off), Interior Lights, Aux (for future use).
A second smaller panel made to match will be on the center console with aluminum dials for the heater/vent controls and toggles/indicator lights for the seat heaters.
I won’t be using an ignition key — I’m going to use a proximity system which will enable a power controller when an RFID key fob is near the car. A quick flick of the starter switch will turn on accessories, a longer hold will start the engine, and another flick will shut the engine off.
Along with the wiring planning, I finally did some fabrication on the emergency brake. The hardware that Fortes sold me was pretty useless, so I cut it up to try to rig something better. It remains to be seen if this will be workable either — I may have to just buy a different setup.
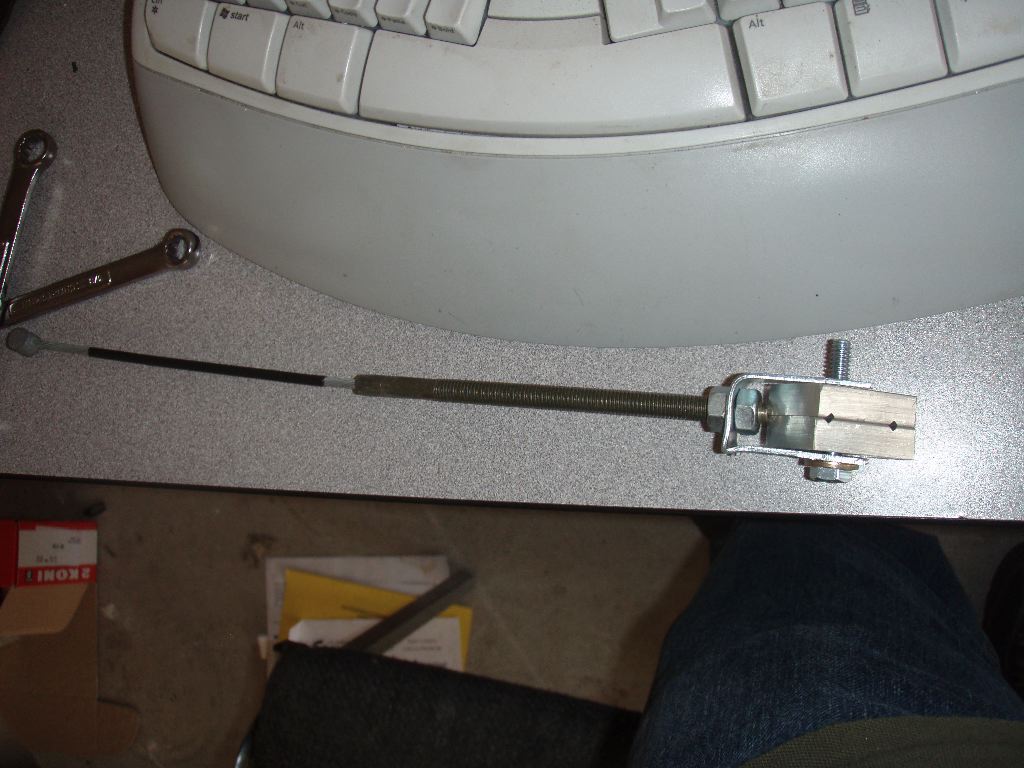
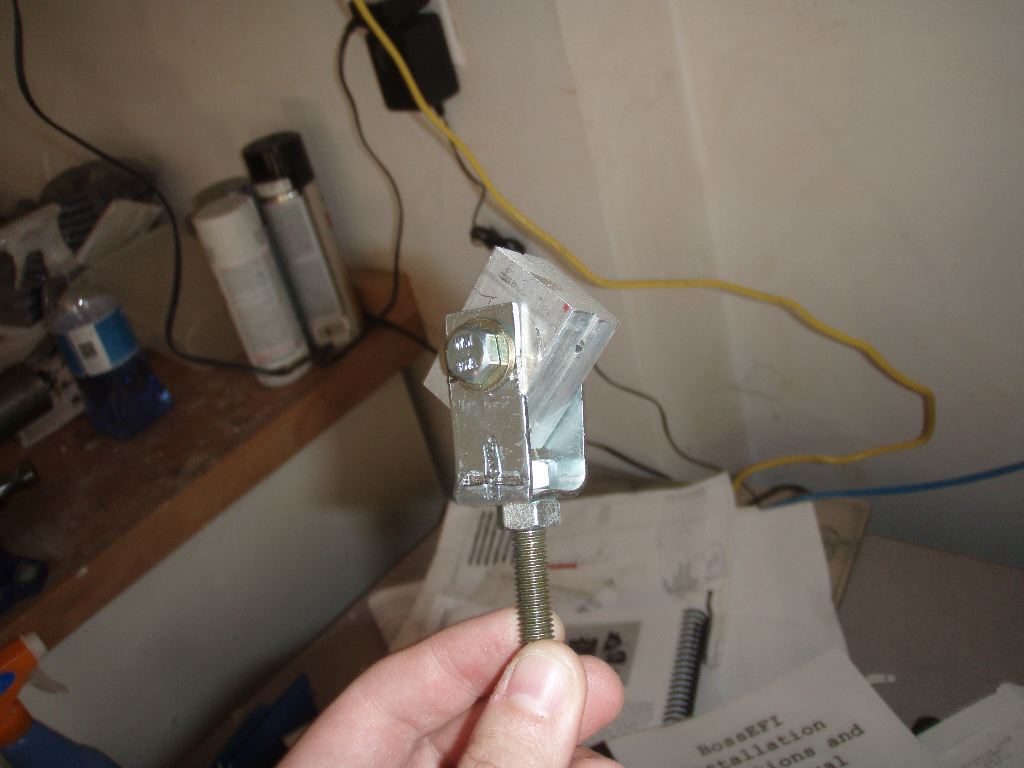
I basically cut the aluminum clip that held the emergency brake cable ends in half (which was too big to fit without hitting the driveshaft). I then took a steel band and fabricated a bracket to bolt the handle cable to and bolt to the smaller clip holding the actual brake cables.
I think this may not work because I need the ability to adjust the tension in the cables and with this design I can’t. I may try to find a pulley system I can run the cables around so I can take up tension with it, rather than at the handle.
Today I got more parts in the mail, as well. I had an issue with my heater plumbing in that the dash gauge for the water temperature used a senser that I had installed in the heater outlet in the engine. Finding locally the T fitting I needed to both get hot water for the heater and still install the sensor was impossible. I looked for it quite a bit over the weekend. Breeze sells a setup that worked.
I also bought an additional set of dash lights — for some reason Factory Five provides a single green lamp for the turn signals, rather than two for right/left. Bizarre. Now I’ve got two. On the electronics front, I also got the pigtail I needed to wire the speedometer into the electronic output on the transmission.
I picked up a plastic coolant overflow tank. Its not beautiful, but its better than the one I got from Summit over the summer. That one is tossed on the “parts to sell” pile.
The last thing I bought was Breeze’s seat mounts for the Street Performer seats. I’m still upset I can’t use the Recaro seats, but these are going to be a big time savings in getting the seats mounted. A steel panel with four threaded bolts welded to it rivet down to the floor of the car. A second panel bolts to the bottom of th seats. By fitting the seat panel over the floor panel and mounting them down with screw knobs the seats are held firmly to the car and can be adjusted (with some effort) in the future. A very nice setup (if expensive) and worth it, I think.
In all, it was a very productive weekend.